Making More Facemasks
In a previous post I showed you how to make facemasks. Well, I have been making more facemasks and I made some improvements.
Here you can find the original directions for making facemasks: https://spoonsandscissors.com/make-your-own-face-mask/
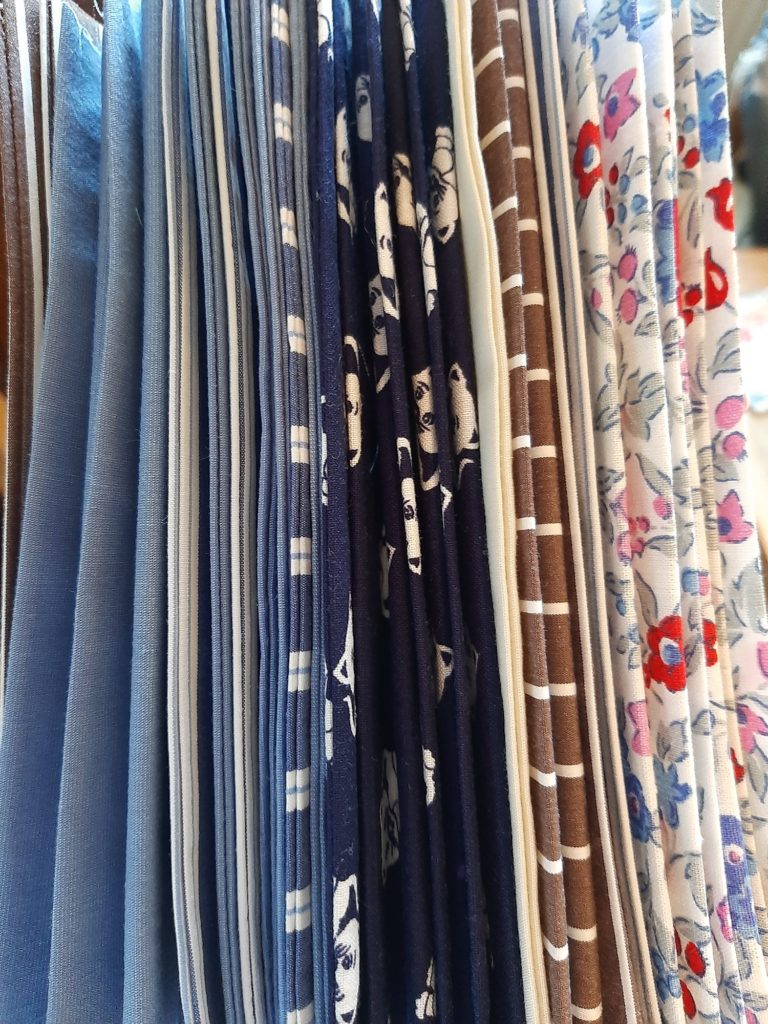
The base fabric I used is 20cm wide and 36cm long. I added 2cm for the seam, so the total hight of the masks is still 17cm. After cutting the fabric fold it in half and iron it nicely. With a lot of different fabric this is the result in color choices.
When you get ready to sew the facemask, the very first thing you have to do is turn the inside out and sew the bottom shut. With 1cm extra for the seam you get the desired 17cmin length (both ends “lose” 1cm). Now you have to turn the right side out again and iron the fabric (again). The seam and the extra fabric are now on the inside and nice and flat.
So with that you continue with the original directions and make 3 pleats in the piece of fabric and iron it again. If you like a wire at the top, add it now.
Finally you sew the sides shut and if you have a wire, sew in a straight line right underneath it. By doing the sewing this way, you don’t have to put the grosgrain ribbon on the top and bottom.
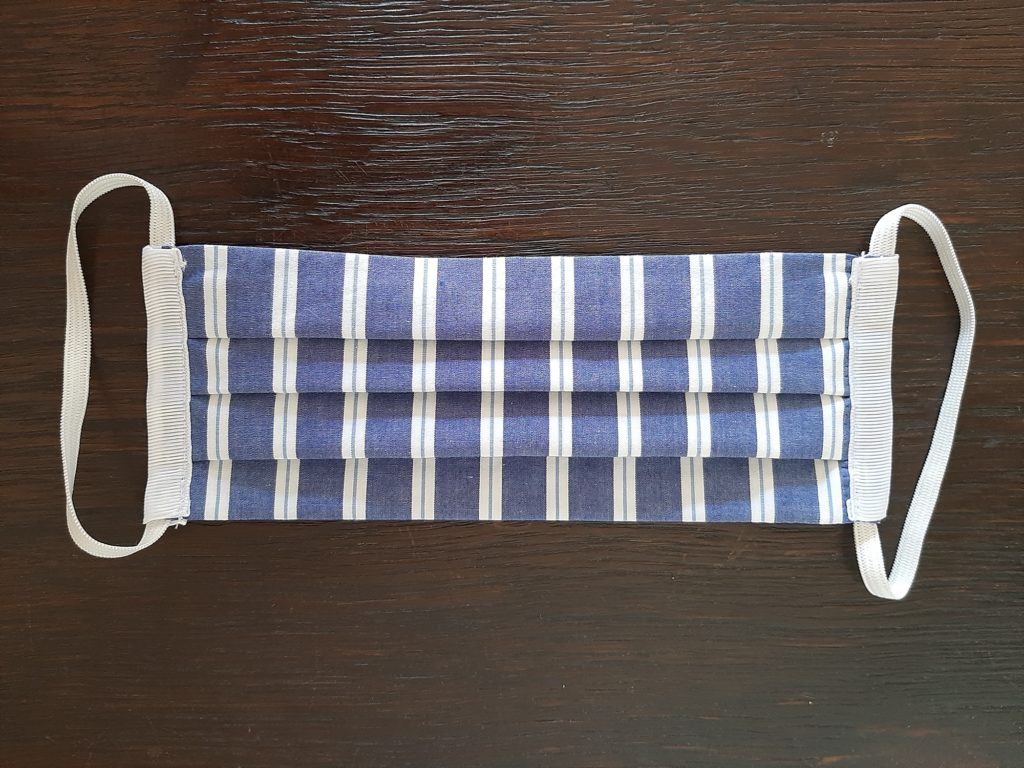
Here comes another change I made: Measure the elastic you need for putting it over the ears. I made 19cm strips of elastic. Remember that you need a little extra again for sewing. Pin the elastics on the sides, cover with grosgrain ribbon and sew along the edge.
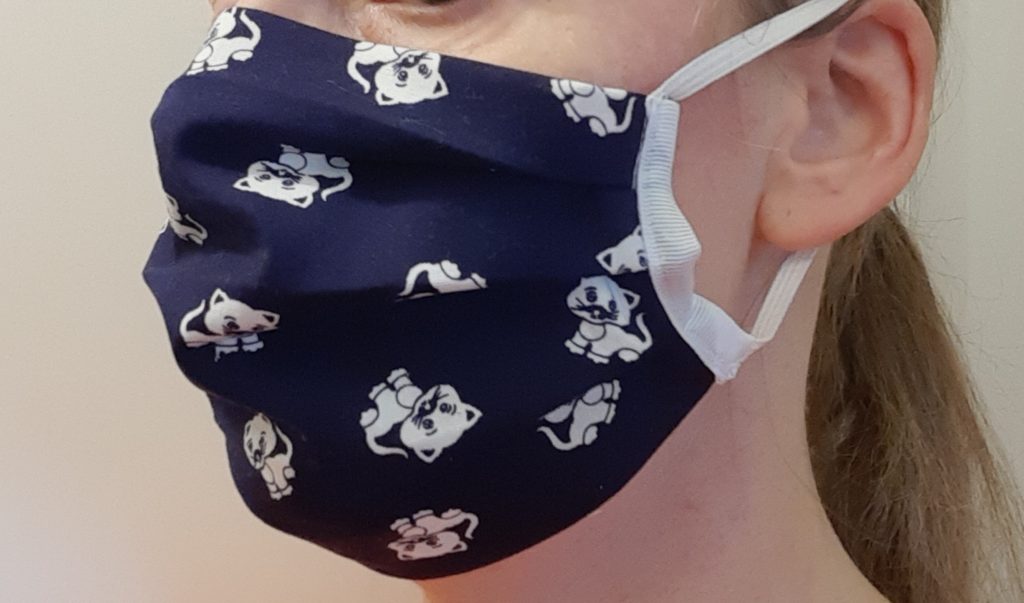
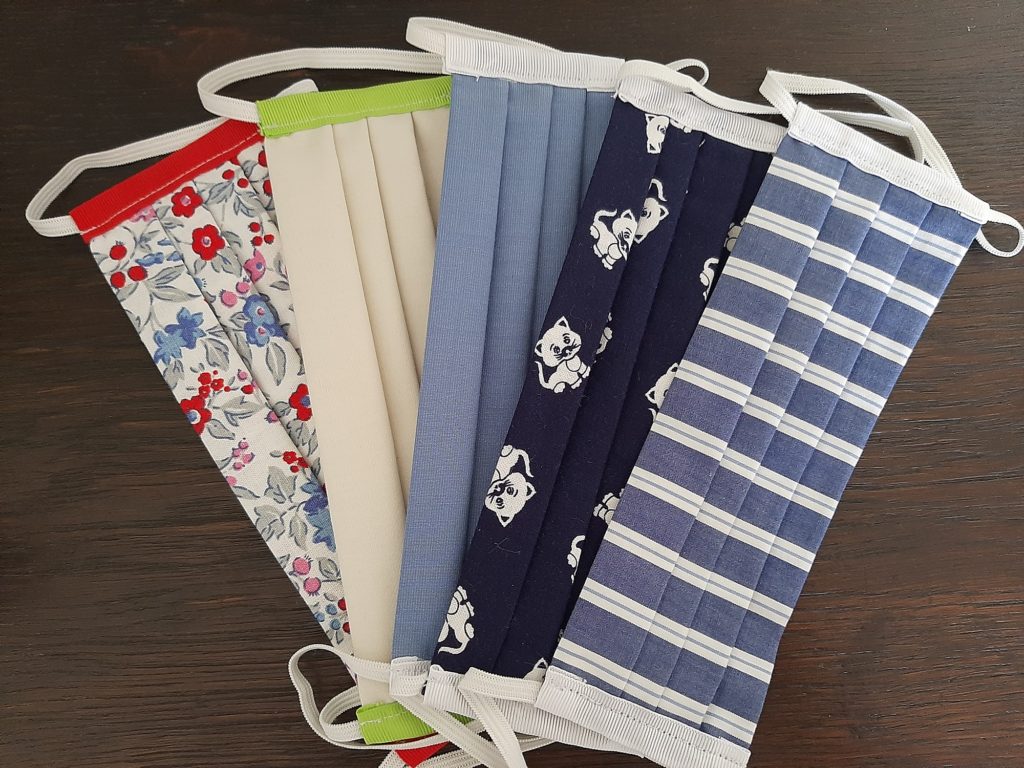
Here you can see how the finished product looks.
And since I had a lot of fabric prepared I actually made quite a few of them. It is always good to have a few extra masks so you can switch when one is in the wash.
And here you can see what it looks like putting a mask on.