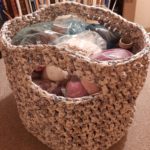
Big Bag For All Your Yarn
Cleaning, picking up, cleaning, picking up – sometimes it feels like we are not doing anything else, especially during the corona / covid-19 lockdown. So I finally started to sort out my art & crafts corner next to the sofa 🙂
I realized pretty quickly that there is no sorting away all my yarn. So I needed a container of sorts. Luckily I had recently used the gift card, my sweet mother and father in-law gave me, for some really nice textile yarn. It turned into the Big Bag For All Your Yarn. But you can use DIY textile yarn as well.
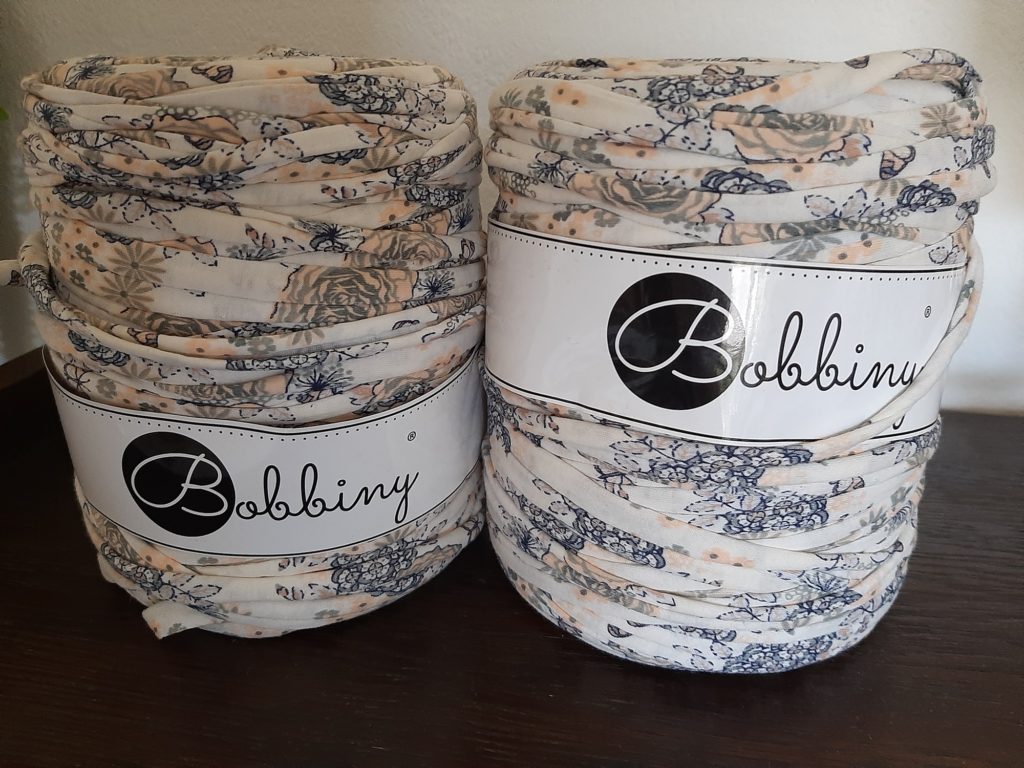
Originally I considered the textile yarn for another purse, but it was too heavy for that. And since none of my purses, and I suspect none of yours, are light in any case, making one out of heavy yarn was not an option. But for a storing bag for all my yarn, and I do have a lot of it, it was perfect. Sturdy, yet a little stretchy, just what you need for a big bag. If you like to make a purse out of lighter textile yarn, look here: https://spoonsandscissors.com/make-a-textile-yarn-purse-for-yourself/
In general it is of course possible to substitute textile yarn with wool yarn. To get the thickness you need, use several strands, 5+. It is also a good way to use up leftover yarn. When one strand runs out just tie it together with a new one and continue crocheting. Choose similar colors or mix them all up. Everything goes. And if you are in the moodto make your own textile yarn, look here: https://spoonsandscissors.com/make-textile-yarn-yourself/. It is a great way to recycle old clothes.
Crocheting this big bag is pretty easy. Using a no. 20 crocheting hook, it is a relatively quick project as well.
The entire bag is crochted in one piece including the handles. You start with the bottom piece, crocheting in spirals and once you have reached the right size, you start crocheting up in rounds. Continue the rounds until you reach almost the desired hight, work in the handles and finish your work after a couple more rounds.
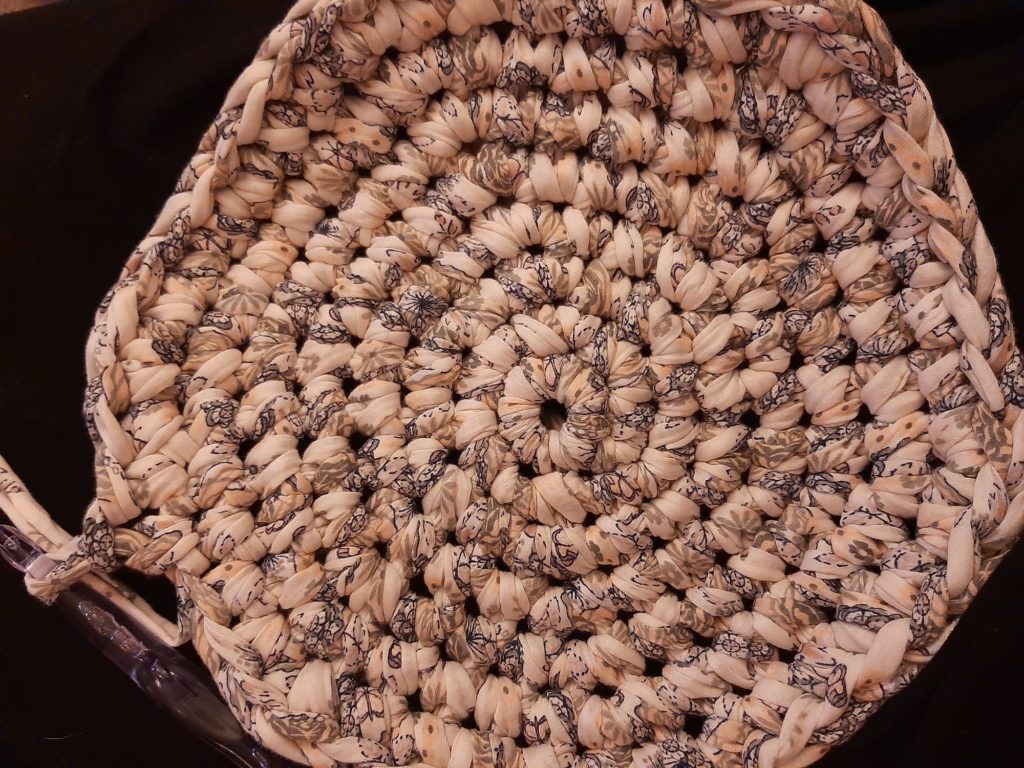
You can see how I crocheted in spirals. After I reached 58 stitches the bottom was big enough to start crocheting up.
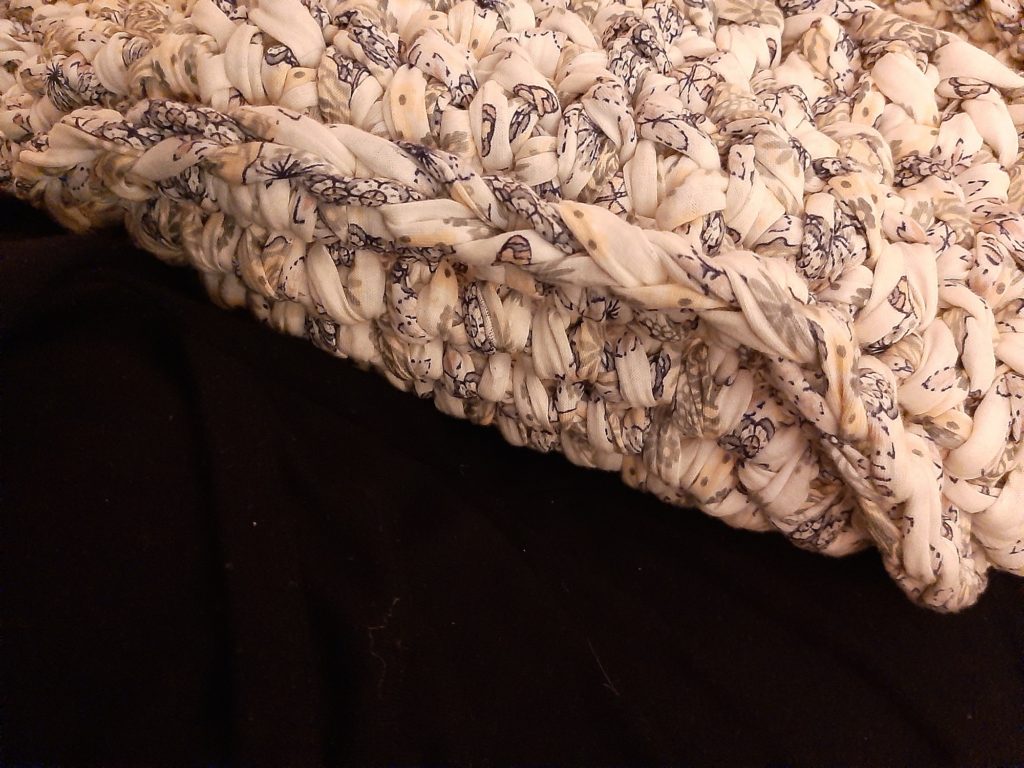
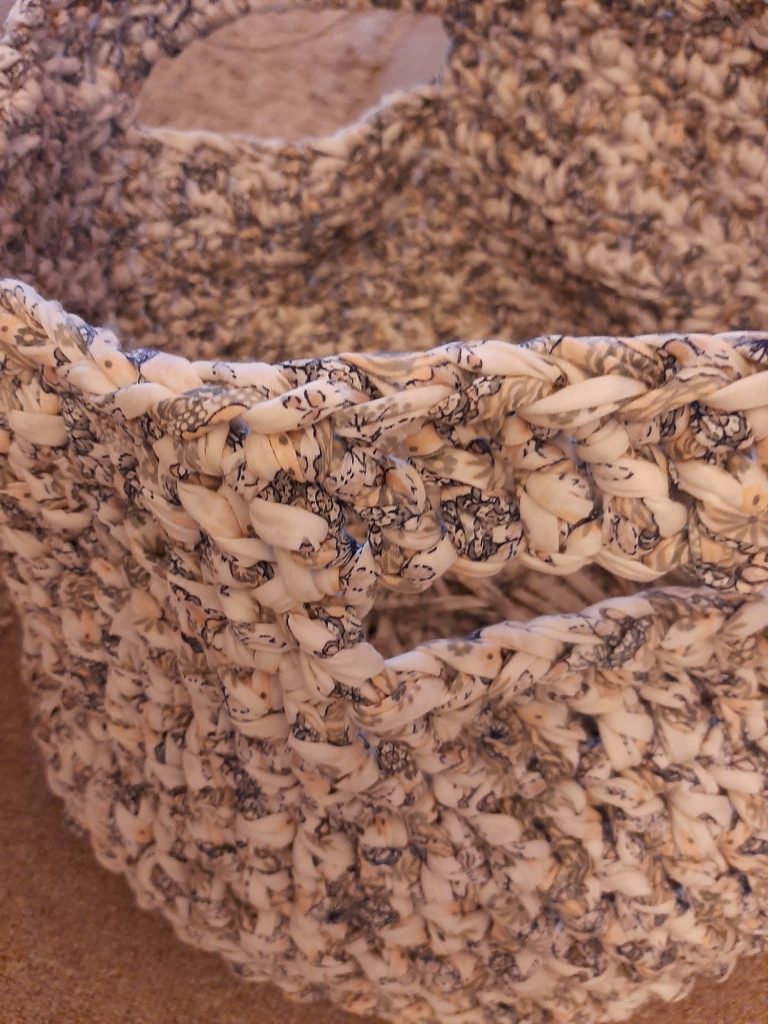
In the above picture you can see the edge that formed when I started crocheting up. It also gives the bag extra stability at the bottom.
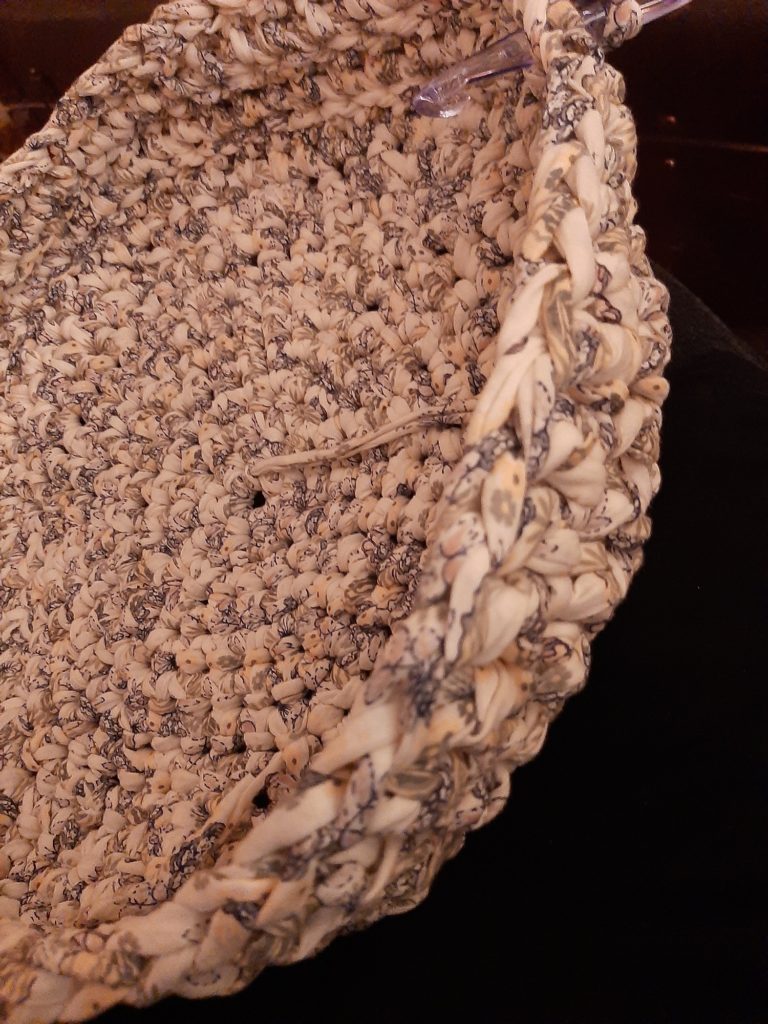
You do the crocheting up in rounds. That will give you a nice and even finish at the end.
There are actually several ways of using the bag. You can fold the sides inwards or outwards to create a bowl look and use it as such by placing decorative items in it. Or you can leave it up (without handles) for a flower pot look.
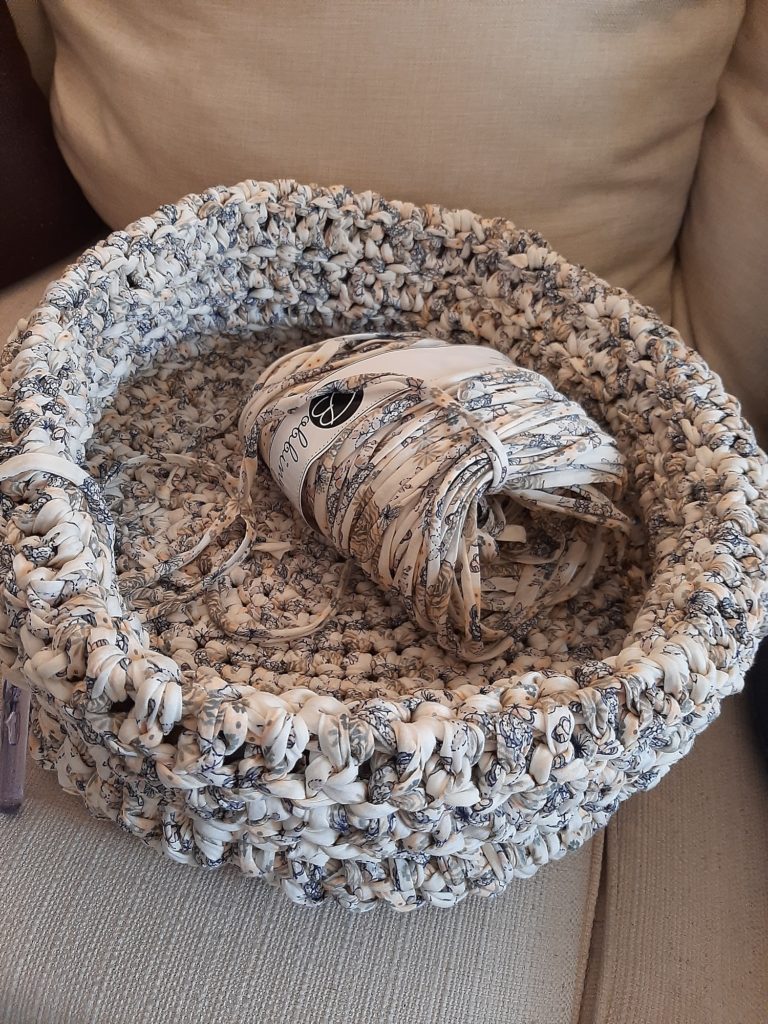
Even though I really liked the bowl look I knew it wouldn’t be big enough for my yarn. So I continued crocheting and worked handles in.
All you need to do is chain stitch 9 stitches, skip the 9 stitches on your work and continue crocheting. Add 2-4 more rounds depending on how high your rounds are.
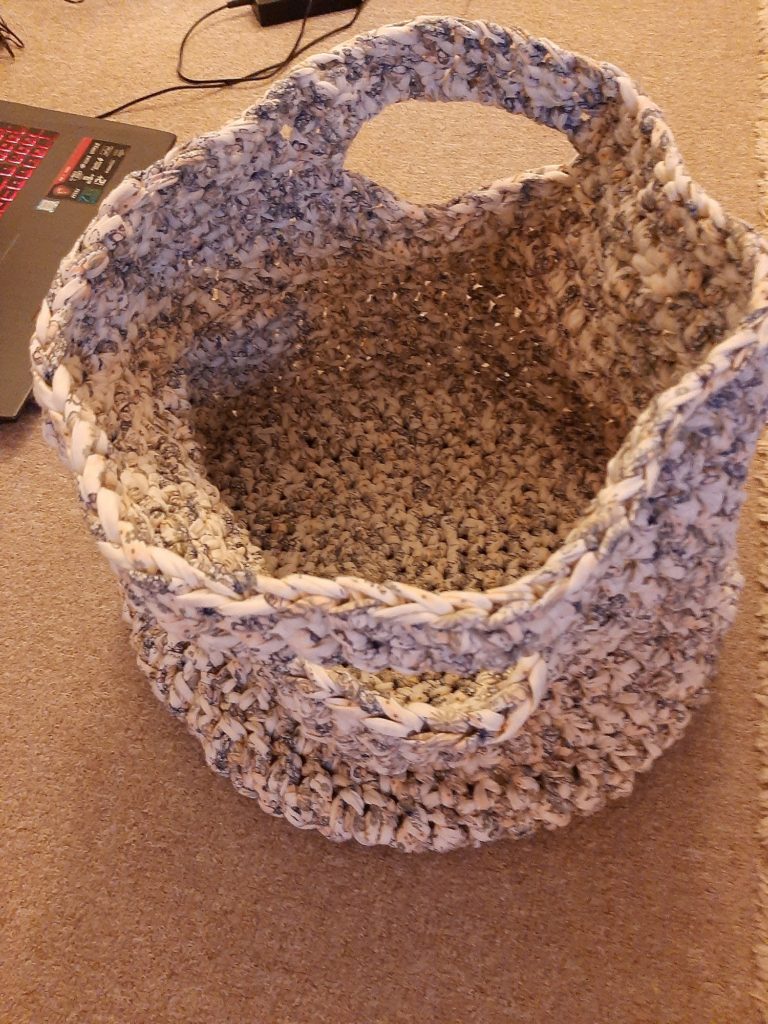
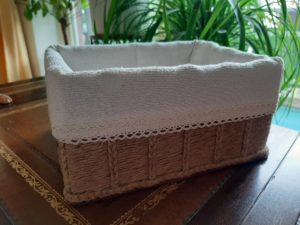
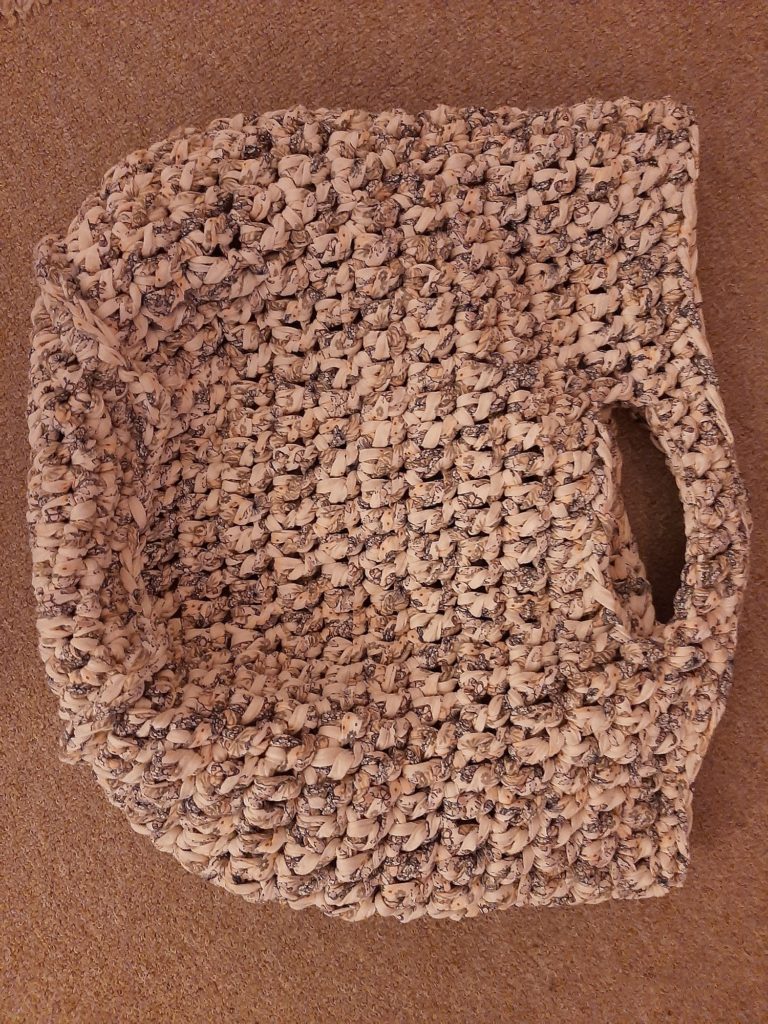
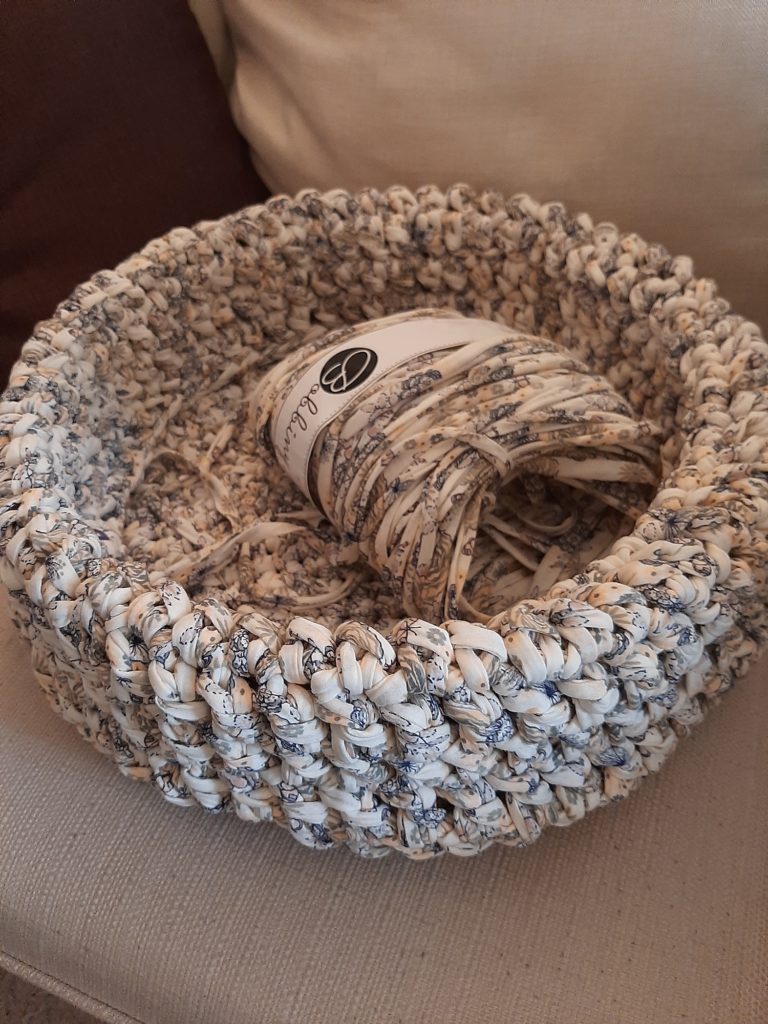
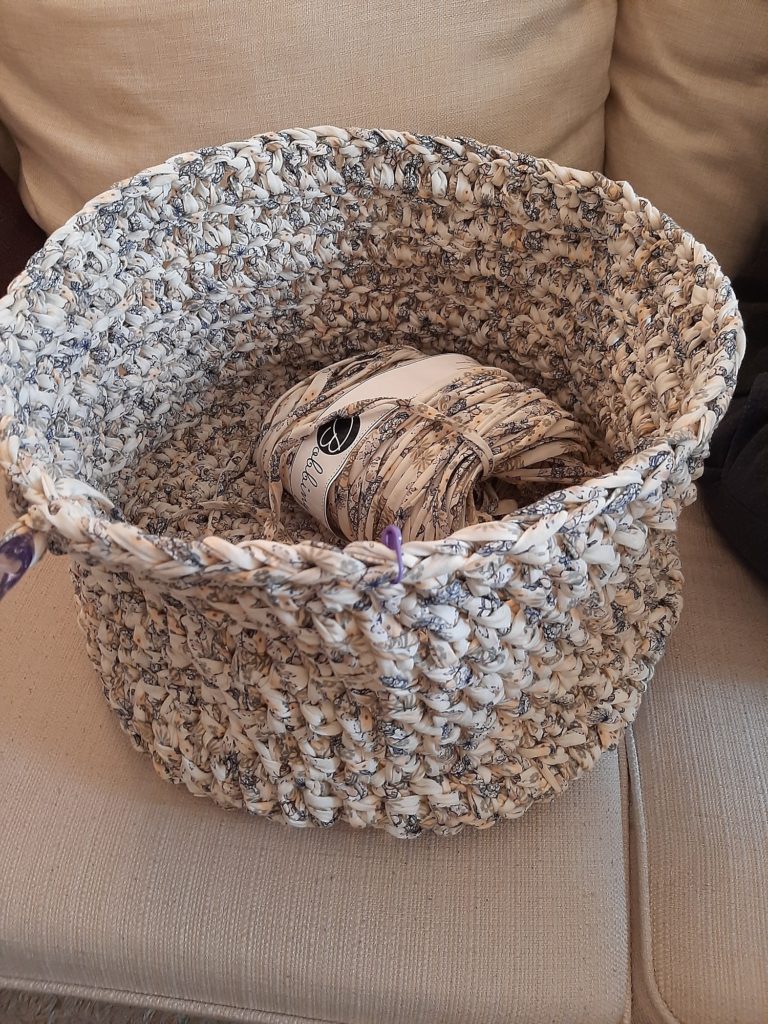
This is my finished bag. It doesn’t look so big when it is empty.
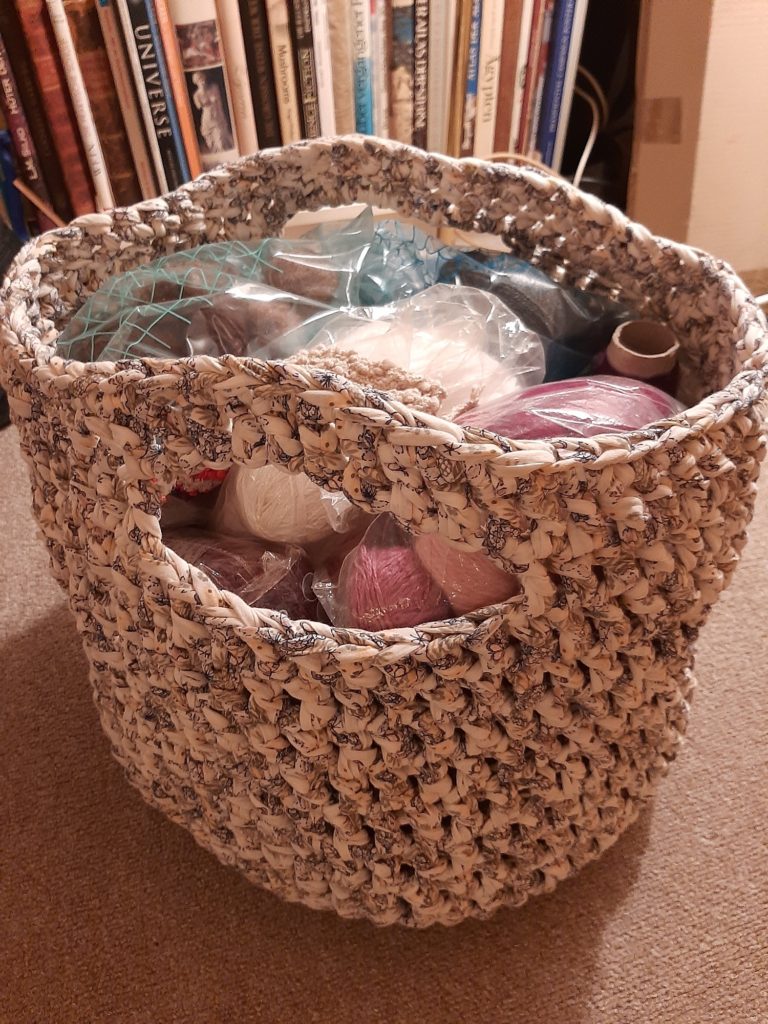
But it holds quite a bit. All of my yarn for sure. And that’s what I wanted: A big bag for all your yarn.
Big Bag for Yarn
Equipment
- crocheting hook no. 20
Materials
- 2 cones textile yarn
Instructions
- First make the bottom of the bag crocheting in spirals. Start with a magic ring and single crochet 6 stitches into it. Pull tight and continue in spirals. Make sure to mark the beginning. You will be increasing every spiral-round. So the next round double every stitch. Then every second stitch, every third stitch and so on. I ended up with 58 stitches altogether. If you need a different size, crochet less or more rounds.
- To crochet up, start back loop single crochet into the inside of every stitch. That gives you the trim.
- Now start with a chain stitch and continue with double crochets. That gives you hight very quickly. You crochet in rounds now. Every round starts with a chain stitch and ends with a slip stitch. Make sure you don't accidentally add stitches. Continue until you want to work in the handles.
- For the handles double crochet 10 stitches then chain 9 and, after skipping 9 stitches on your work, continue with double crochets. Crochet 20 stitches and then chain 9 for the second handle. Skip the 9 stitches on your work and continue with double crochets (10). Now add 1 more round of double crochets and 1 more of single crochets and you are finished. Hide any extra string.