DIY Jute & Paper Rolls Breadbasket

Here is another recycling poject of mine. You probably have the same situation at home as I do when it comes to paper rolls. There are sooo many. Therefore I wanted to make something out of those rolls. I also had some jute string and look what it turned into: A beautiful jute & paper rolls breadbasket. So start collecting those paper rolls now. And don’t forget some extra boxes or cardboard for cutting out the bottoms. You willhave your DIY Jute & Paper Rolls Breadbasket in no time.
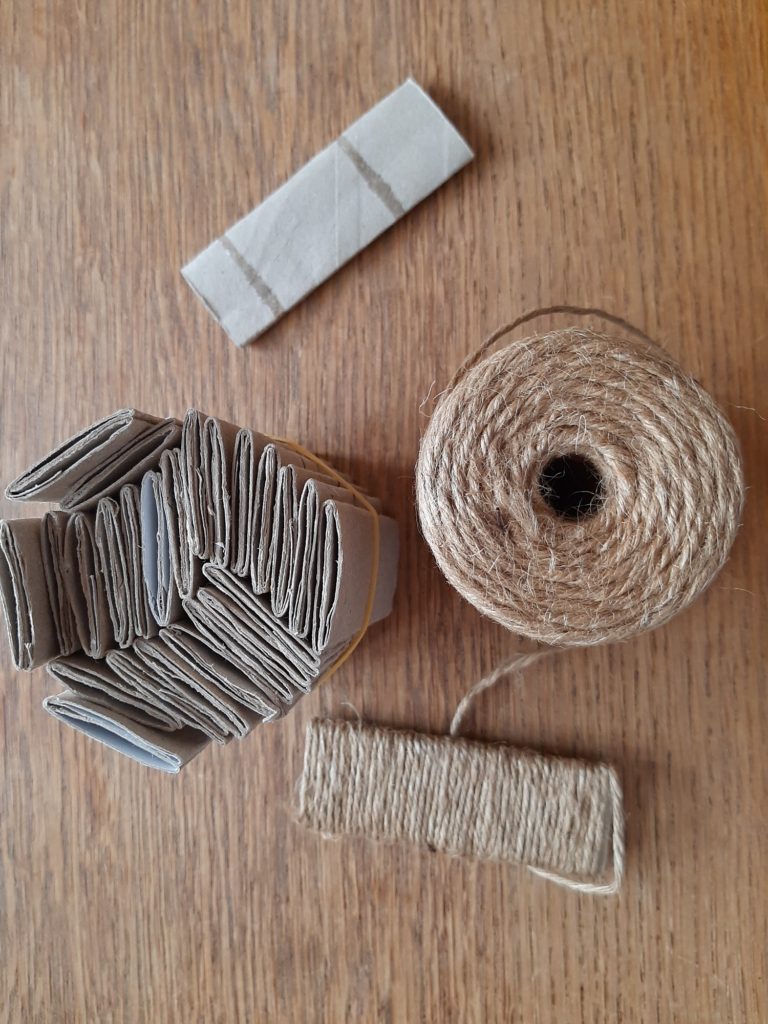
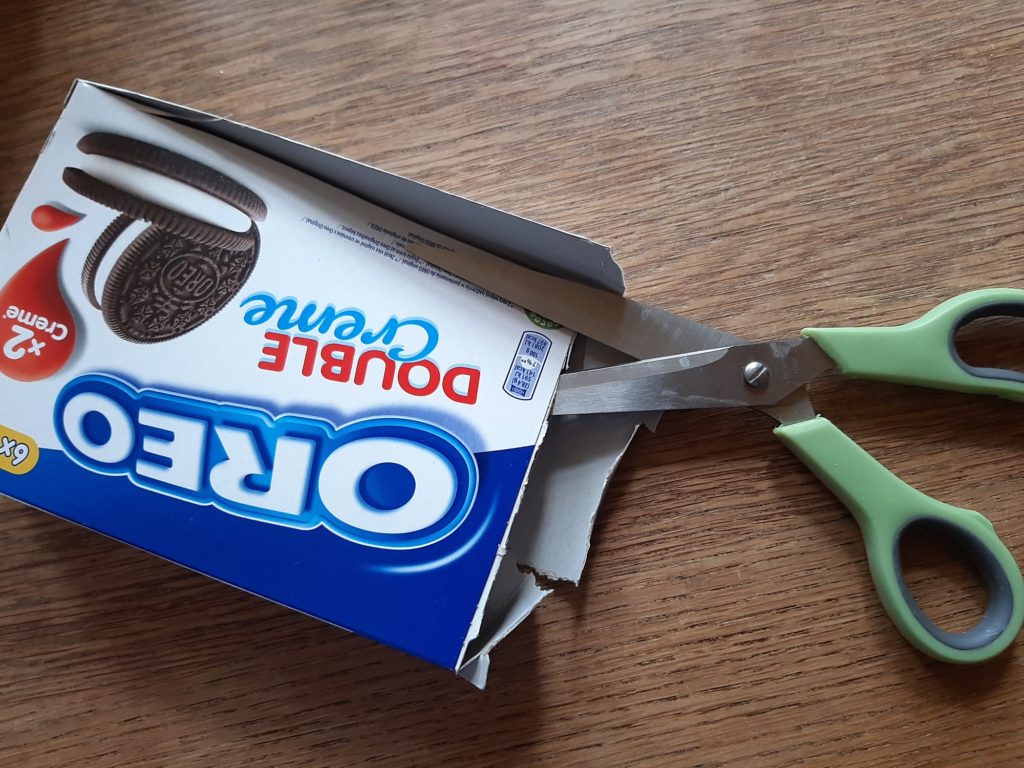
This is how we start. We need a whole bunch of paper rolls, jute string and an old box. You need to flatten the paper rolls and fold them in half. To give them even more stability I glued the halfs together. Then cut the box apart to make the bottom of your breadbasket.
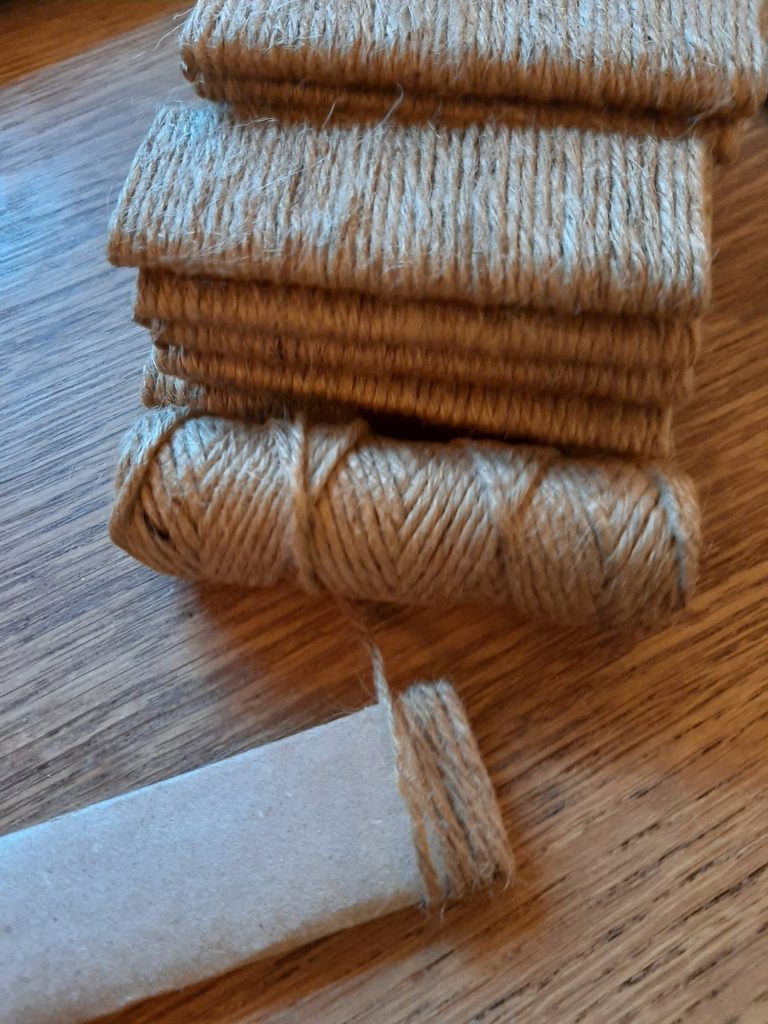
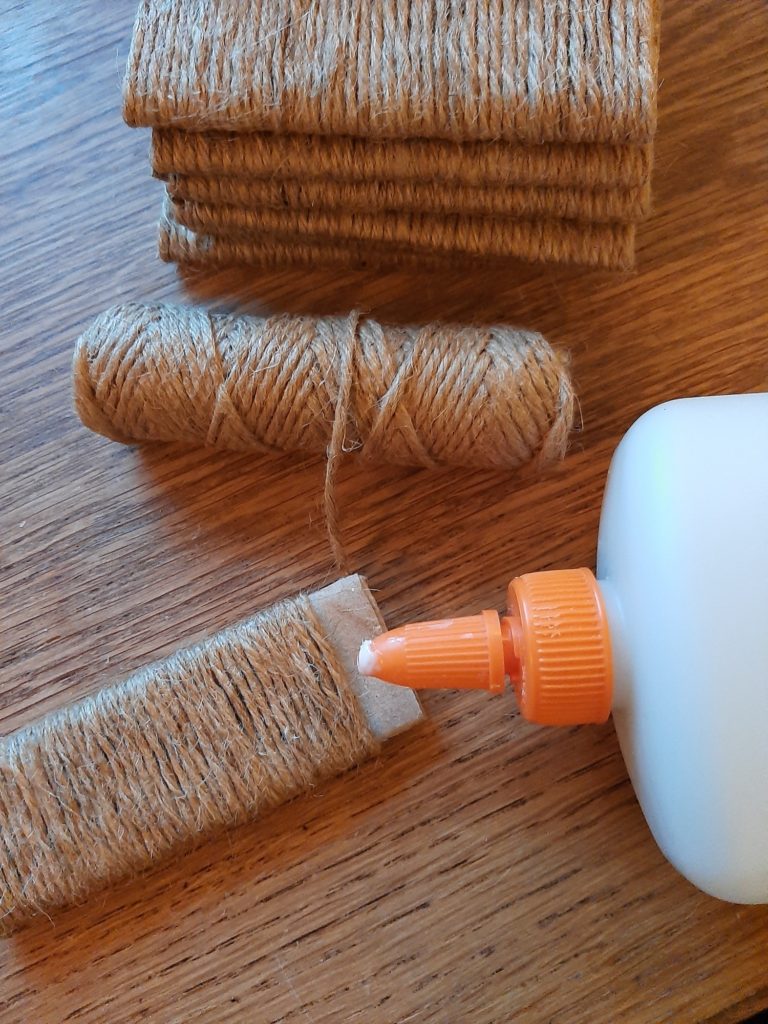
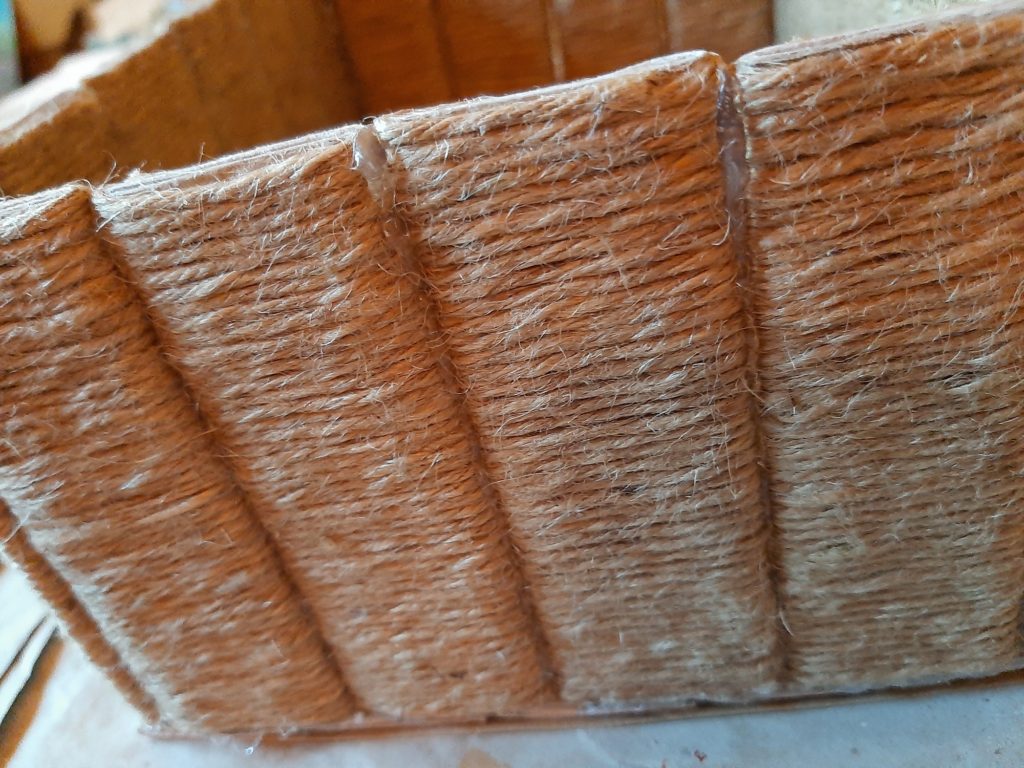
Then you start wrapping the prepared paper rolls with jute string. It’s best to fix the beginning and end with a little glue.
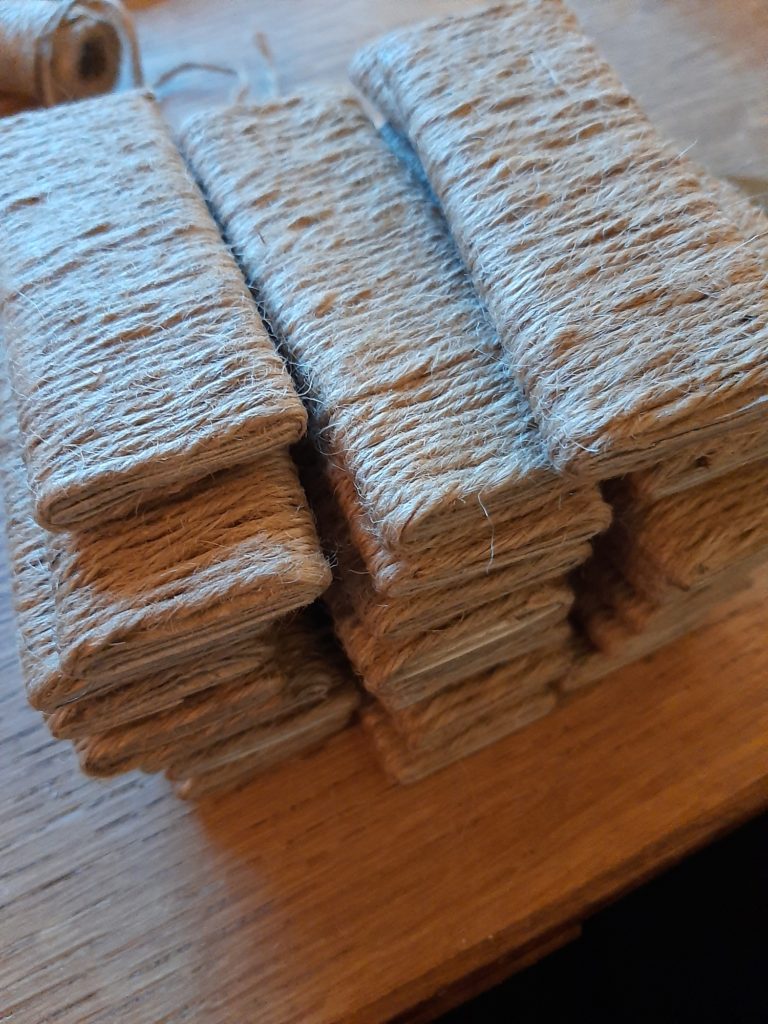
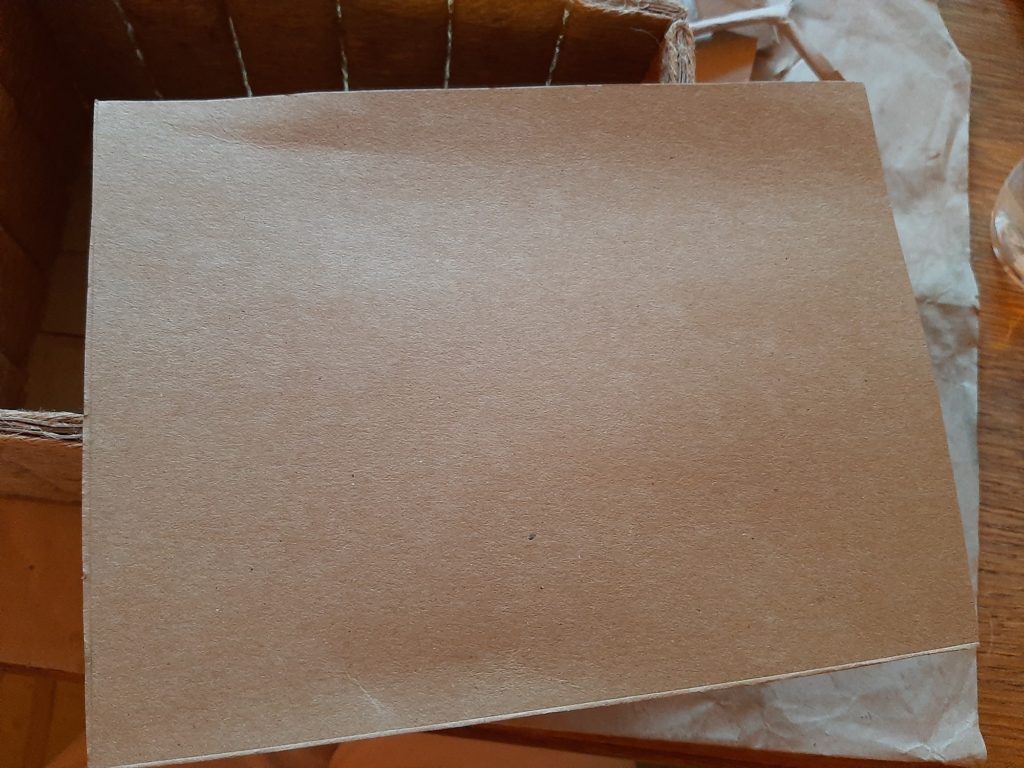
You will end up making a lot of these wrapped rolls, depending on the size of your breadbasket. Then you have to prepare the bottom. From the box you cut apart, take one of the cardboard pieces and cut it to size. Then take long paper rolls, flatten them and fold them in half. Here as well it is best to glue the halfs together. Then use hot glue to glue the prepared paper rolls together on the thin edge. As the final step glue the paper rolls to the cardboard piece. Now you have the bottom of your breadbasket.

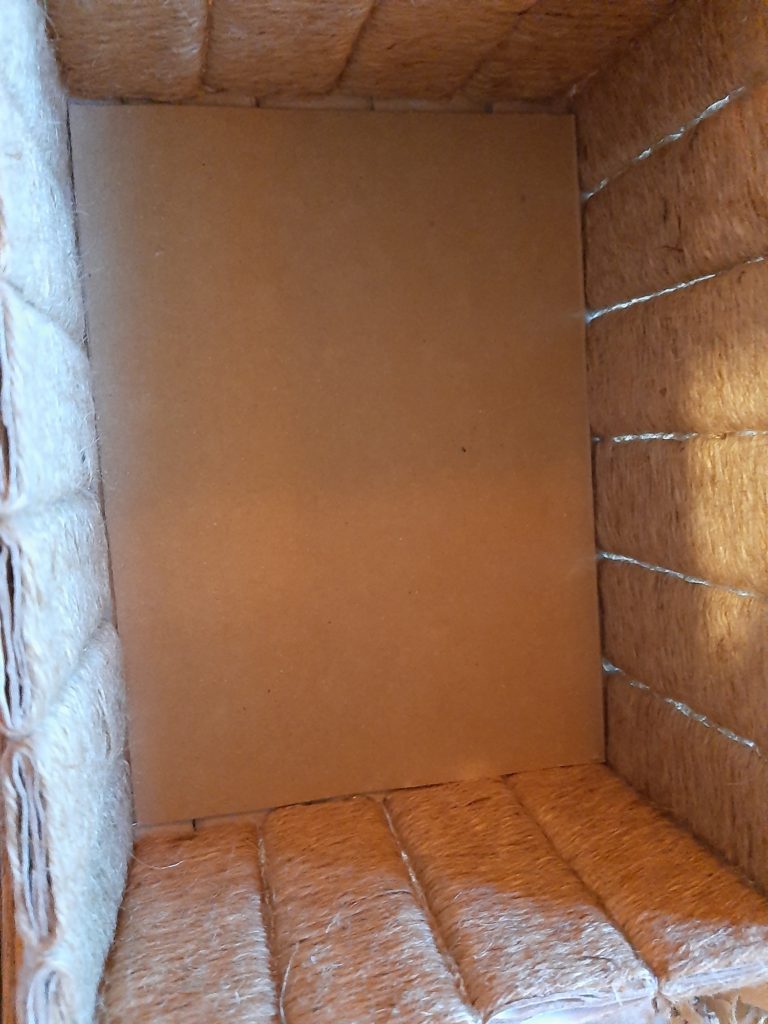
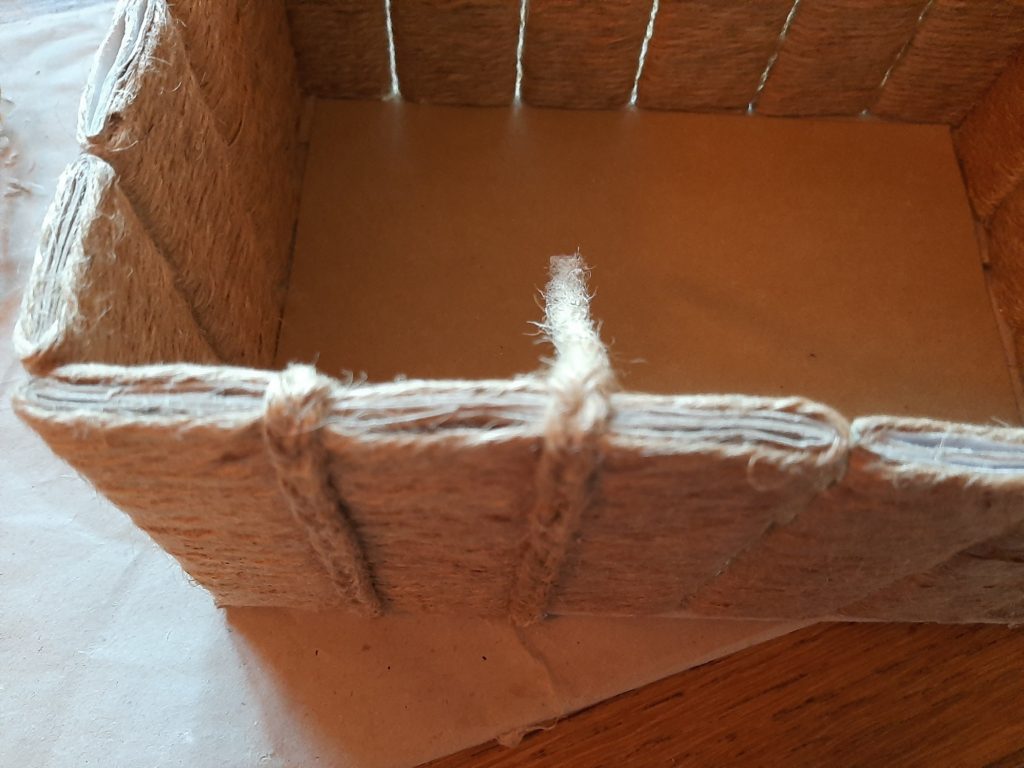
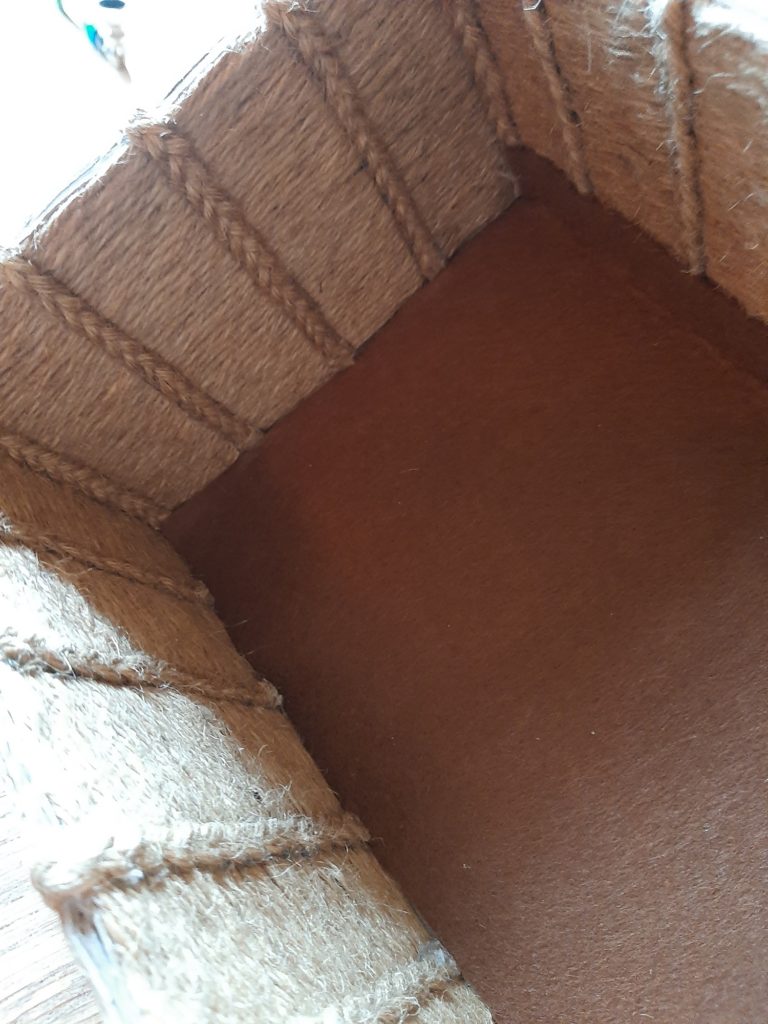
Next you hotglue the wrapped with jute paper rolls upright onto the bottom. Note that you cover the inside bottom of the basket only after you have attached the rolls.

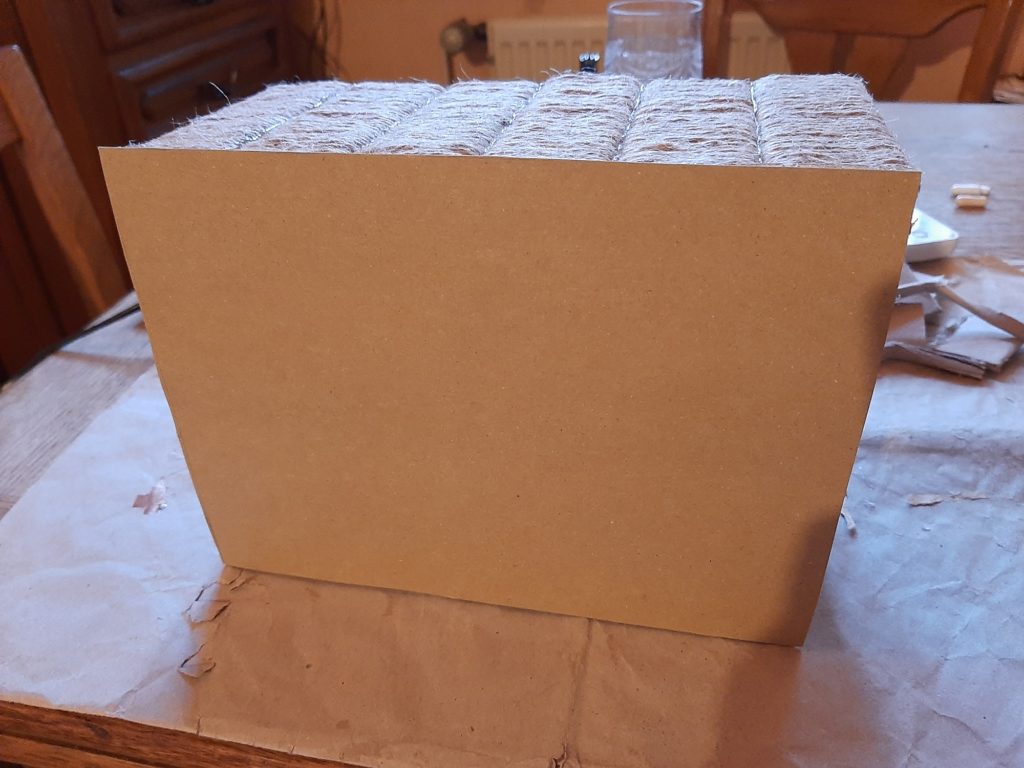
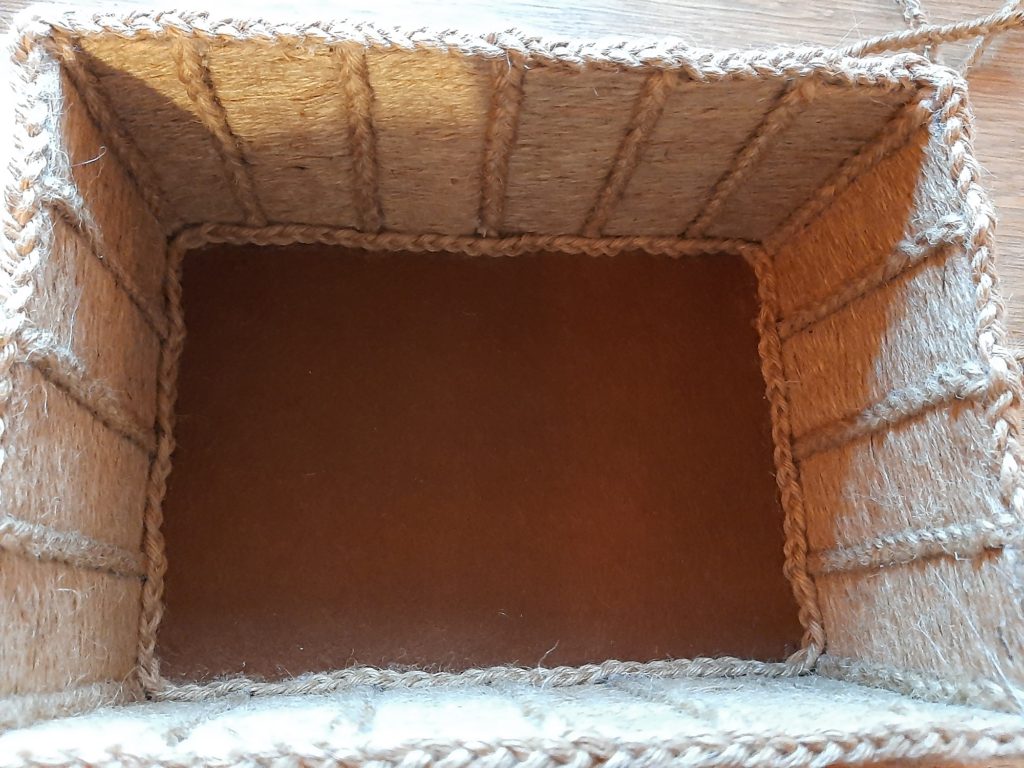
After this it is time to prepare the inside bottom. Take your second piece of cardboard from the cut apart box and glue it to the inside.
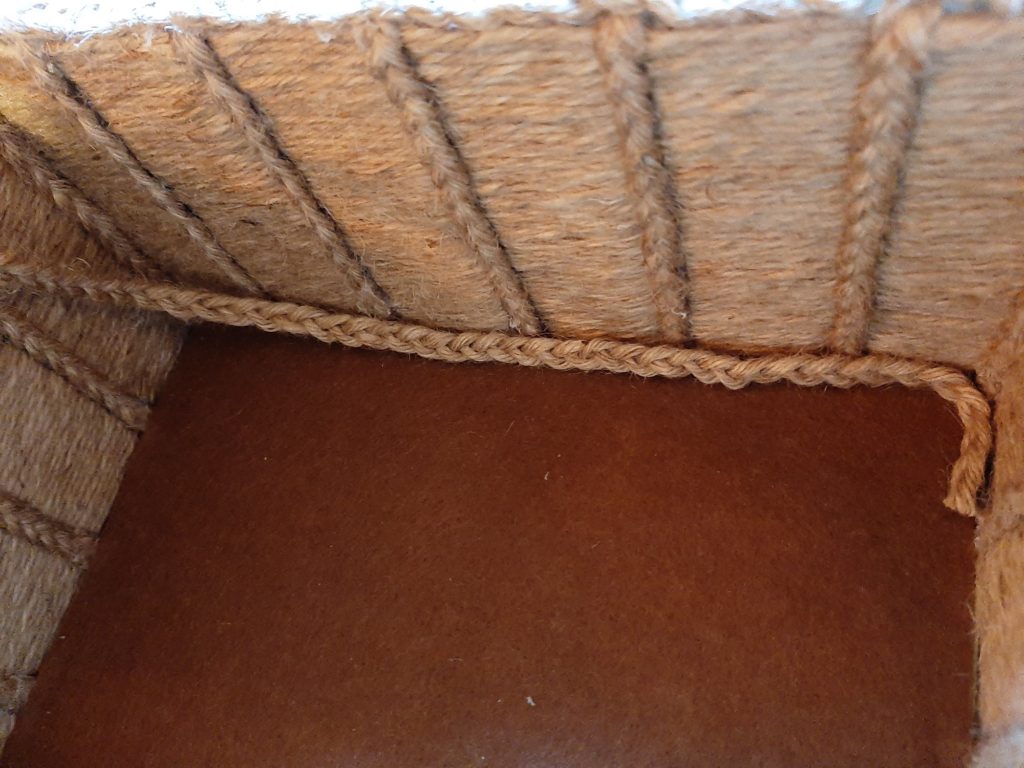
It is normal that you can still see some of the hotglue. Don’t worry about it as we will use a jute braid as trimming to cover the glue. It will also give the breadbasket even more stability.
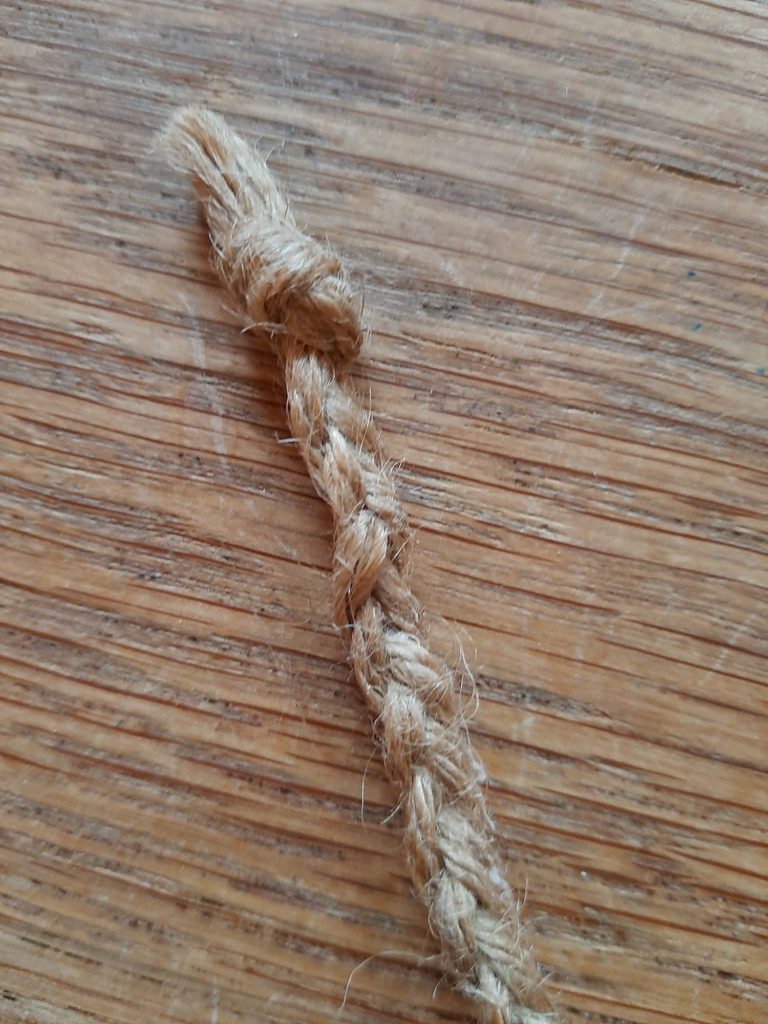
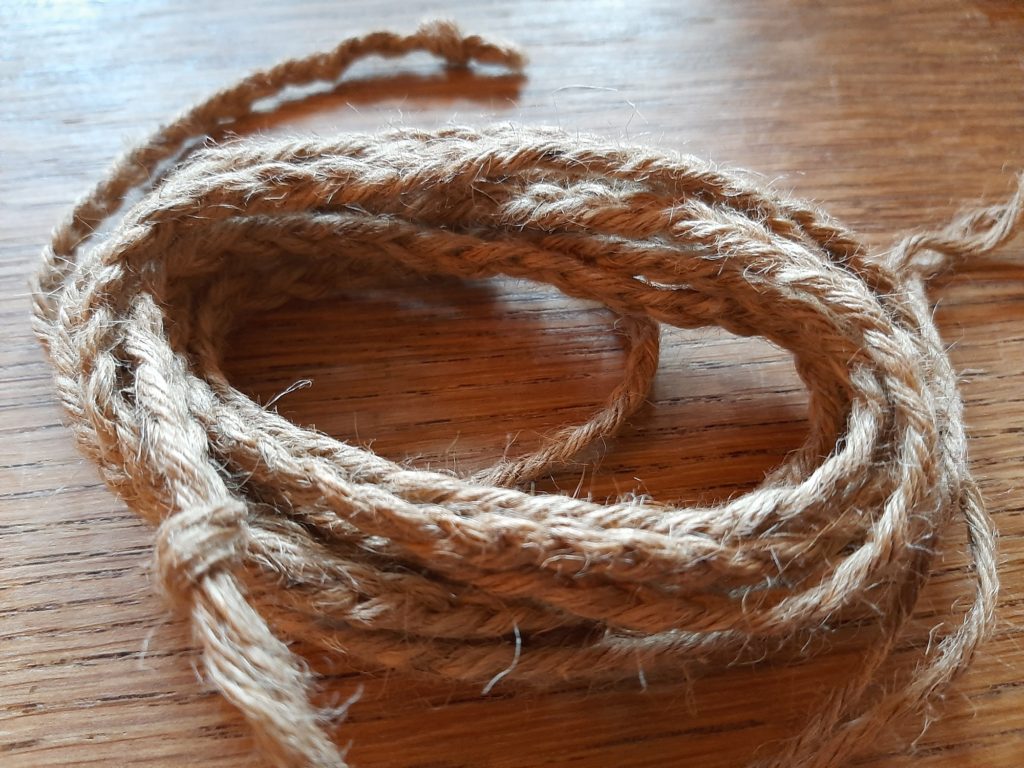
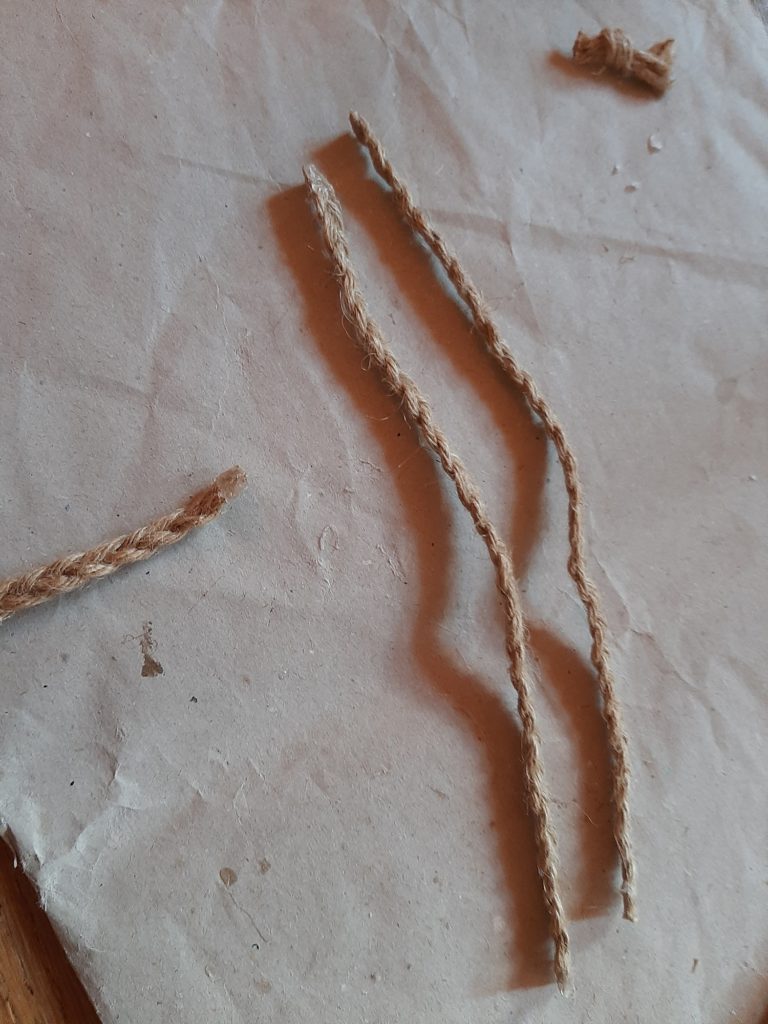
Which brings us to braiding the jute string. As mentioned before we need it for trimming and covering some of the glue. Making these long braids will take a little bit of time. If you have someone who can help you holding the string, even better. Once your braids are finished, measure the length of the trimming you need and cut them accordingly.
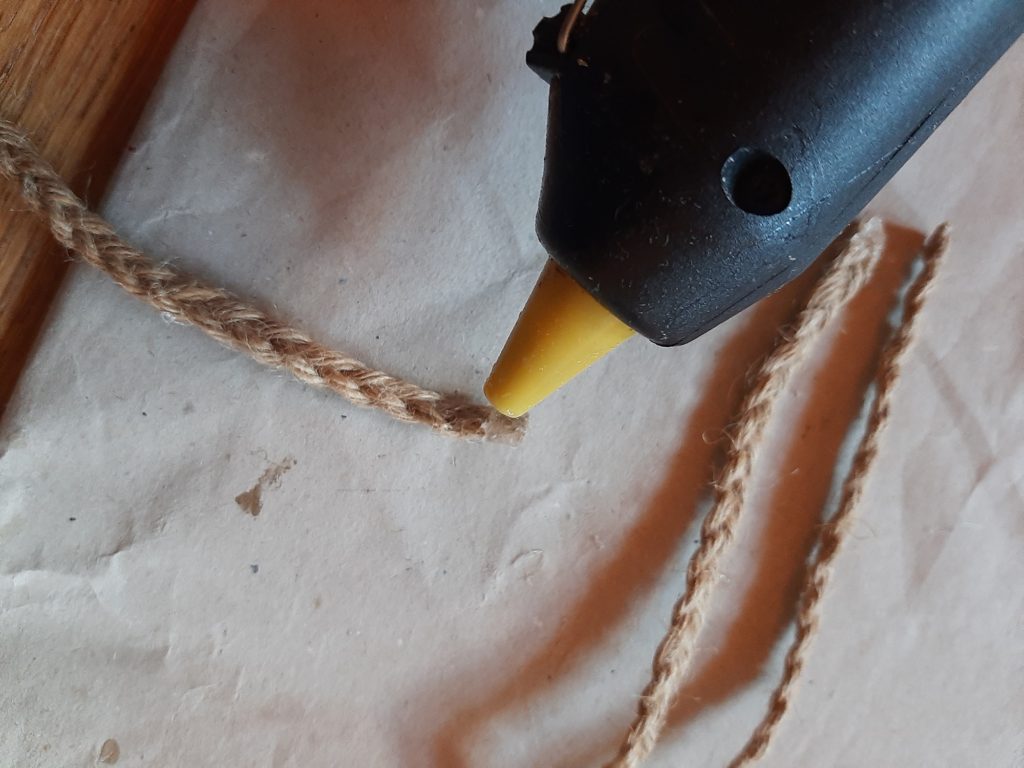
Make sure you put a drop of glue at the beginning and end of the trim so it won’t unravel. Then glue the trim-strands in place.

Once you are done with the main trimming cover the bottom with felt and glue it in place. I prefer normal glue (e.g. Elmer’s) for that.
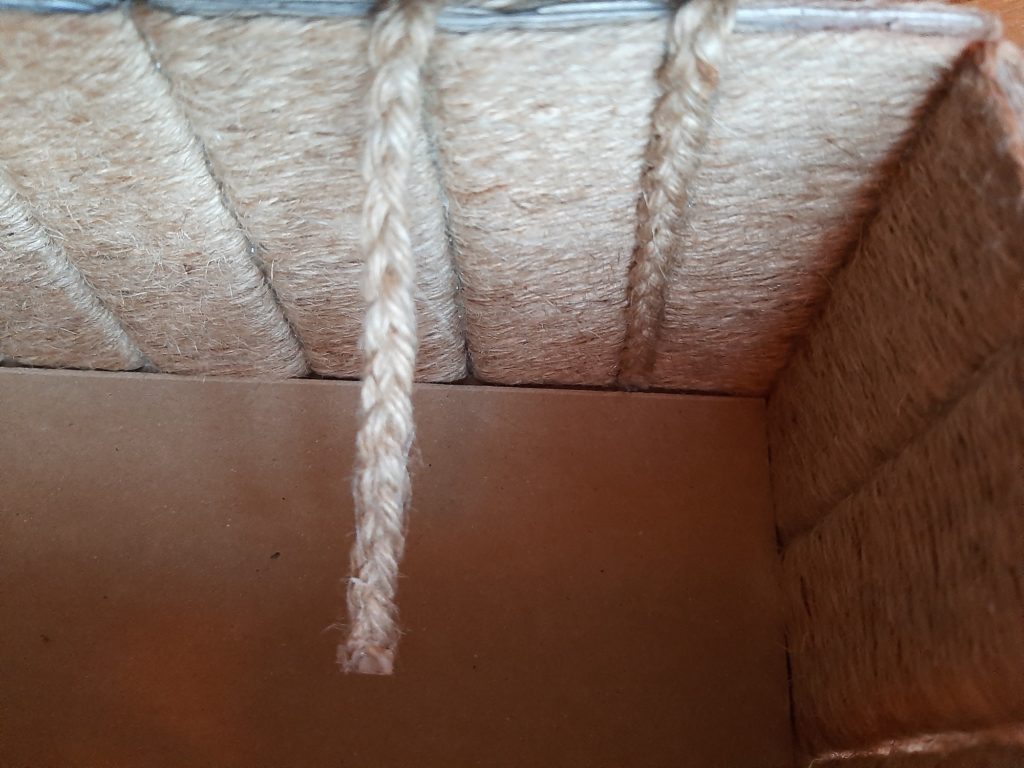
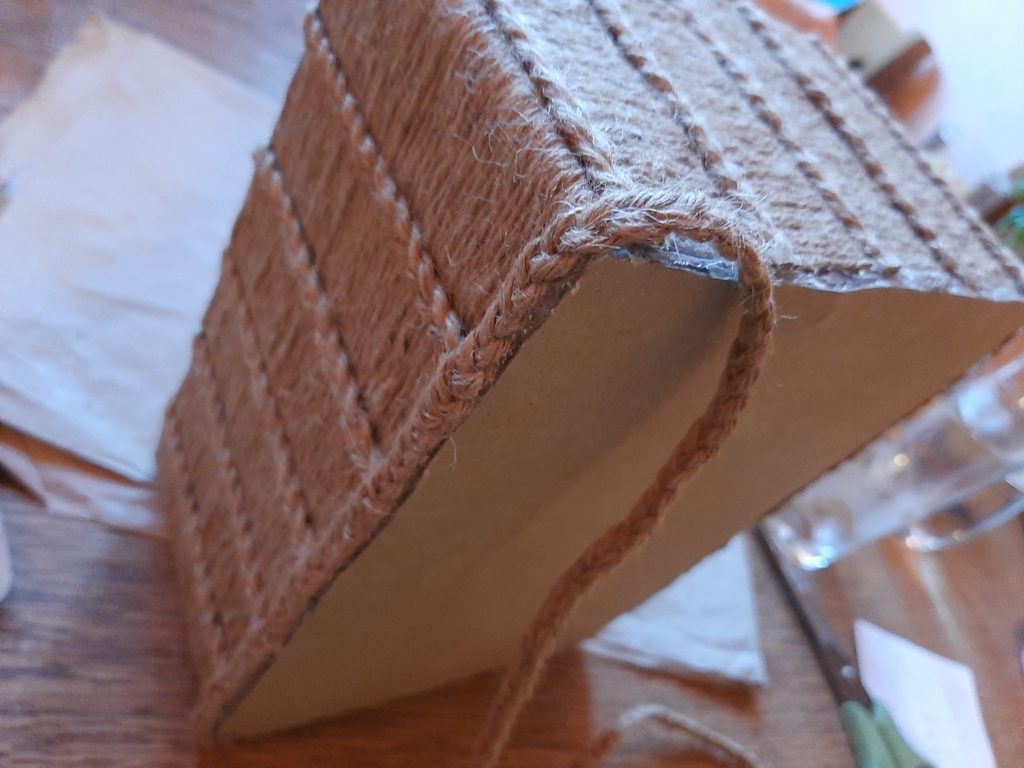
As the last part of the trimming you need to cover the inside edge of the basket as well as the top and bottom. Make sure your braid is long enough so you will only have one seam.
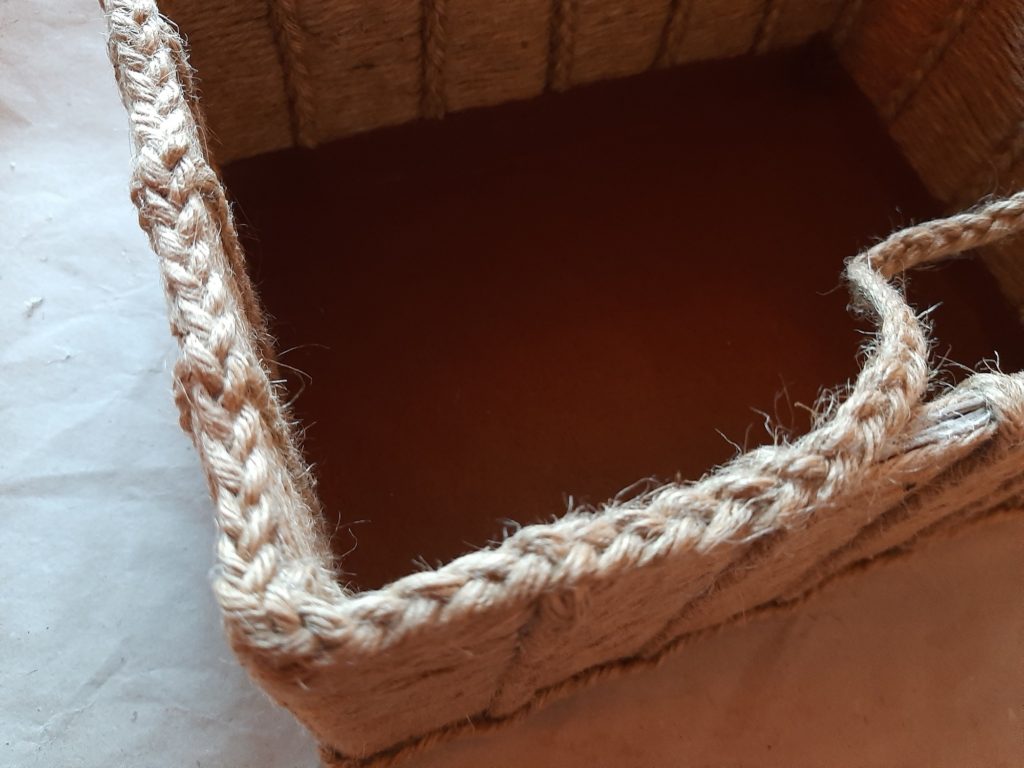
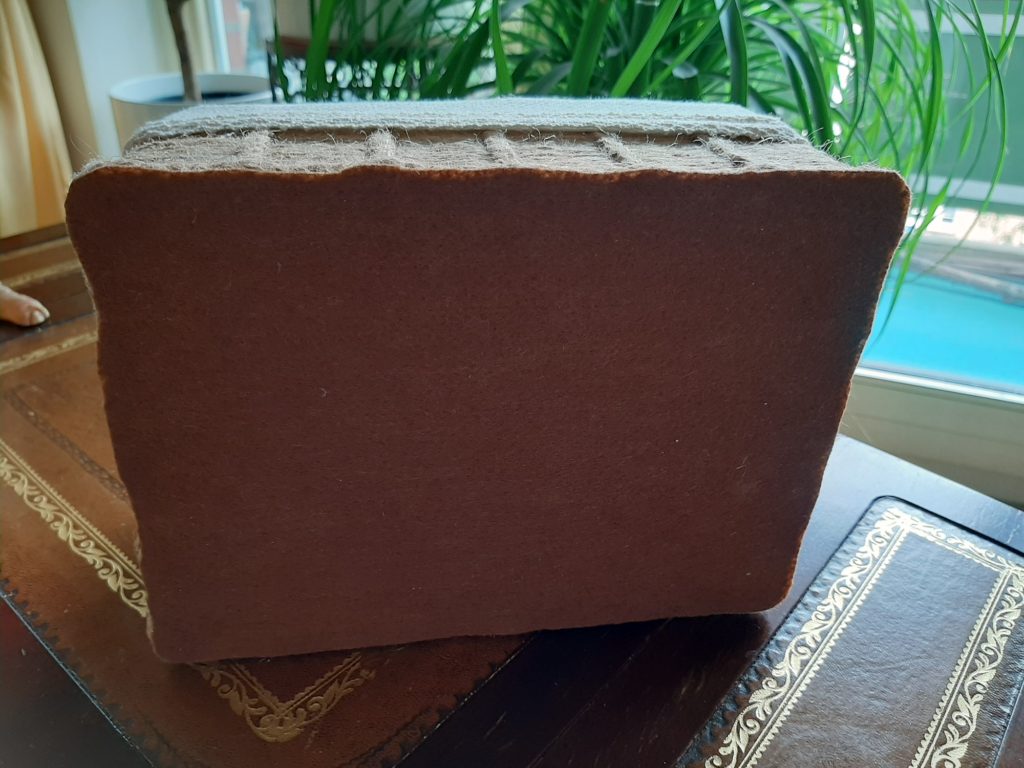
Now you are done with the basket, except for the very bottom. You can leave it as it is, just cardboard, or you cover it with felt like I did. Doing that I tried to keep the contours for a more natural look.

Trimmings Felt bottom
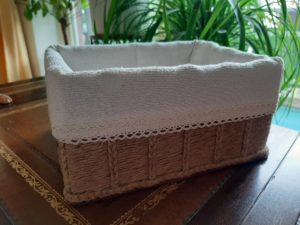
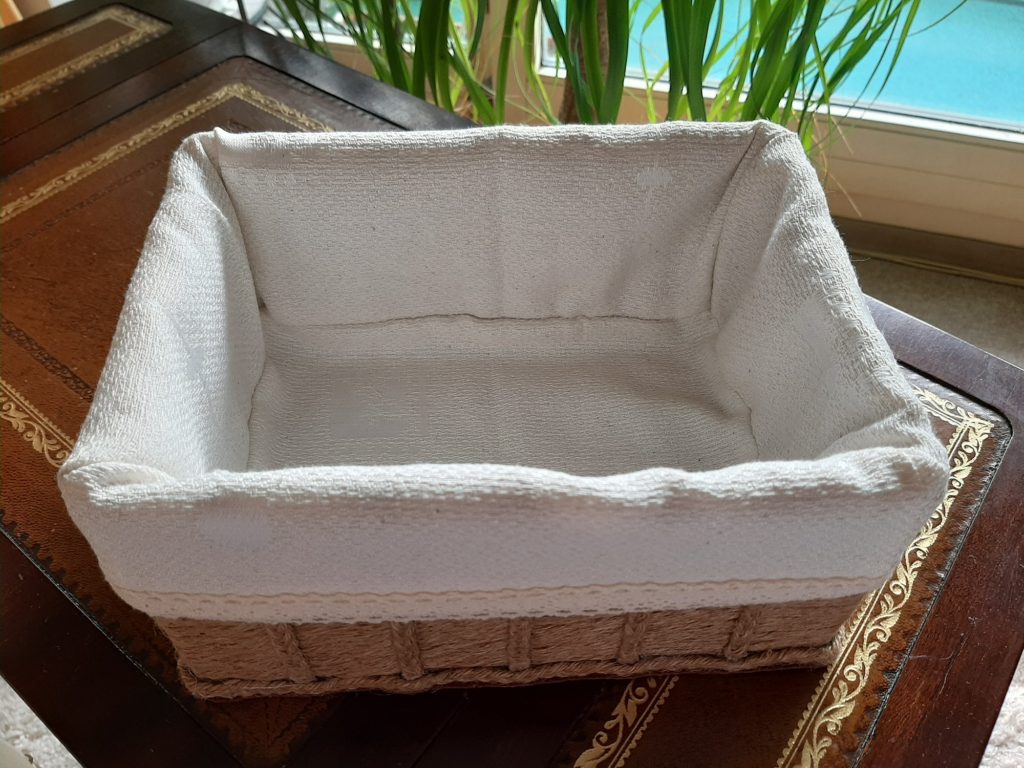
So this is your DIY Jute & Paper Rolls Breadbasket. It can also be used for decoration. There are many more things you could do with it. Attach handles for example or sew an inlet. That is what I chose to do. I had some leftover material and lace ribbon. That made the perfect inlet. Make sure to measure well and make it a little wider on the top so you can fold it over.
Jute & Paper Rolls Breadbasket
Materials
- 20 short paper rolls
- 4 long paper rolls
- 1 cardboard box for the bottom of the basket
- 50 yrd jute string
- 2 pieces felt
- leftover material for sewing optional
- lace ribbon optional
Instructions
- Flatten the paper rolls and fold them in half. Glue the halfs together.
- Wrap the prepared SHORT paper rolls with jute string. Fix the beginning and end with a little glue.
- Cut the box apart. Take one of the big cardboard pieces and cut it to size for the bottomof the basket. Then take the LONG paper rolls, flatten them and fold them in half. Glue the halfs together. Then use hot glue to glue the prepared paper rolls together on the thin edge. Glue the paper rolls to the cardboard piece.
- Hotglue the wrapped with jute paper rolls upright onto the bottom. Make sure to glue the thin edges together, too.
- Take your second piece of cardboard from the cut apart box and glue it to the inside.
- Make jute string braids. Once your braids are finished, measure the length of the trimming you need and cut them accordingly. Make sure you put a drop of glue at the beginning and end of the trim so it won't unravel.
- Glue the shorter trim-strands in place.
- Cover the inside bottom of the basket with felt and glue it in place.
- Use trimming to cover the inside edge of the basket as well as the top and bottom. Make sure your braid is long enough so you will only have one seam.
- Cover the outside bottom with felt.
- Out of leftover materialand lace ribbon make an inlet.