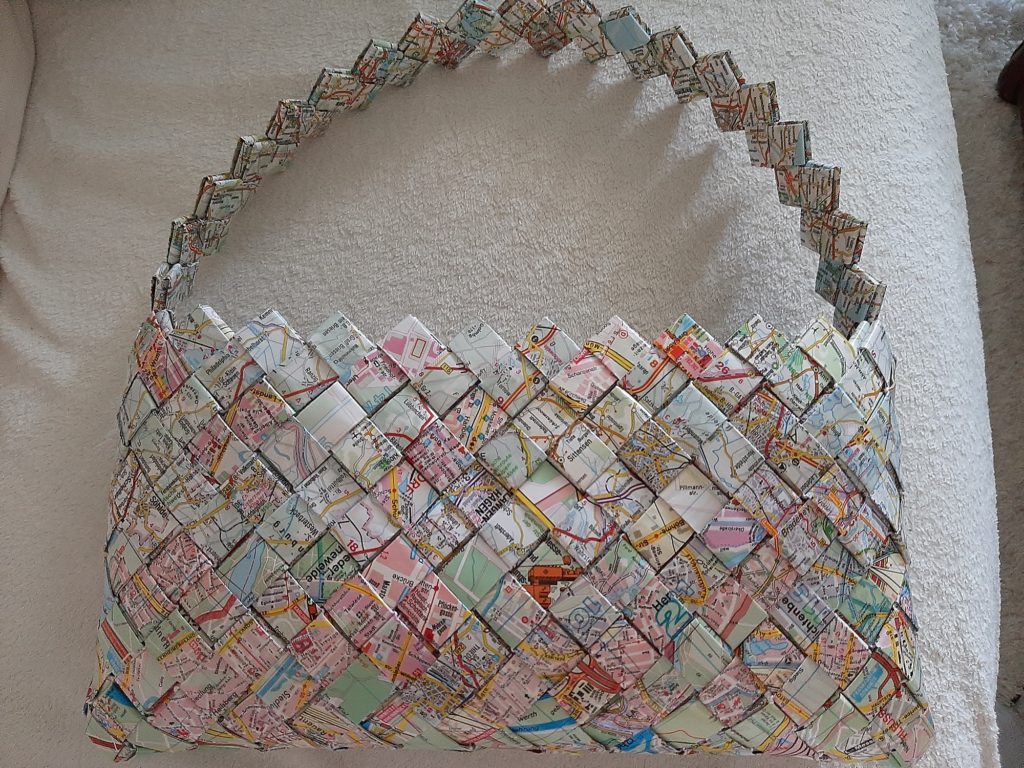
DIY City-Map Purse
This summer I have been thinking a lot about recycling, as you all probably noticed. From textile yarn to glass and plastic bottles to old paper, you can make wonderful things out of waste items. Like a DIY City-Map Purse.
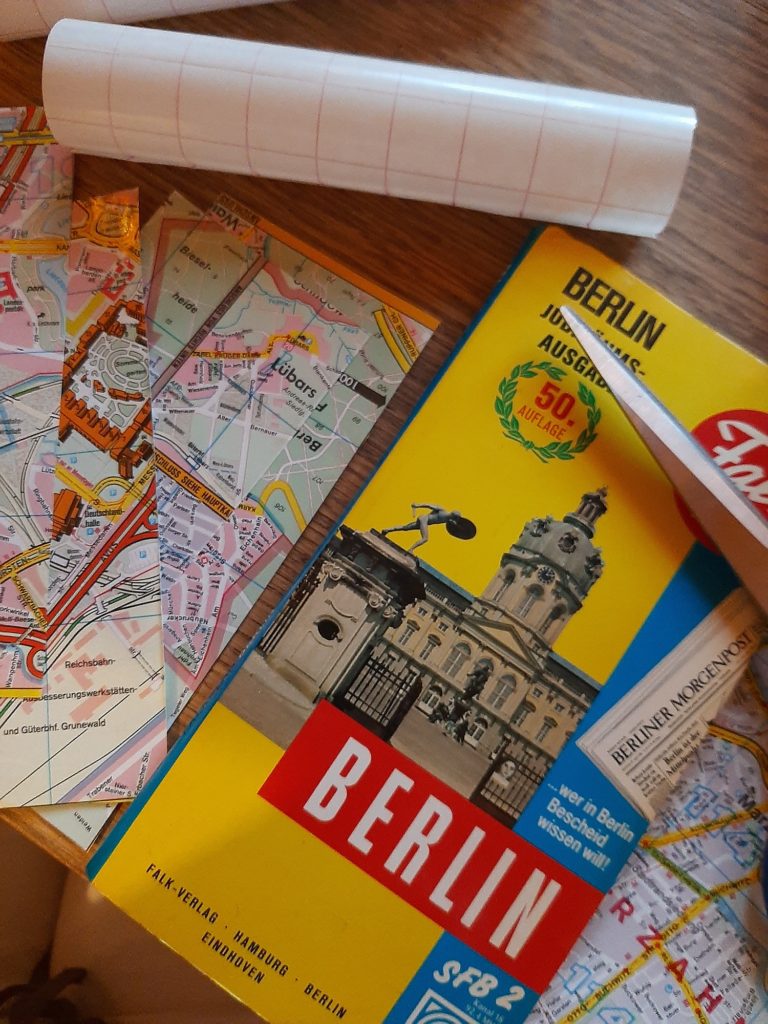
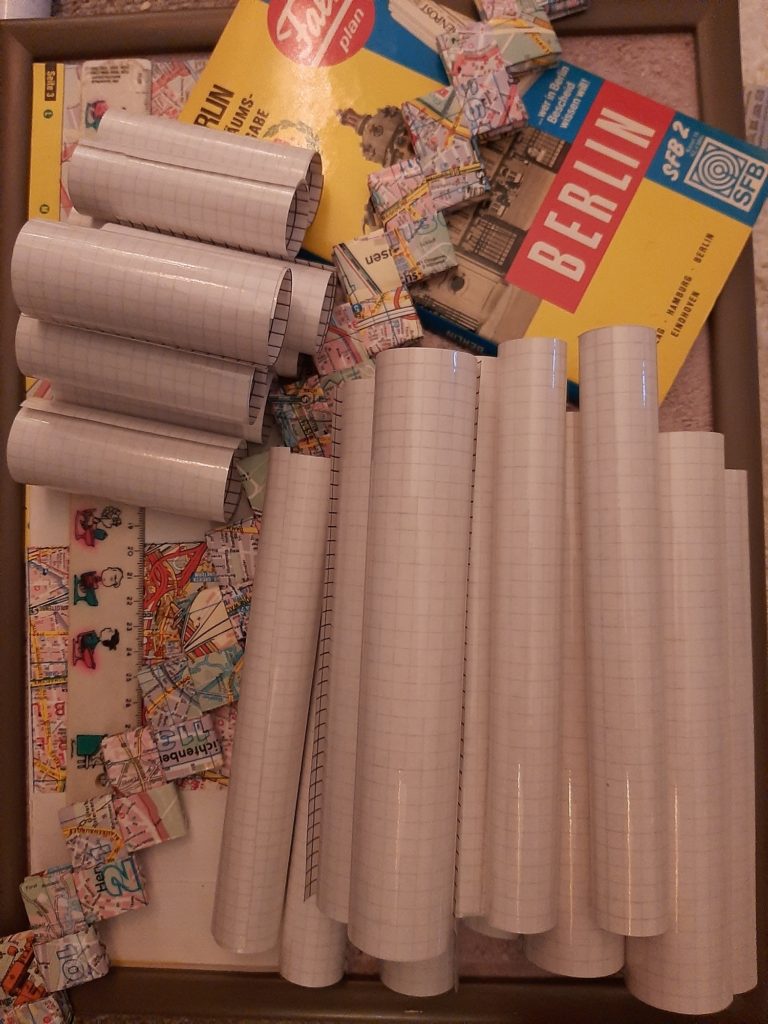
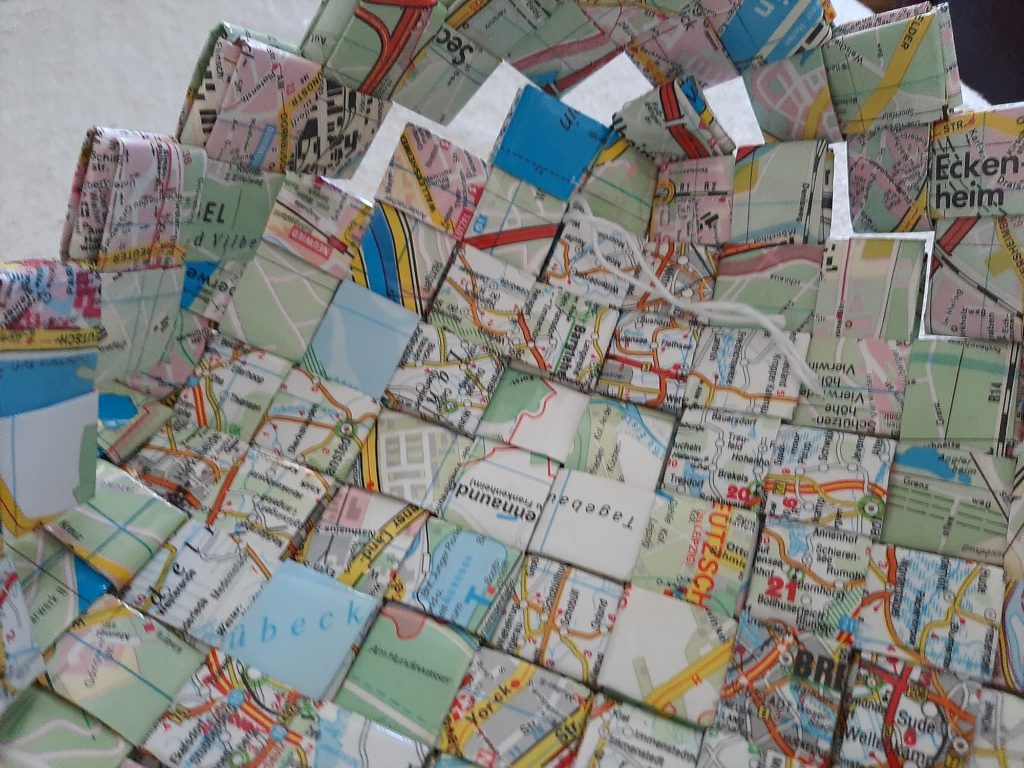
A thing I always found fascinating is candy wrapper bags and purses. They look so neat, are very durable and use up a lot of waste paper. I had tons of old maps and thought great, I’ll use these up instead of candy wrappers, which I need to collect first. So I searched for my left over self-adhesive transparent foil and off I went making these little pieces to turn them into a purse.
But OMG. Honestly, I would have never even dreamed how many of these folded pieces you actually need for a purse. It always looks so easy peasy. Fold a few pieces and lickety-split, you have your finished bag. SO NOT! I used approx. 350 pieces. That is roughly 6 square yards of map and 6 square yards of adhesive foil (15 yrd roll). And everything has to be measured, cut out and wrapped in foil before you can even start the folding of the pieces.
Then I realized that my tons of maps were not enough to make a whole purse, not to mention the self-adhesive foil. That was gone so fast it made one dizzy. Oh well. So I bought new foil, despite the fact this project was supposed to only use mine up, and I put an ad out to see if someone had old maps to give away for free. I was really lucky and a generous lady provided me with enough material to actually finish my DIY Map Purse.
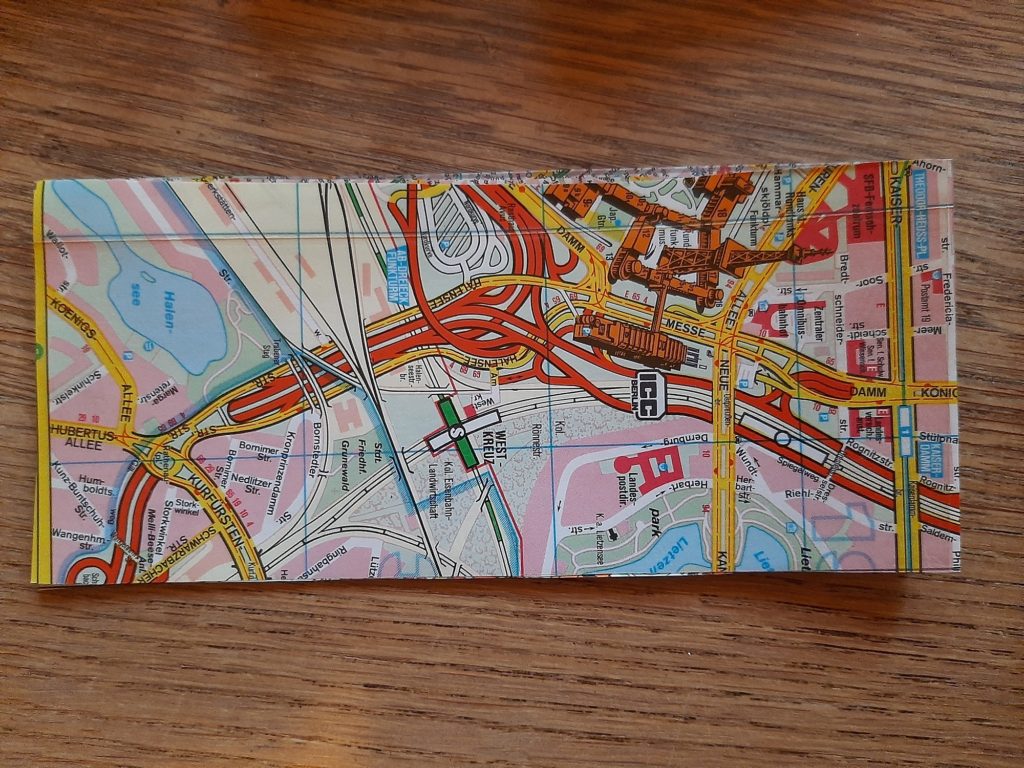
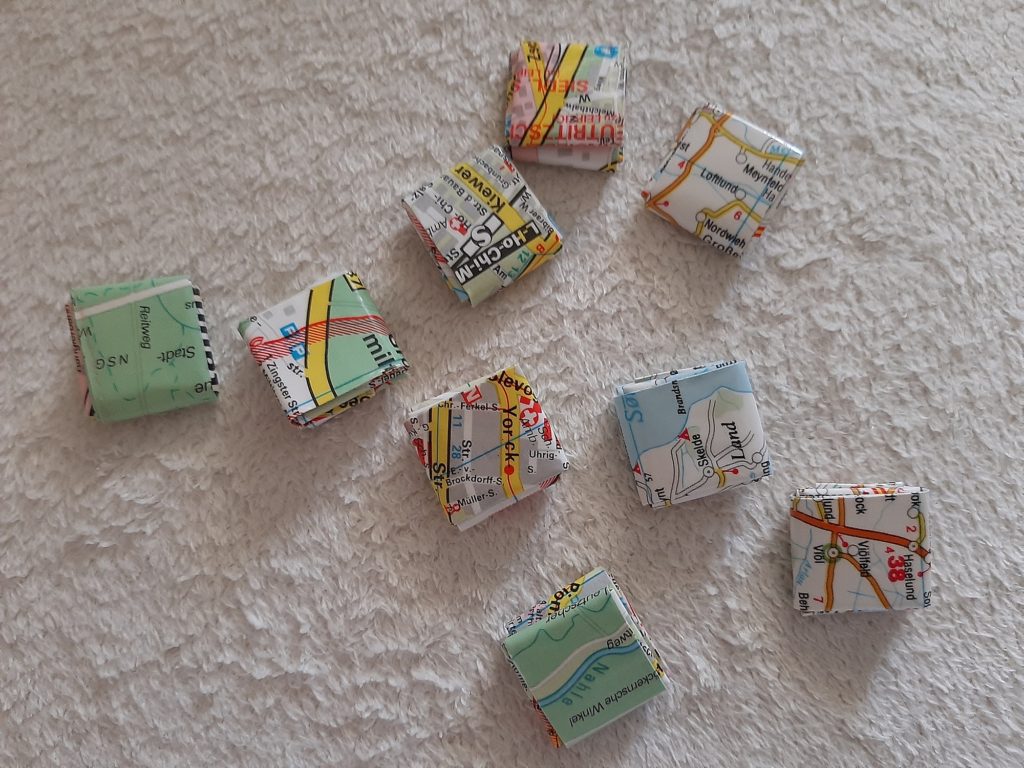
My foil covered map pieces had a size of 8x18cm = 3.2×7.1inch. The foil makes the paper quite a bit tougher/durable (and water resistant), but the folding is much harder. So big pieces are a bit better. But do watch out, if you have problems with your wrists or tendons. Foil wrappers that don’t have to be covered might be the better choice for you.
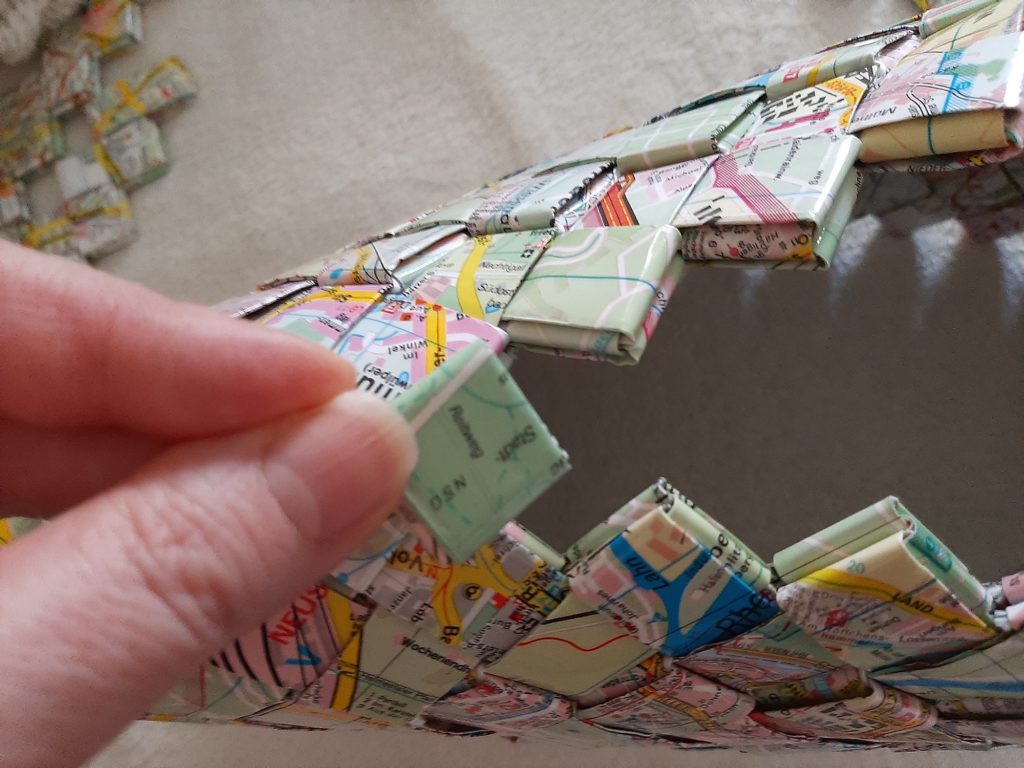
After folding the pieces you stick them into each other and form long chains. Then you connect the ends so you have big rings (or small, depending on the size of your purse). You can find a detailled photo gallery on how to do that here: https://spoonsandscissors.com/diy-little-tea-wrapper-bag/
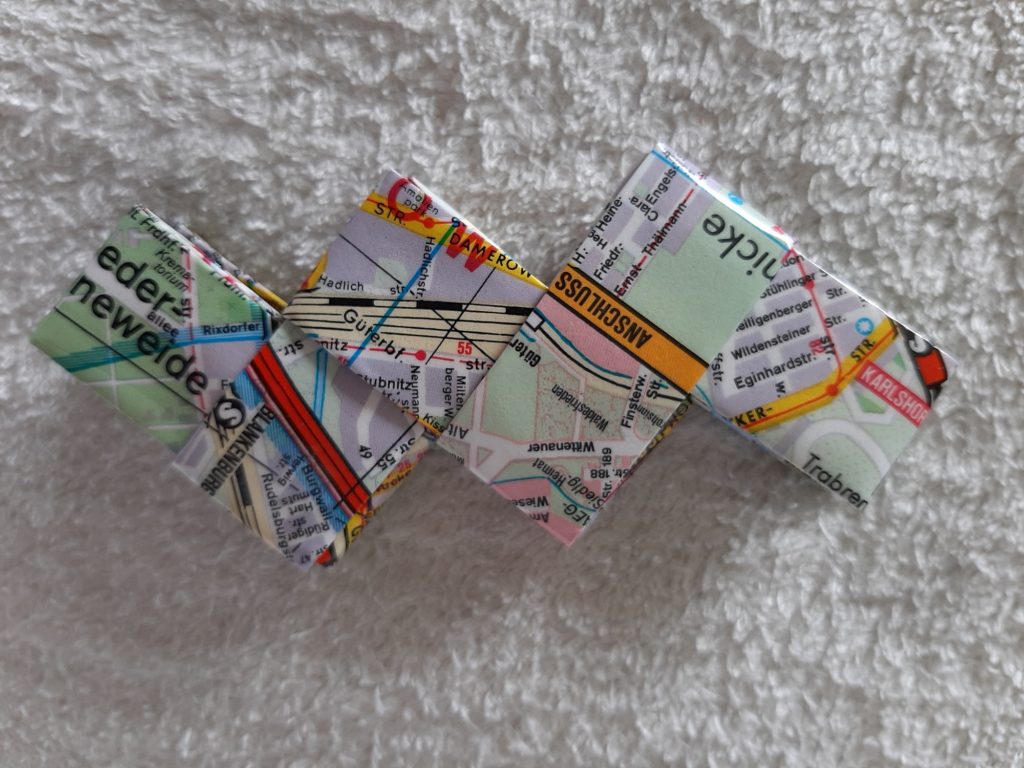
My chain rings for the Map Purse consisted of 52 pieces each and I needed 6 rings altogether for the main bag part. When you stick the pieces into each other, make sure you use the easy side. If needed turn the piece so you have the good side to work with.

easy side difficult side
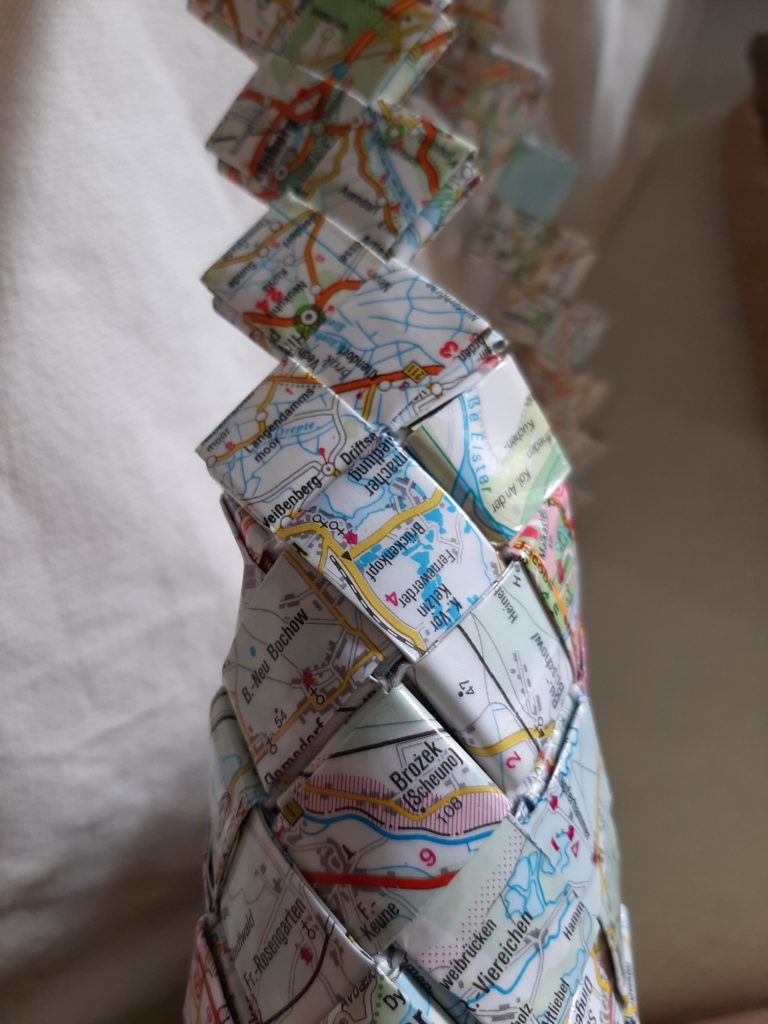
Once you have made enough chain rings for the right height of your purse they get stacked on top of one another and sewn together. I use strong yarn (cotton) or thread and a darning needle for that.
Now it is time to sew the bottom. It is possible to make a flat bottom for purses, but that means extra pieces and could make the purse too heavy. So I opted for the clutch style.

You have to carefully bend the bottom a little bit and start sewing in little pieces, because here you have the edges meet and you need to fill the holes. The little pieces are made by cutting a normal piece in half and sticking them into each other. That will give you the desired little squares.
little squares sewing the bottom
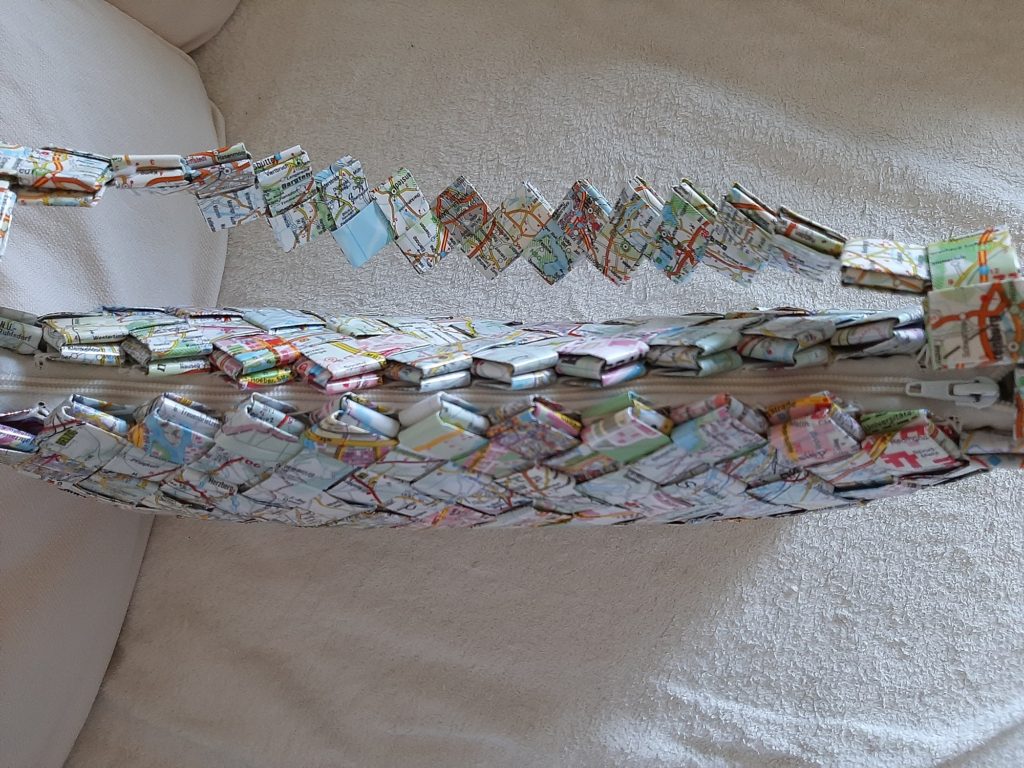
As the last thing you have to decide what kind of strap to use. Or maybe you prefer big handles. I liked the medium long strap made out of the paper pieces. Make it so you can tuck the ends into the easy sides and sew it tightly. I used a couple of little squares to secure the strap even more (one on each side does the trick).
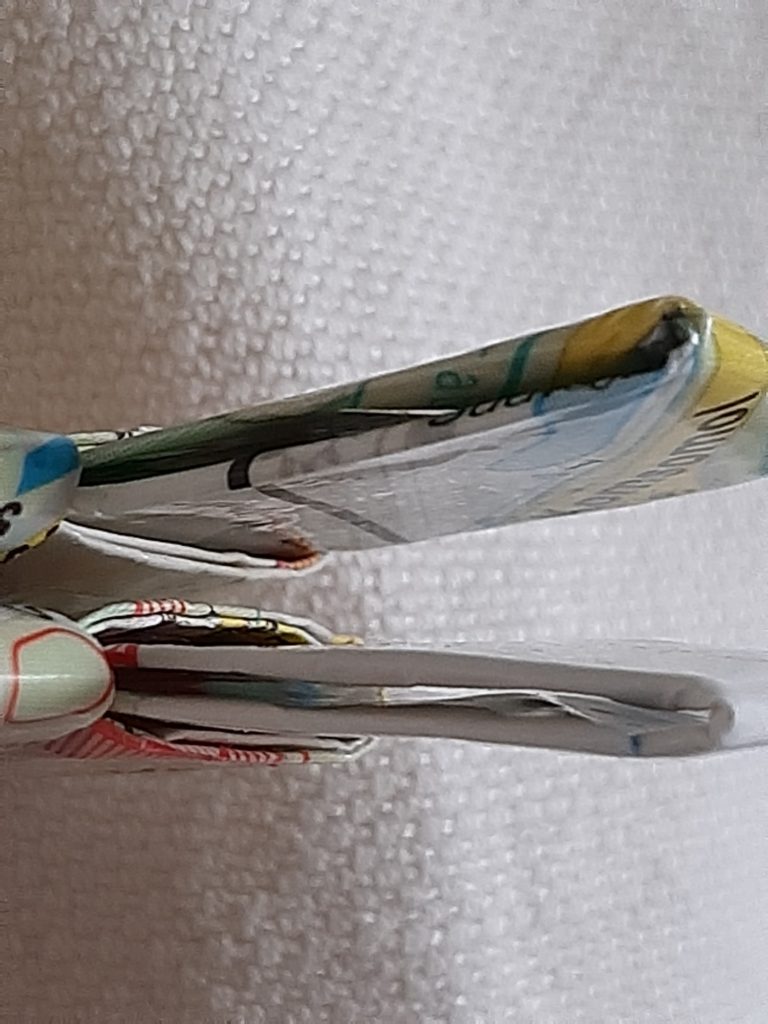
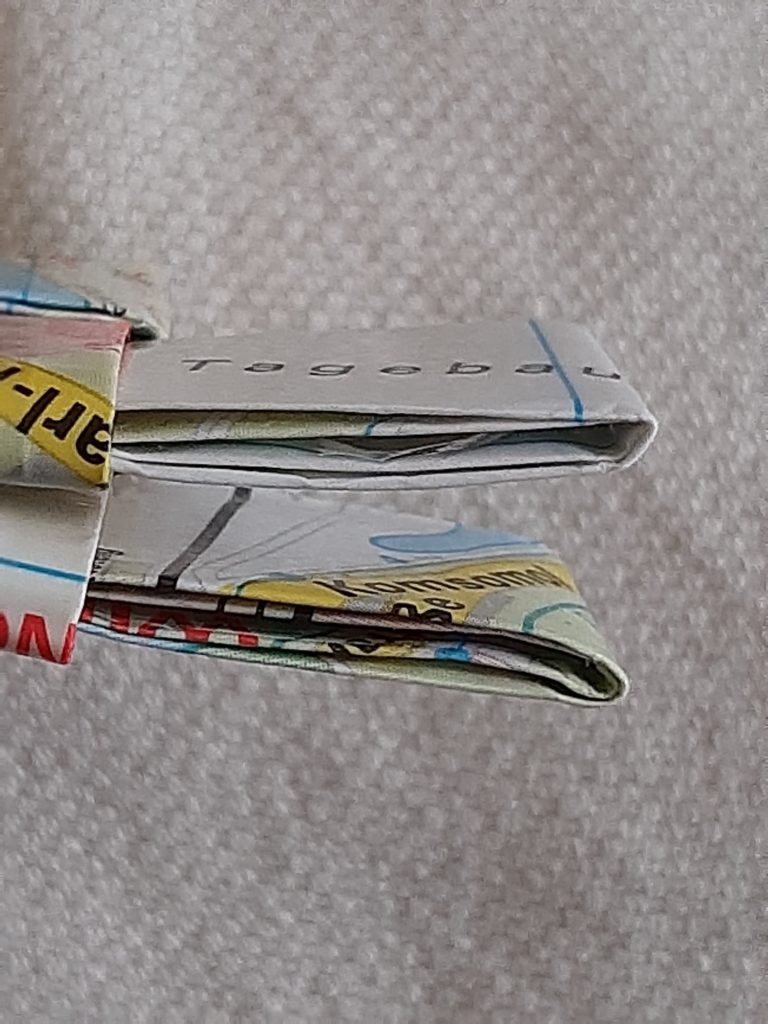
The last thing is sewing in the zipper. I have to admit it is a bit difficult, because of the big stitches. Of course you can make an inlet bag with a zipper, but I loved the map design so much that I didn’t want to cover it up. I guess one could sew the two parts of the zipper to the top ring first, but at this thickness I really doubt that the sewing machine can handle it. I haven’t tried it yet, but maybe hot-glue could help the matter. I’m sure it will melt the adhesive foil though, so be careful not to destroy your purse.
zipper open zipper closed
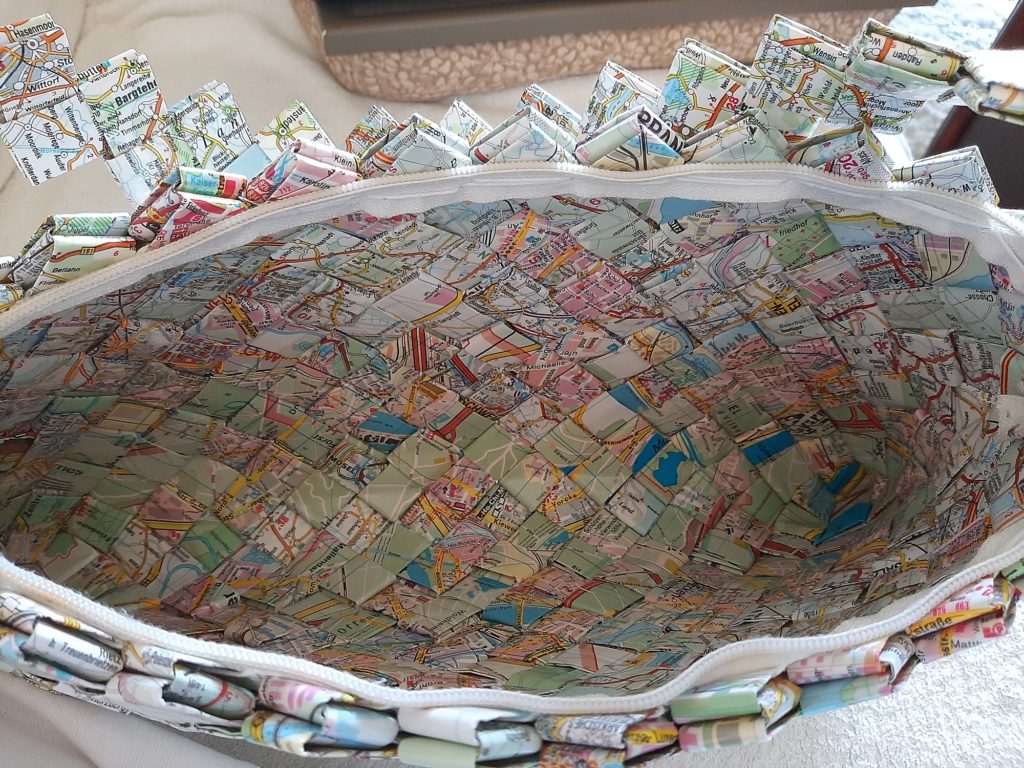
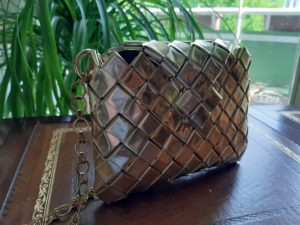
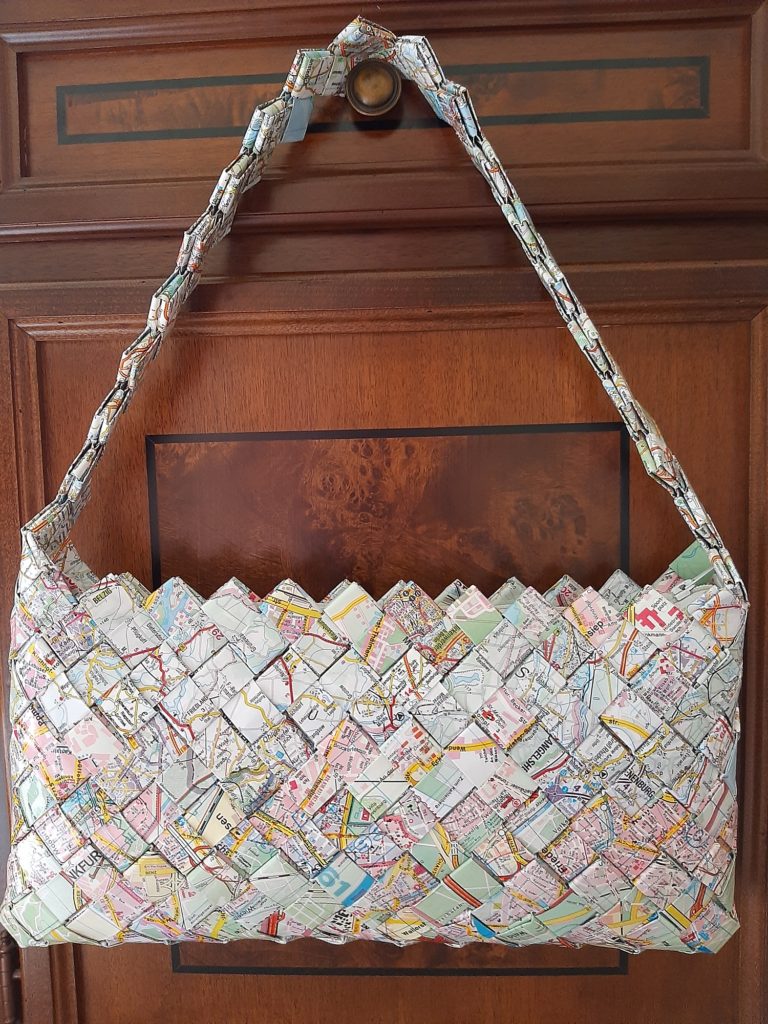
After hiding all the excess strings the Map Purse is finished. I love it, my family loves it. What about you?

City-Map Purse
Equipment
- Scissors
- ruler
- pencil
- darning needle
Materials
- 6 sq yrd city maps
- 15 yrd transparent self-adhesive foil
- strong yarn or thread
- 1 zipper
Instructions
- Prepare the maps and foil and make ca. 350 foil covered paper pieces sized 3.2 x 7.1 inch. You only need to cover one side of the paper with foil.
- Fold the pieces and make 6 chains with 52 pieces each. Connect the ends so you have chain rings.
- Stack the rings on topof one another and sew them together.
- Make 10 little squares and use them to sew the bottom of the purse shut.
- Make one chain for the strap and attach on each side of the purse with an extra little square.
- Sew in the zipper.