DIY Little Tea Wrapper Bag
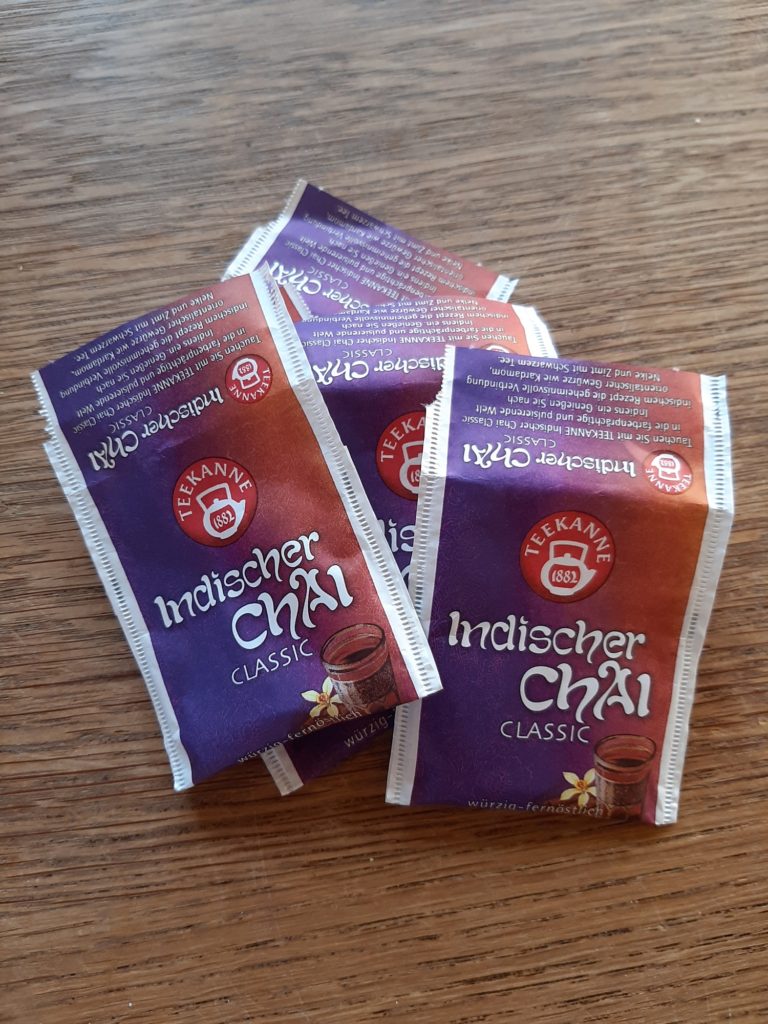
Here is another one of my recycling projects. A DIY Little Tea Wrapper Bag. I saved my paper tea wrappers and turned them into a cute little bag. A wonderful extra: It smells great.
This is another version of a candy wrapper bag, but made out of paper tea bag wrappers. I love to have tea basically all the time and one of my favorite types comes in tea bags even though I prefer loose tea. So I was wondering for a while what to do with the paper wrappers, also because I liked the colors. The little bag was perfect for using up the wrappers.
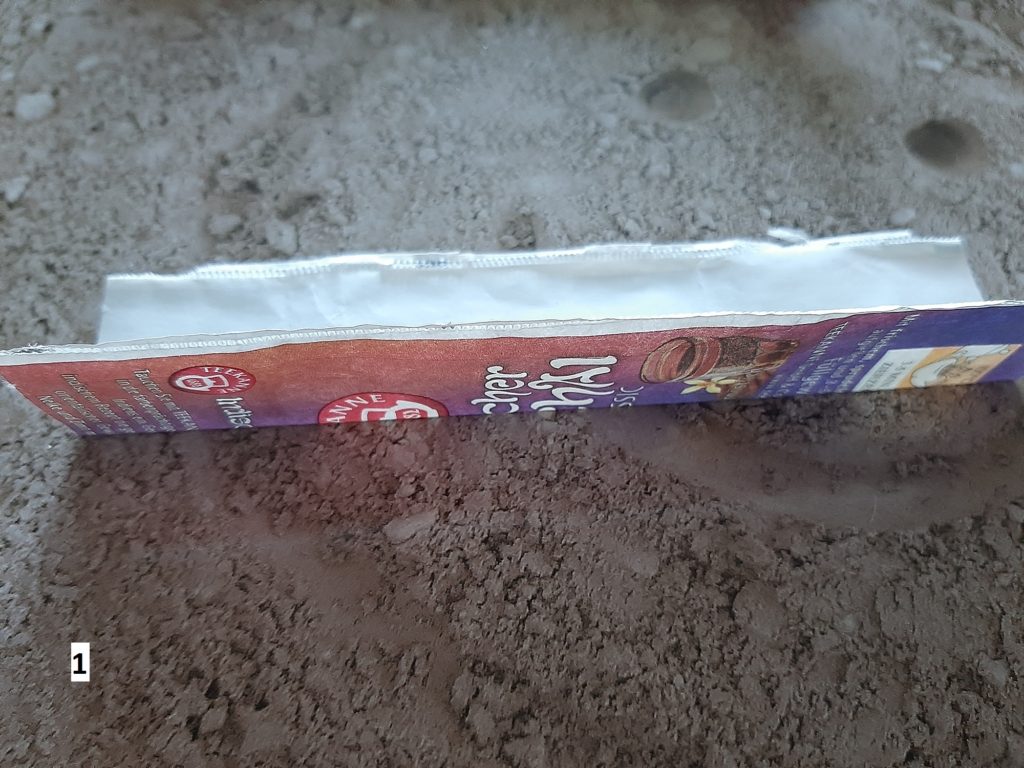
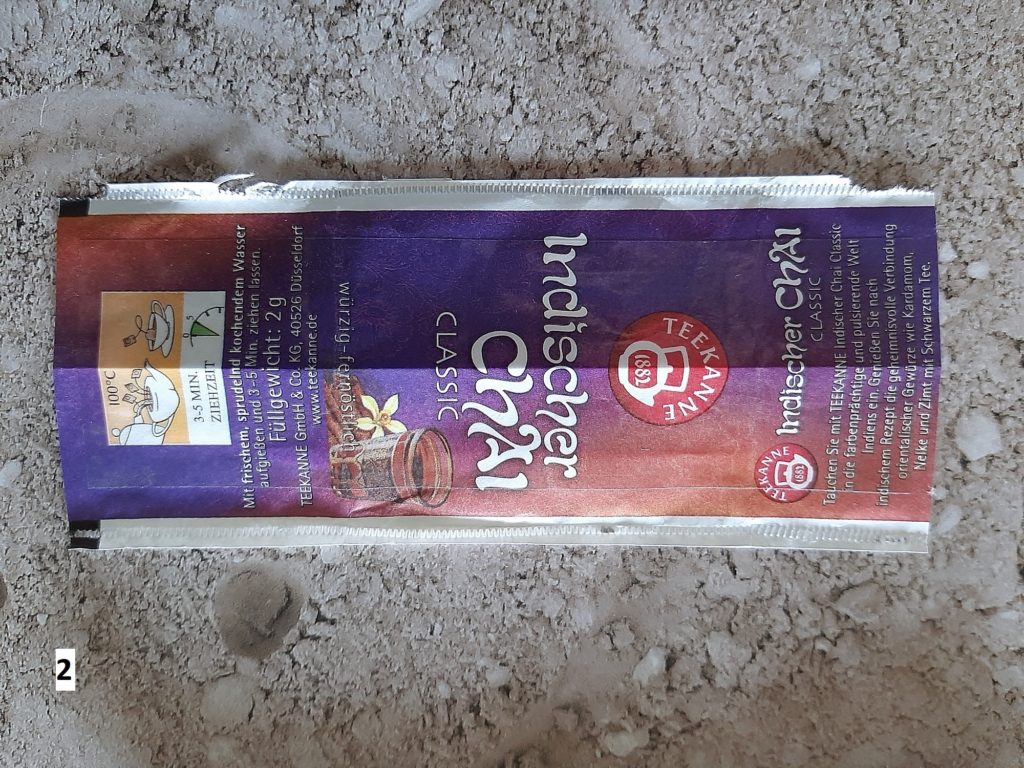
After my experiences with the DIY City-Map Purse, which was really tough on my wrists and tendons (don’t get me wrong, I love the bag and would make it again) I was looking for waste paper that I didn’ have to cut out. The size of the tea wrappers was almost perfect. I only cut off a very small strip on the top. No biggie. Also I decided to not fully cover one side with foil. Instead I only covered the middle strip with transparent self-adhesive foil. That makes the folding easier, the bag much lighter and still gives it water resistant covering.

For this DIY Little Tea Wrapper Bag I needed 118 pieces, 6 x 14 cm = 2.4 x 5.5 inch. In my case that was 6 packs of tea as they come in 20 tea bags per pack. And I admit I was cheating a little bit when I was running out of wrappers. I bought extra packs and unwrapped all the tea bags 🙂
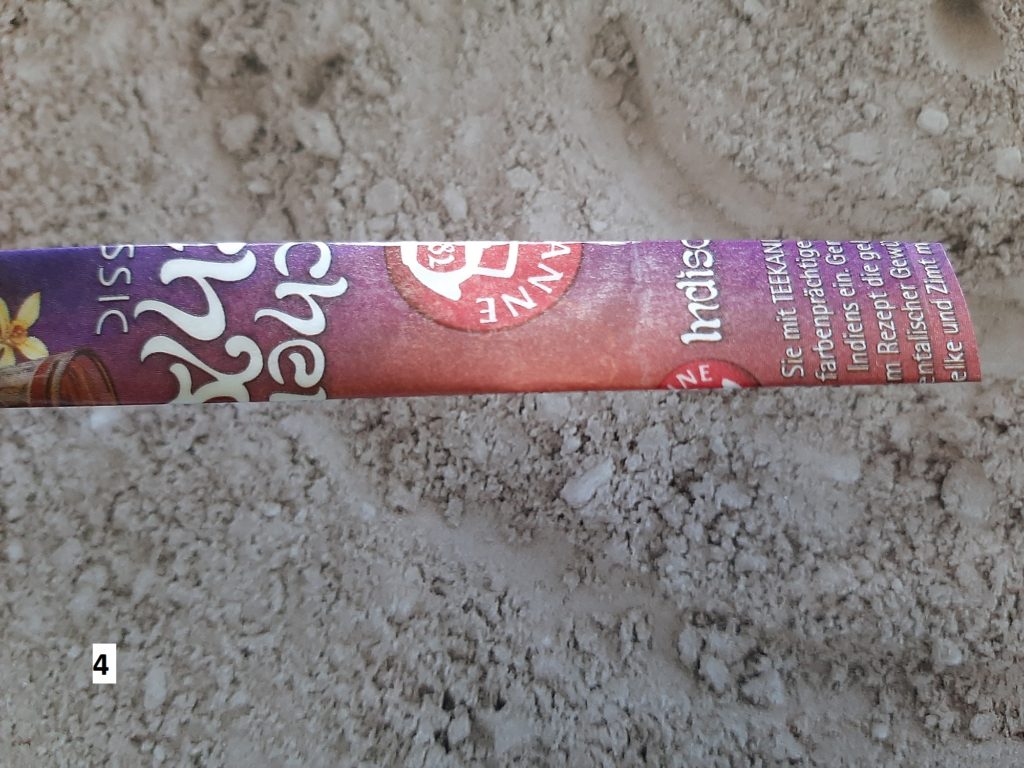
First thing you have to do is prep the papers. Cut them into the right size if necessary. I only had to cut off a very small strip on the top. After that cover the center part of the paper with the foil. I made long foil strips about 1.6 inch wide. That way it was very easy to cover the center.
Finally here is how you fold the papers:
1. Fold the paper longways once, good side out.
2. Then unfold again. We need the crease as a marker
3. Fold both sides in, almost right up to the crease
4. And fold them together (along the crease). Now you have a long strip with both sides covered with foil.
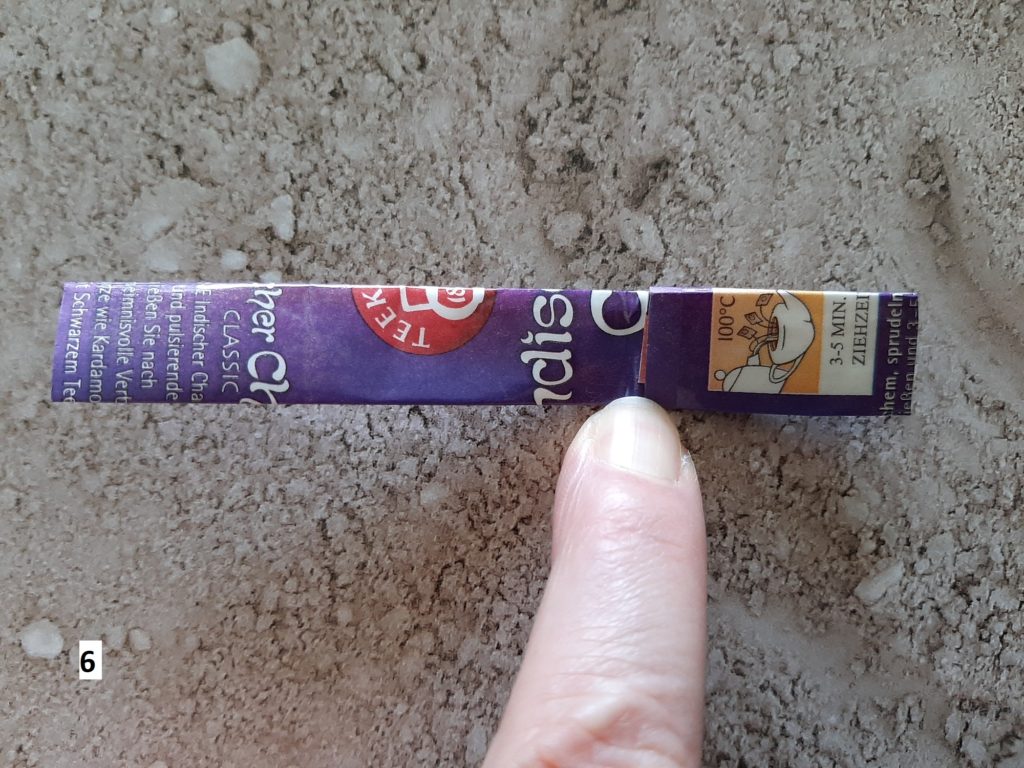
5. Fold the strip in half
6. And unfold again.
7. Now fold in both ends almost down to the crease. Leave a small space in the center, otherwise it could be a litte wavy when you continue folding. Just try it out with one piece.
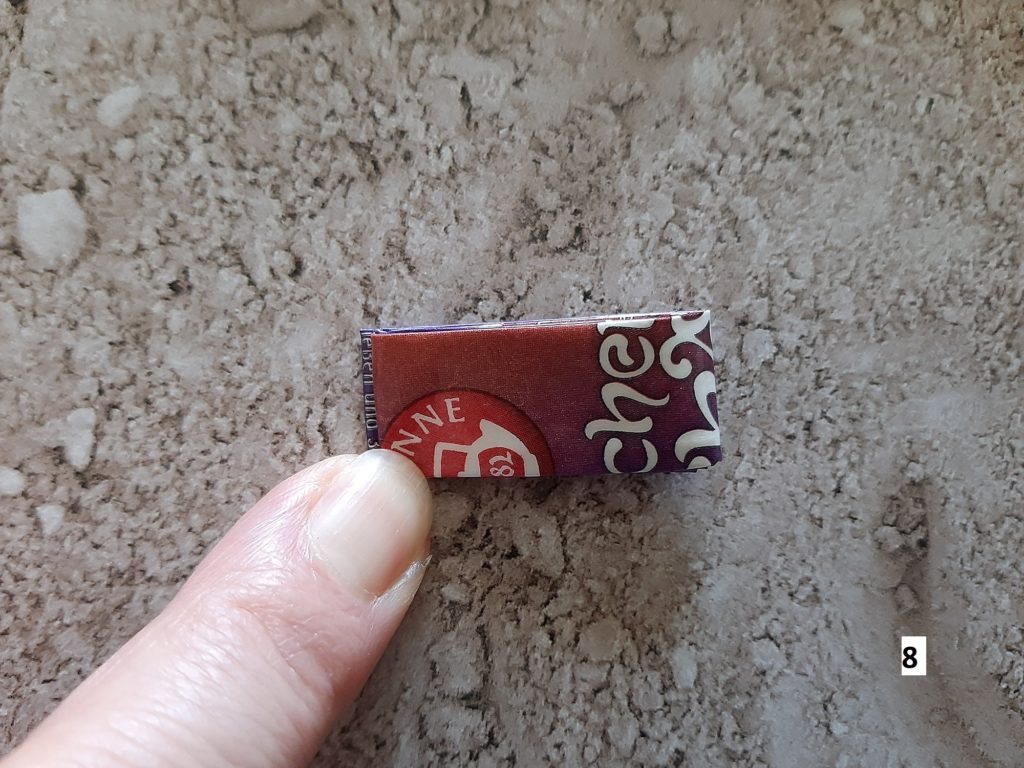
8. And now fold both sides together along the crease
9. Now you have a finished piece ready to go


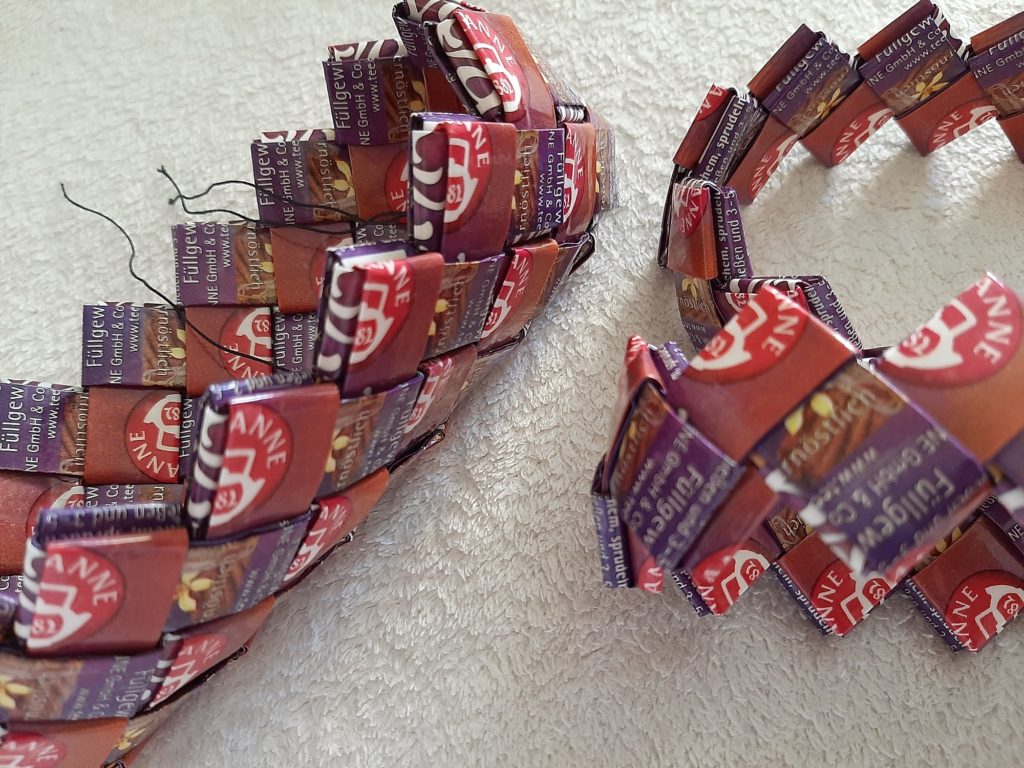
After folding the pieces you stick them into each other and form long chains.
Then you connect the ends so you have big rings (or small, depending on the size of your bag).
My chain rings for the DIY Little Tea Wrapper Bag consisted of 28 pieces each and I needed 4 rings altogether. When you stick the pieces into each other, make sure you use the easy side. If needed turn the piece so you have the good side to work with. You can find detailed pictures of the easy and difficult side here.
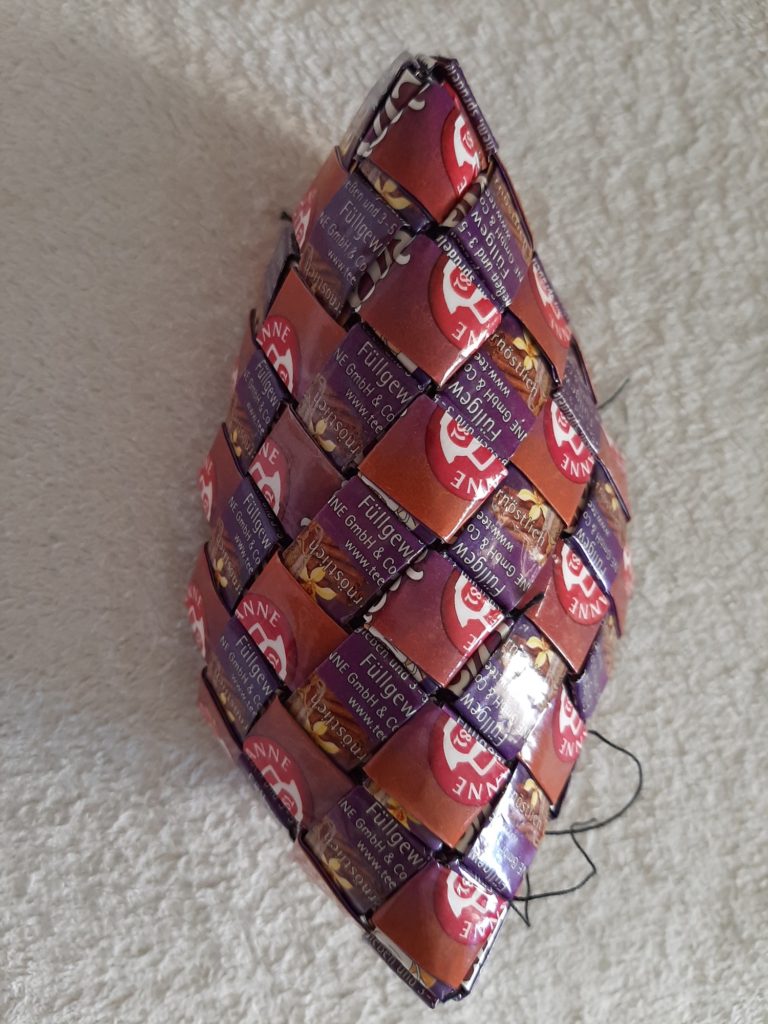
When you have made enough chain rings for the right height of your bag they get stacked on top of one another and sewn together. I use strong yarn (cotton) or thread and a darning needle for that.
When you are done sewing the rings together it is time to sew the bottom. You have to carefully bend the bottom a little bit and start sewing in little pieces, because here you have the edges meet and you need to fill the holes. The little pieces are made by cutting a normal piece in half and sticking them into each other. And this will give you the desired little squares. I needed 6 of them for this bag.
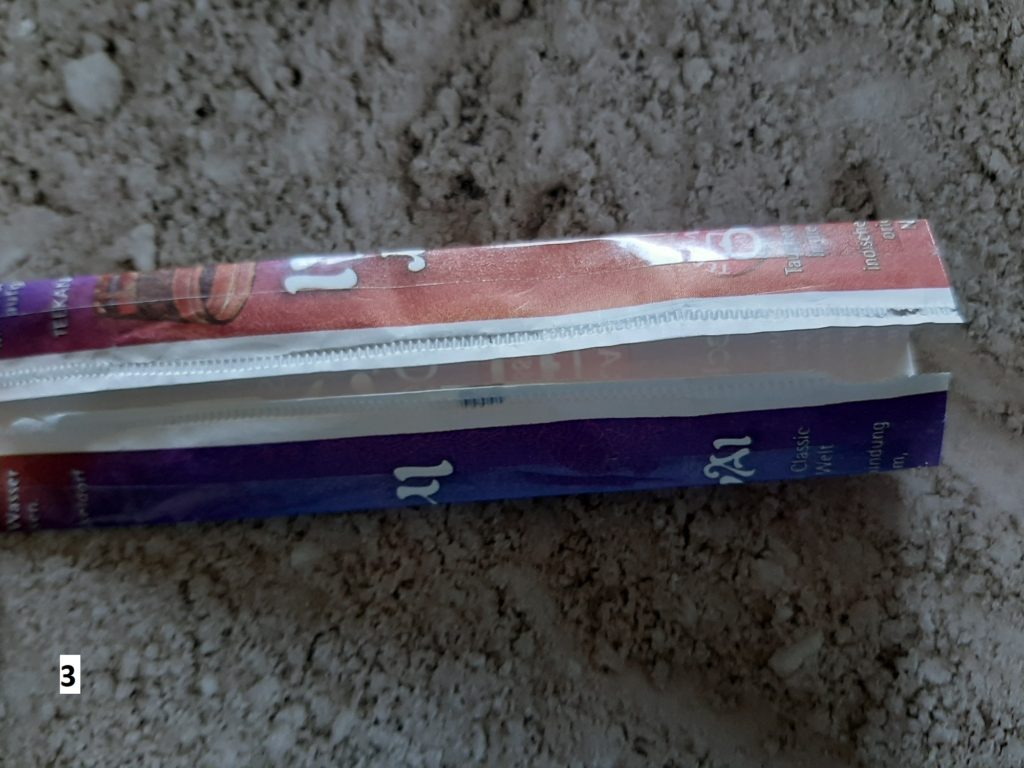
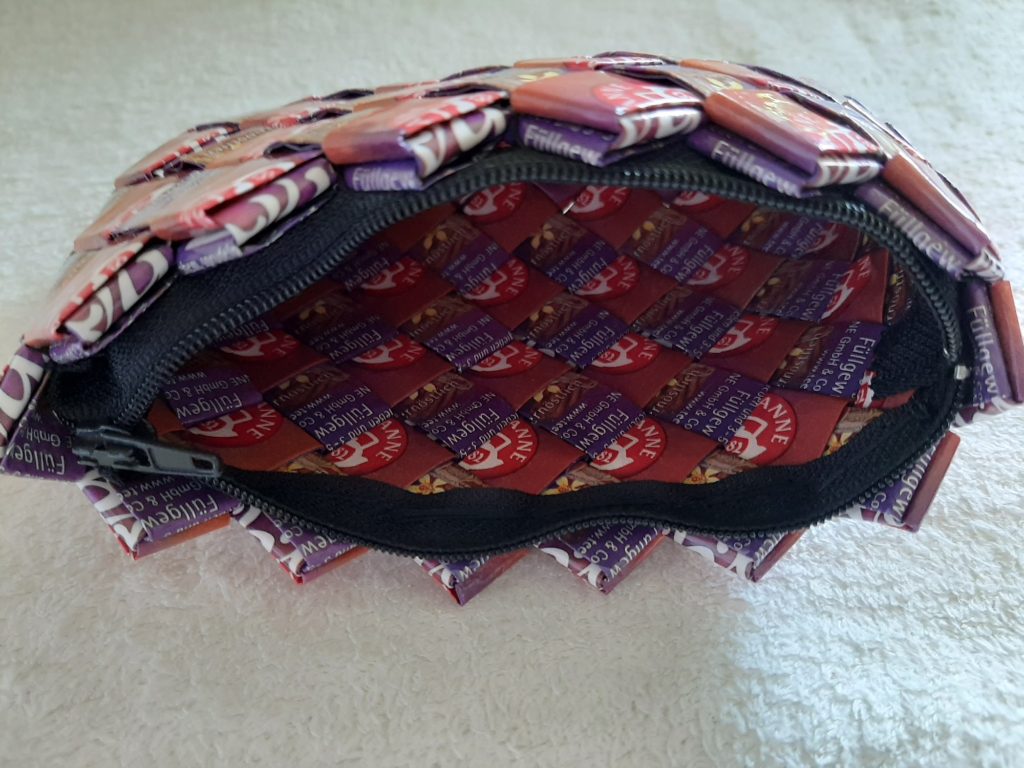
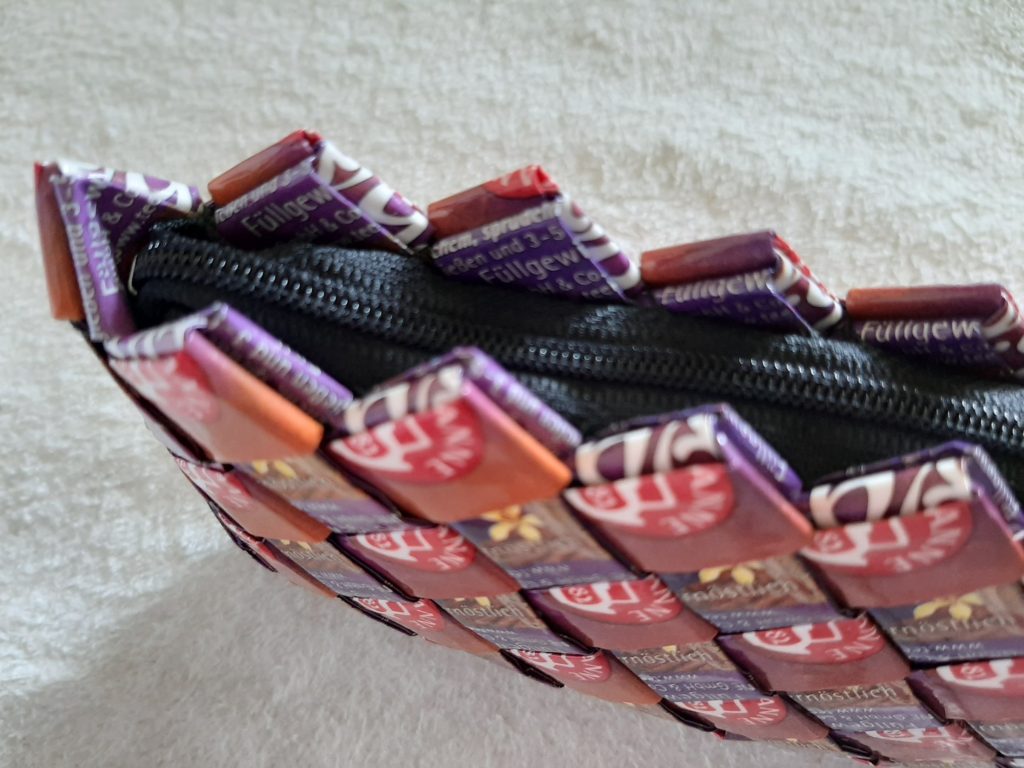
The last thing is sewing in the zipper. I have to admit it is a bit difficult, because of the little bit bigger stitches. Of course you can make an inlet bag with a zipper, too. But why cover up the design? However with a smaller bag the zipper fits in more easily anyway.
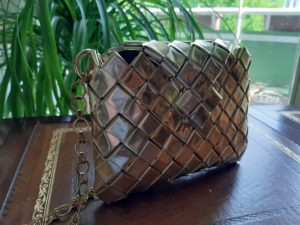
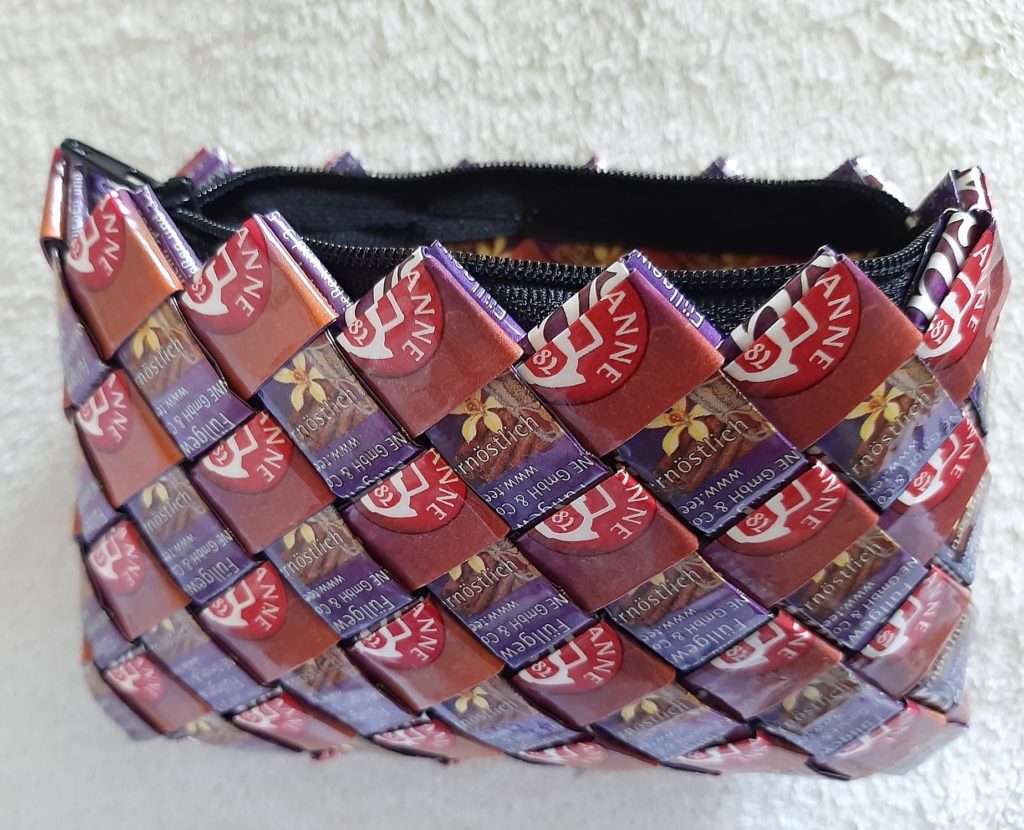
After hiding all the excess strings the DIY Little Tea Wrapper Bag is finished. Doesn’t it look great?

DIY Little Tea Wrapper Bag with zipper
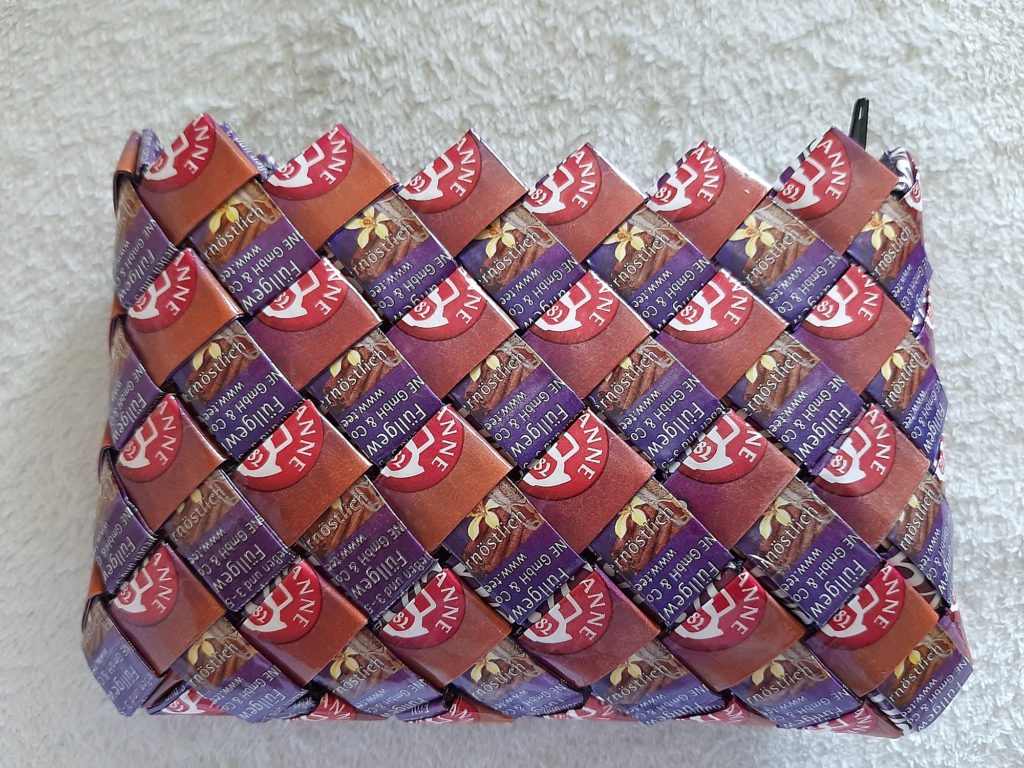

Little Tea Wrapper Bag
Equipment
- Scissors
- ruler
- pencil
- darning needle
Materials
- 118 pieces tea bag wrappers
- 118 strips transparent self-adhesive foil
- strong yarn or thread
- 1 zipper
Instructions
- Prepare the wrappers and foil and make ca. 118 foil covered paper pieces sized 6 x 14 cm = 2.4 x 5.5 inch. You only need to cover the center strip of the paper with foil.
- Fold the pieces and make 4 chains with 28 pieces each. Connect the ends so you have chain rings.
- Stack the rings on topof one another and sew them together.
- Make 6 little squares and use them to sew the bottom of the purse shut.
- Sew in the zipper.