Bottle Art Luminaries
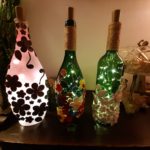
It is getting dark outside and Bottle Art Luminaries are a wonderful way to brighten up balconies, patios, living rooms and hallways. And on top of that you are recycling old bottles. Perfect.
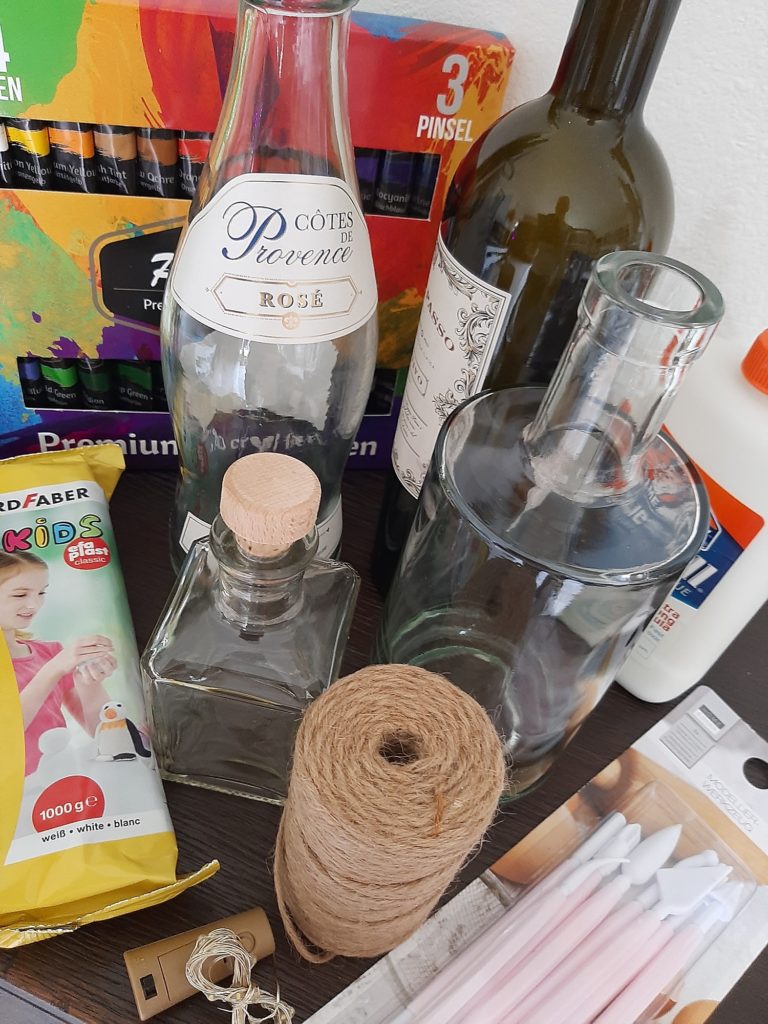
All you need is one or several glass bottles, some modelling clay, glue, acrylic paint and fairy lights. I also use jute string for the top quite often, but you can decorate it with clay as well.
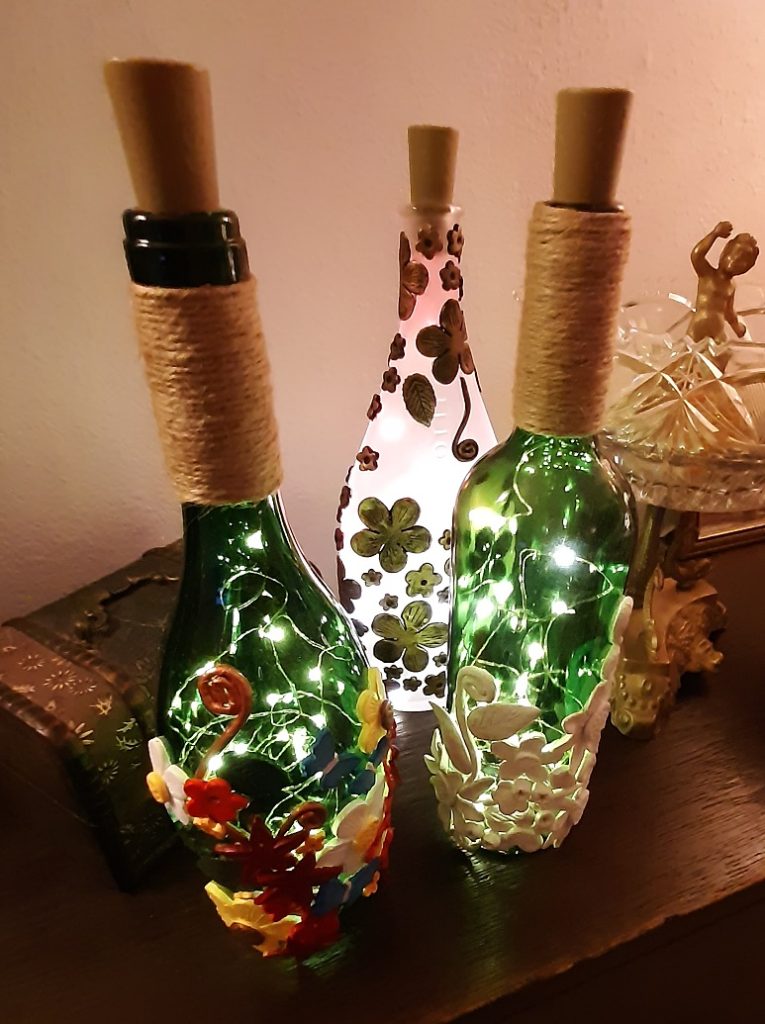
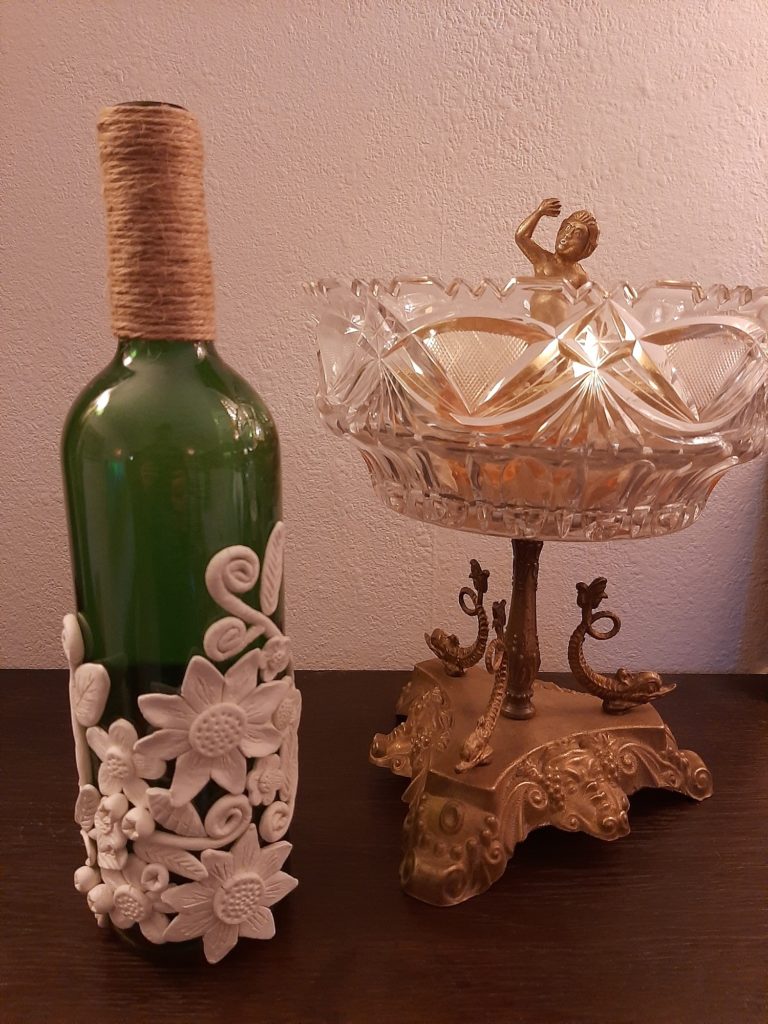
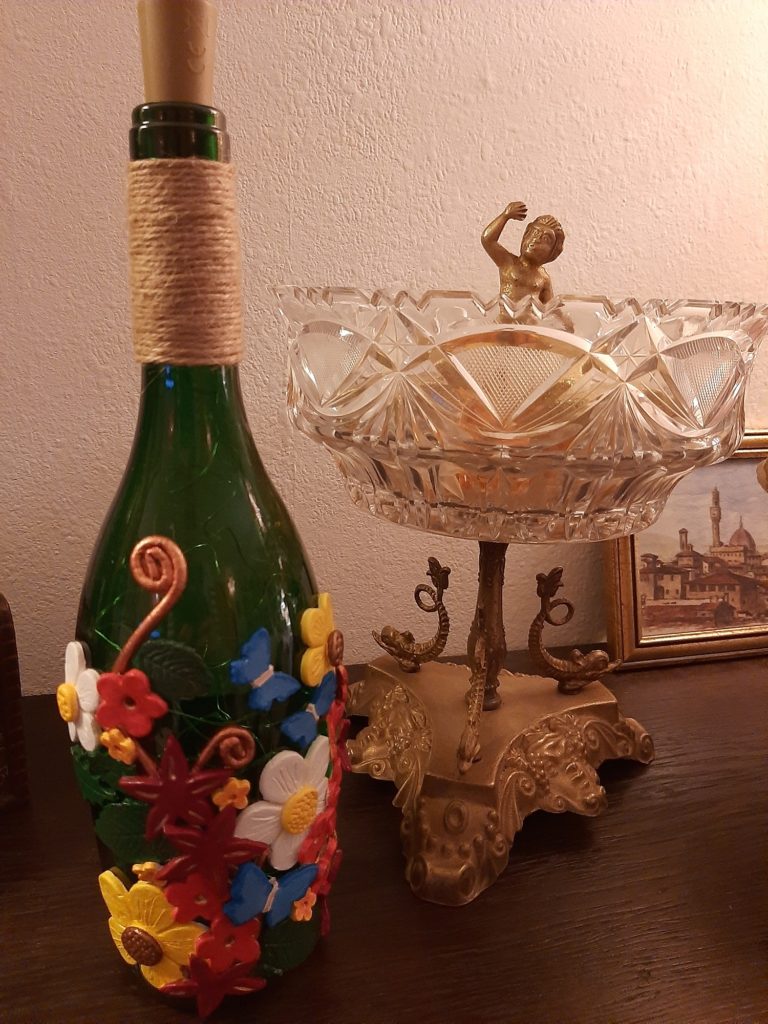
As the bottles go, I think using glass bottles is the best, because of their weight. That makes them stand securely. Also the fairy lights shine through glass much nicer. I really like to use the wine bottles. The green color already makes them a bit garden-y and they look great illuminated even without decoration. But any color works. Blue looks nice and maritime and reminds me of the ocean. And then for fall and winter time the bronze looks really cozy.
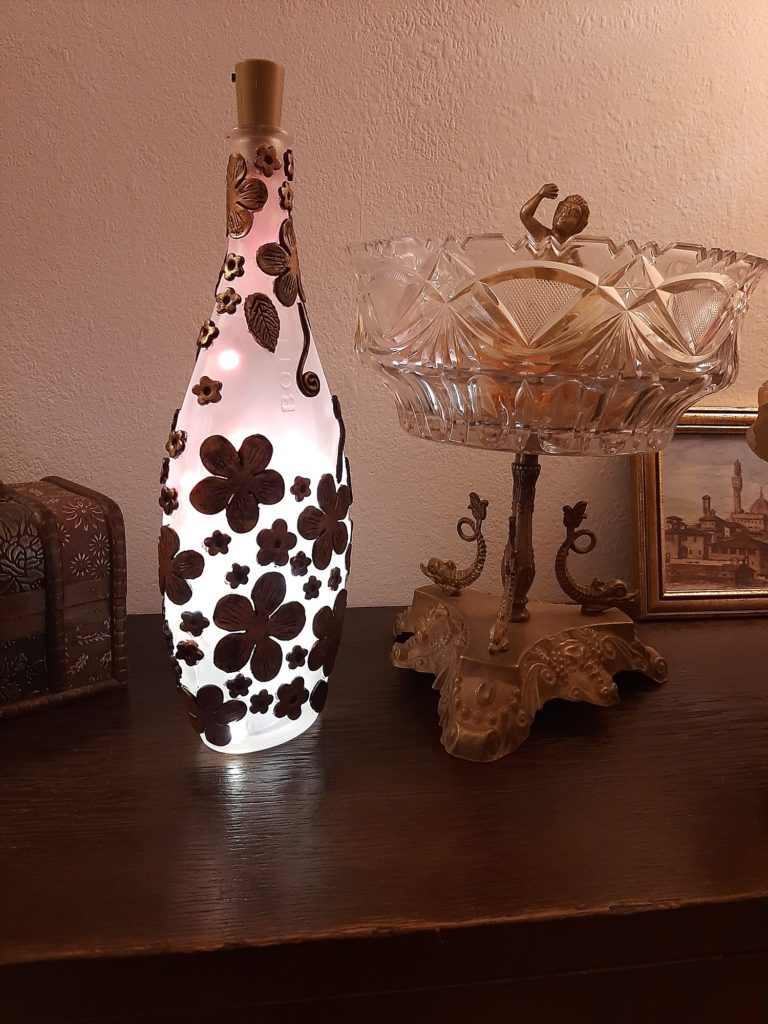
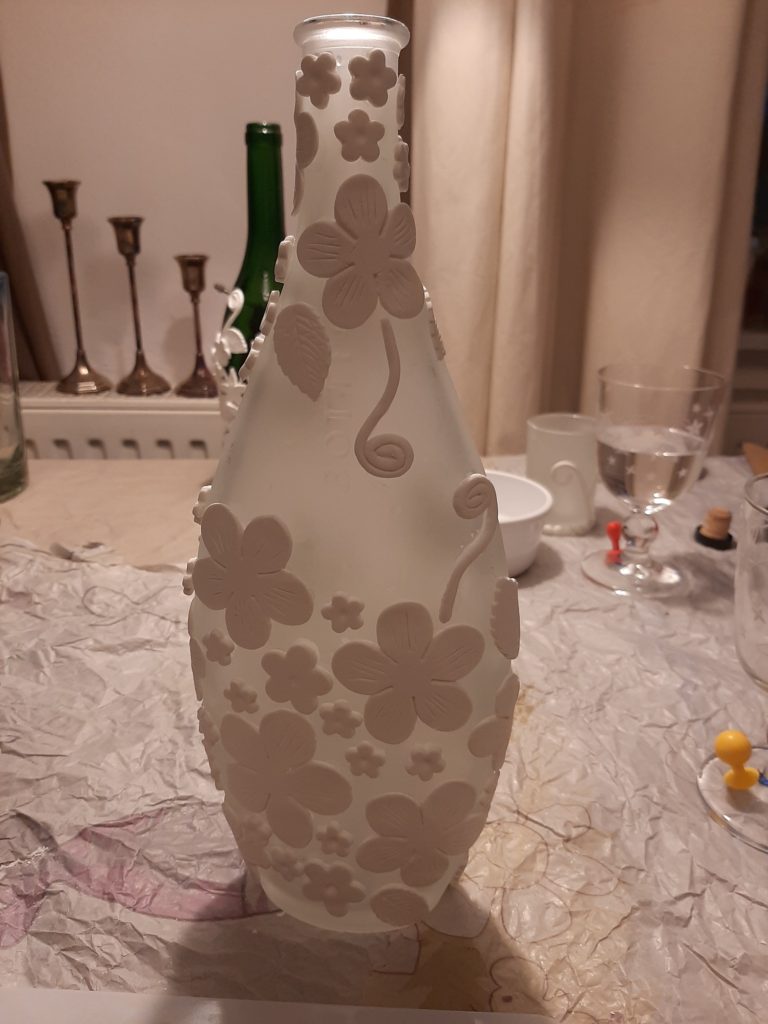
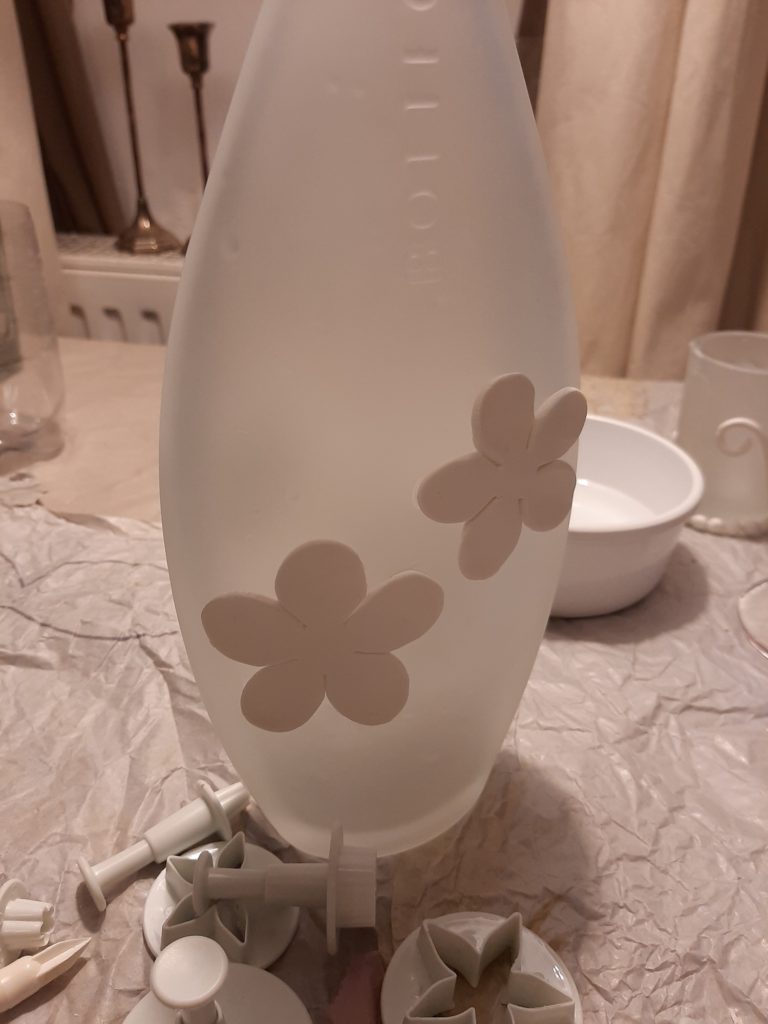
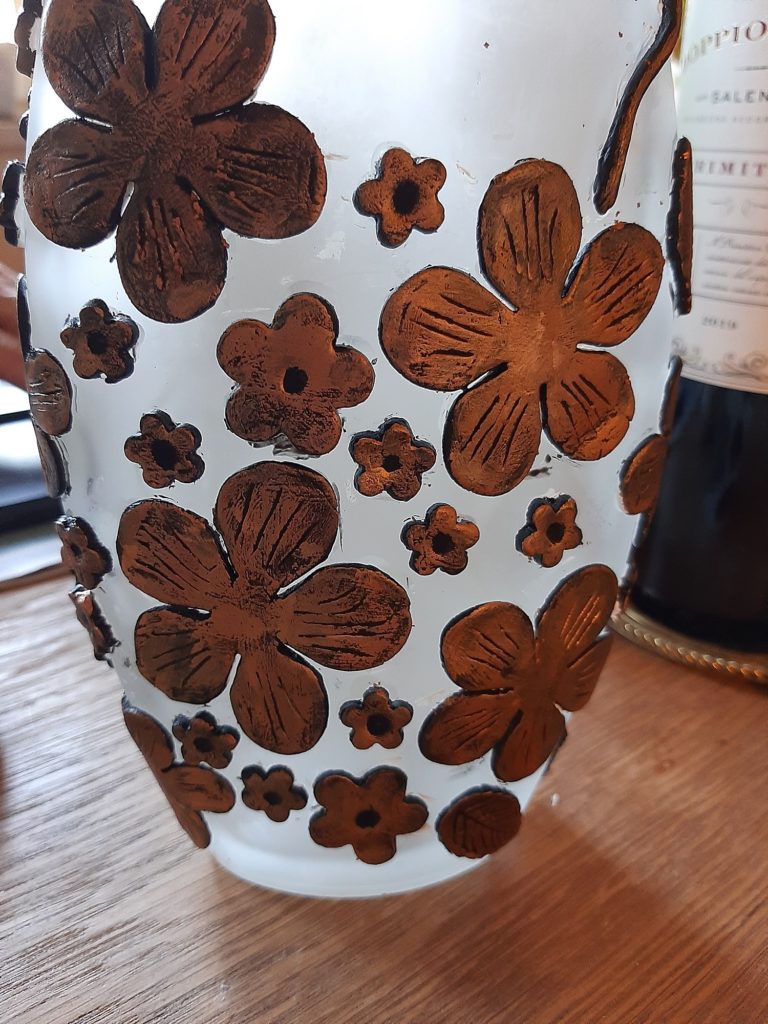
For this luminary I used a milky glass bottle from our favorite Italian cinnamon liquor. Good thing I never threw it out after X-mas. 🙂
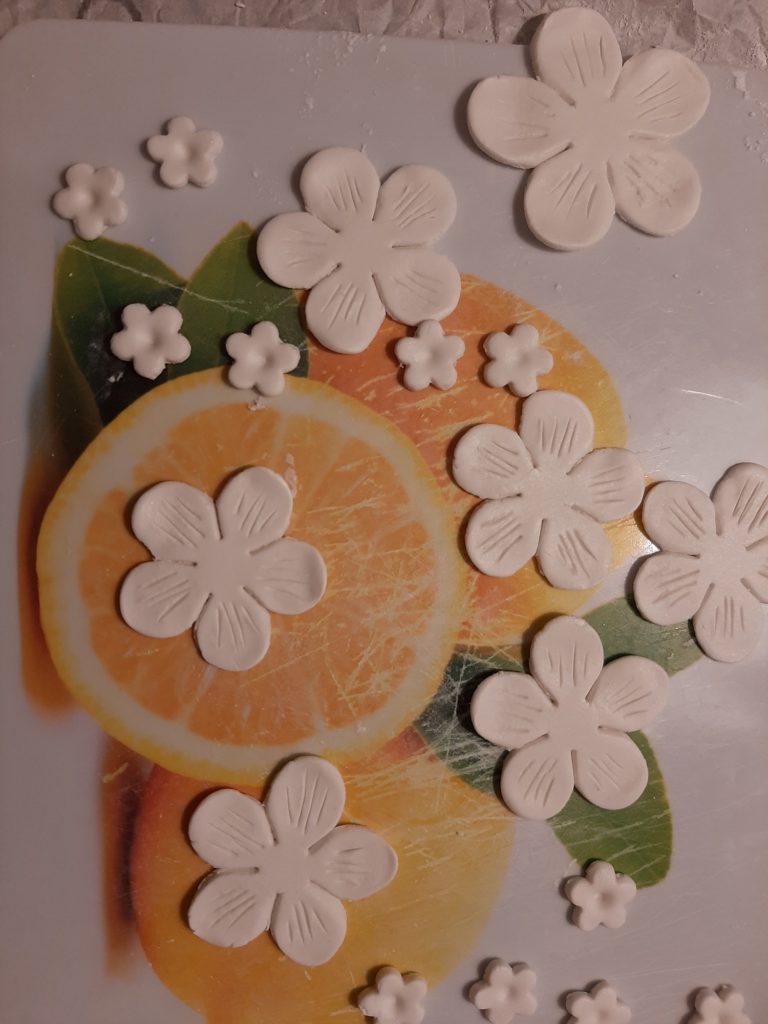
For the decoration of the bottles you have to make different shapes out of modelling clay, depending on your design idea. It is really easy, if you use cookie/fondant cutters. And they come in all different kind of shapes and sizes, also flowers and leafs even butterflies. So there is no end to your creativity.
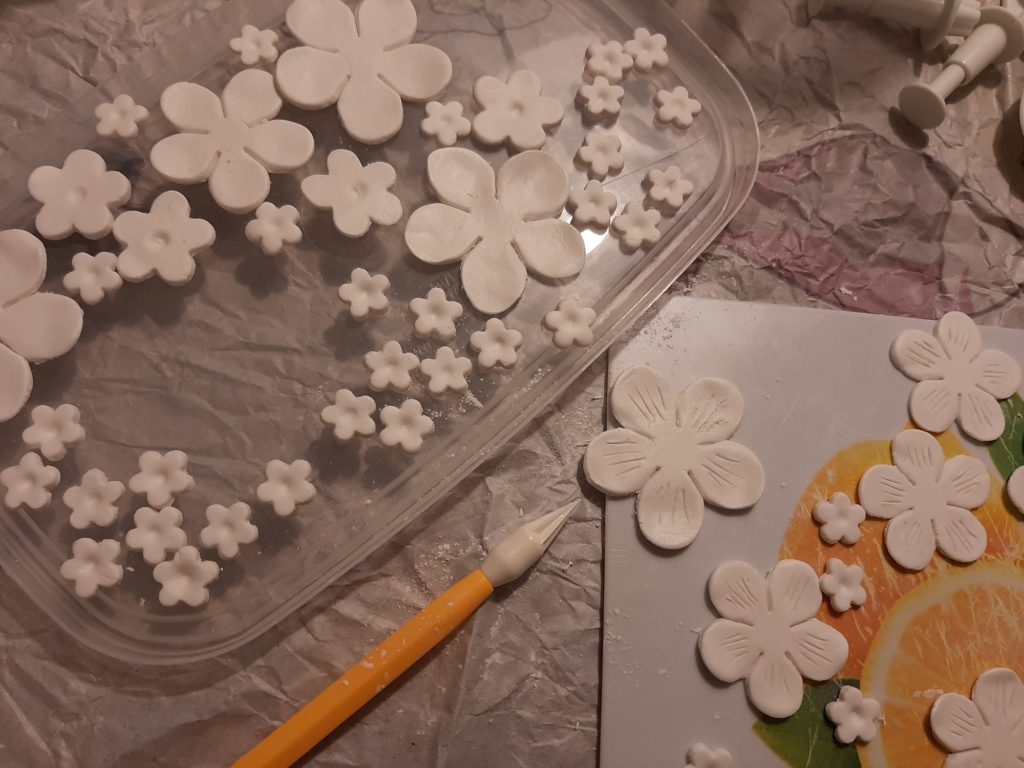
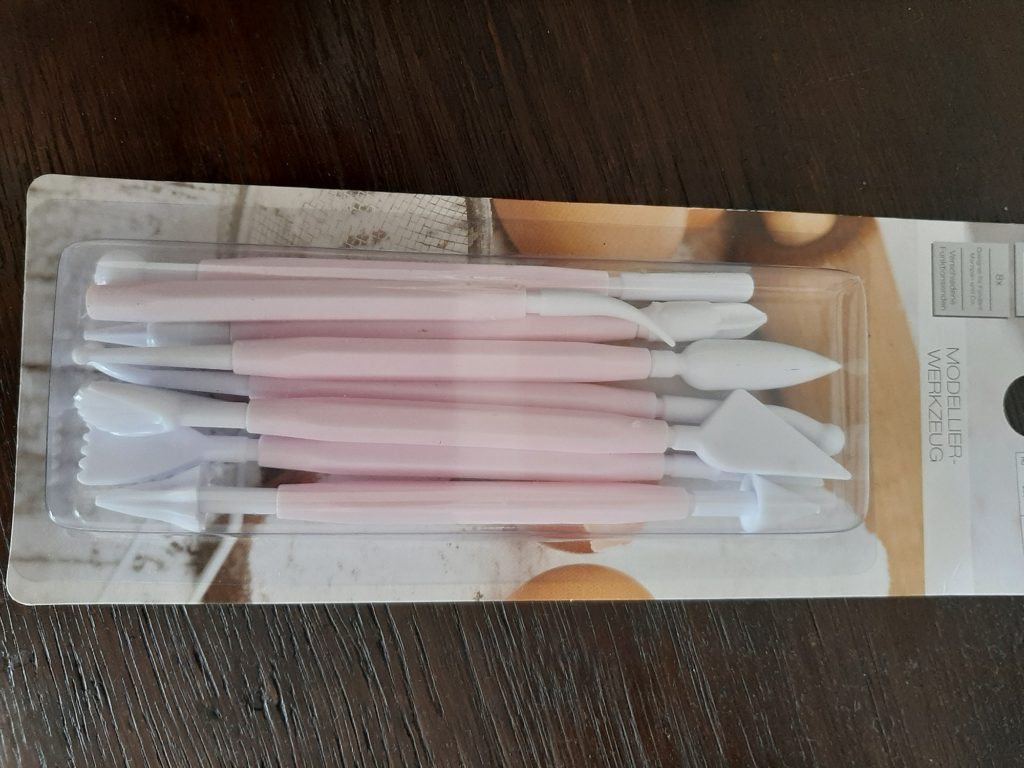
You can also cut the shapes by hand. Of course that takes a little longer and is a lot more individual, but it looks really nice, too. The tools for cake making are great for that and anyway quite cheap.
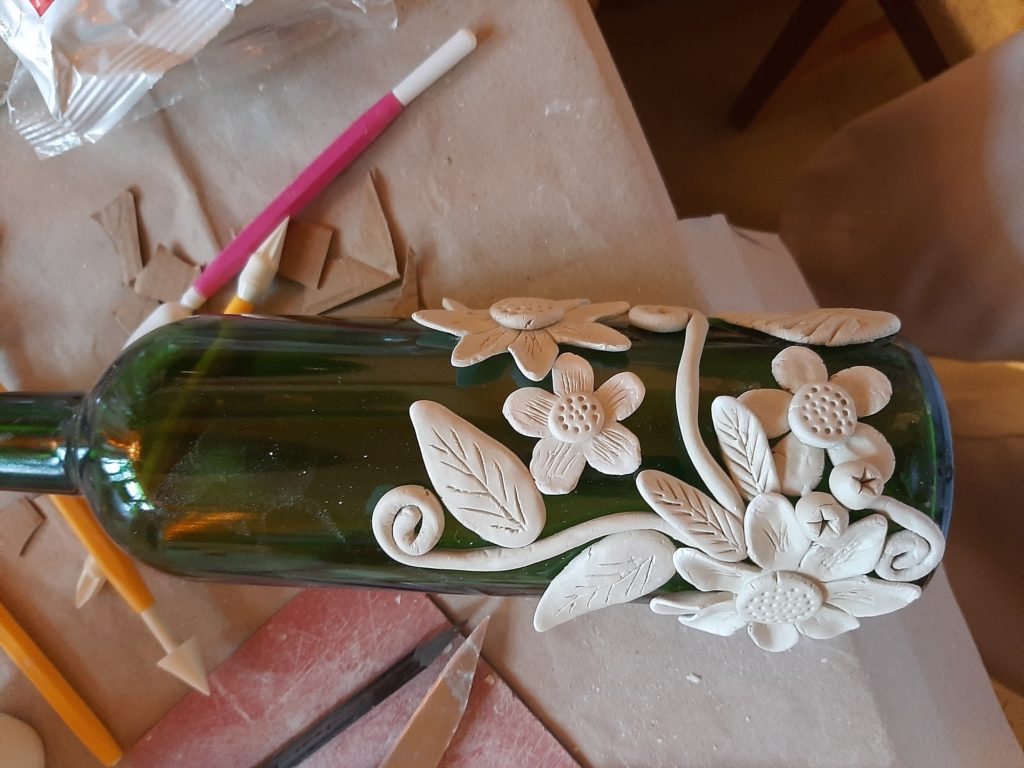
Then flowers, leafs etc. get glued on with paper glue (e.g. Elmer’s). Don’t let the modelling clay dry out too much before gluing it on. You won’t be able to shape it to the bottle or add any structure. Use baby powder to dry up the outside a bit, just like you would use flour for cookie making. Then glue the pieces onto the bottle.
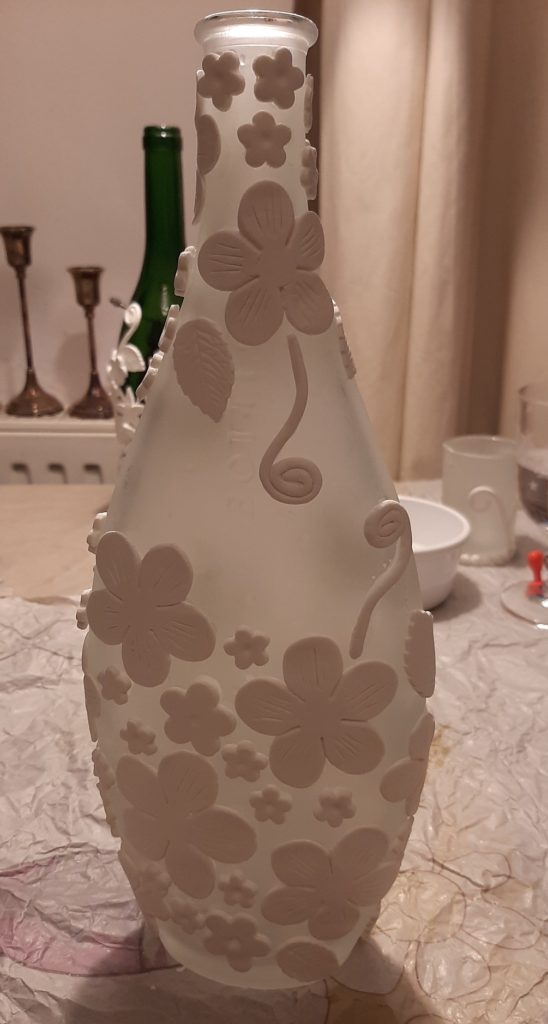
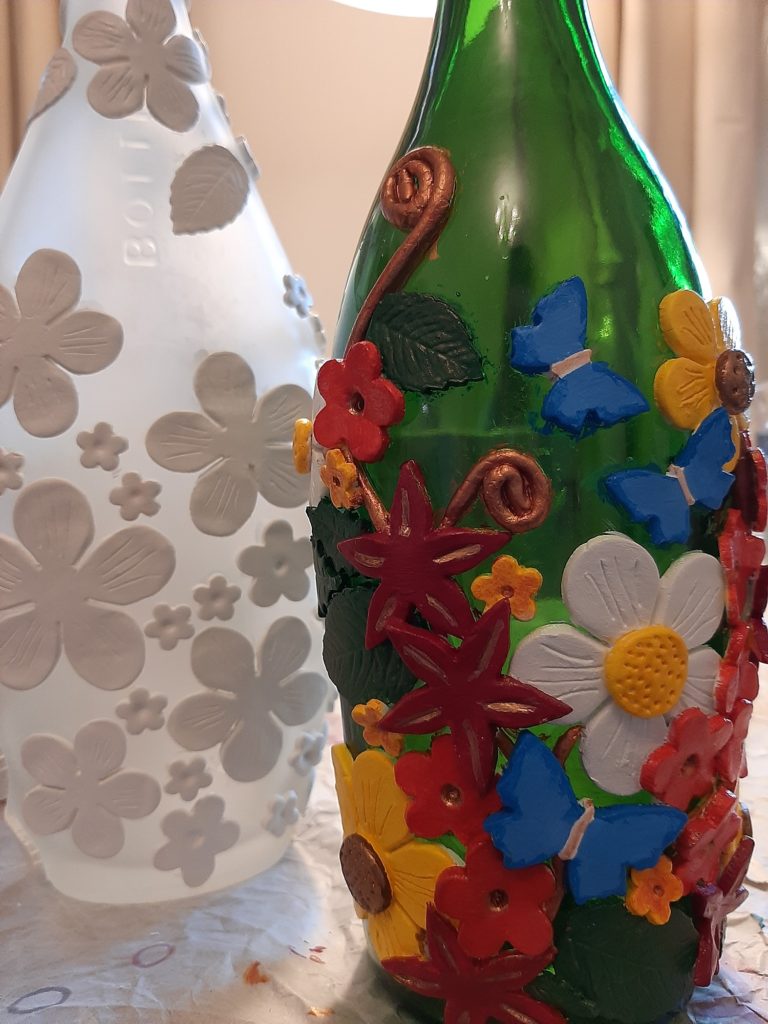
Afterwards let everything dry thoroughly so the bottle can be painted. Even if you like to keep the modelling clay white, which is usually the original color, I advise you to paint it anyway. It protects the clay from moisture. I use white acrylic paint, alsoto cover up spots I don’t like. Otherwise clear paint is a good choice, too.
And as the final step you can add the jute ribbon on the top of the bottle, if you didn’t choose to decorate it with modelling clay. Then put you fairy lights inside the bottle. I found some white lights that have a fake cork on one end which holds the batteries and the off-and-on switch. So they are perfect for Bottle Art. But if you need different colored lights, just paint them with acylic or nail polish. However the bottles look really pretty without the lights as well.
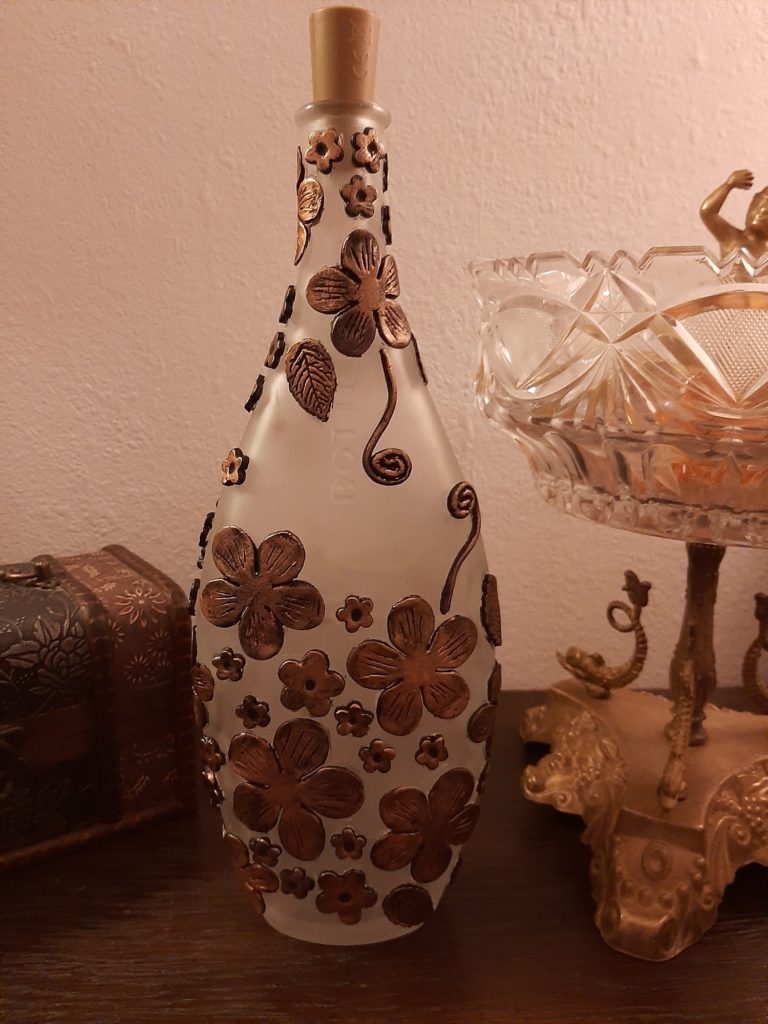
And when it gets dusky outside, then the bottle art luminaries really have their moment. So turn on the fairy lights and put the bottles on your balcony, patio or inside as a romantic extra.

Bottle Art Luminaries
Equipment
- Modelling Tools
- kitchen knife
- Cookie/Fondant Cutters
- Paint Brushes
Materials
- 1 glass bottle
- 1 pck modelling clay
- 1 paper glue e.g. Elmer's
- 1 fairy light string
- crylic paint
- baby powder
- jute string optional
Instructions
- Prep your bottle(s). It should be clean and dry.
- Make your decoration pieces out of modelling clay. Flowers, leafs, butterfies, bees, birds etc. If the clay ist too sticky use baby powder.
- Glue the decoration onto the bottle and let dry. Then paint the bottle with acrylic paint. If the neck of the bottle is not decorated, wrap it with jute string. Add fairy lights.