DIY Storage Box for Valentine’s Day
This beautiful DIY Storage Box for Valentine’s Day is another version of the DIY Jewlery Box. It is also great gift alternative. It doesn’t always have to be store bought, which is a bit difficult right now anyway. Plus this handmade box is absolutely unique and shows how much you care about the recipient.
As you know I am a great fan of recycling. This wonderful storage box is made from a simple cardboard box, decorated and painted. For the decoration you can use what you have at home or make it from modelling clay. For this box I raided our toolbox.
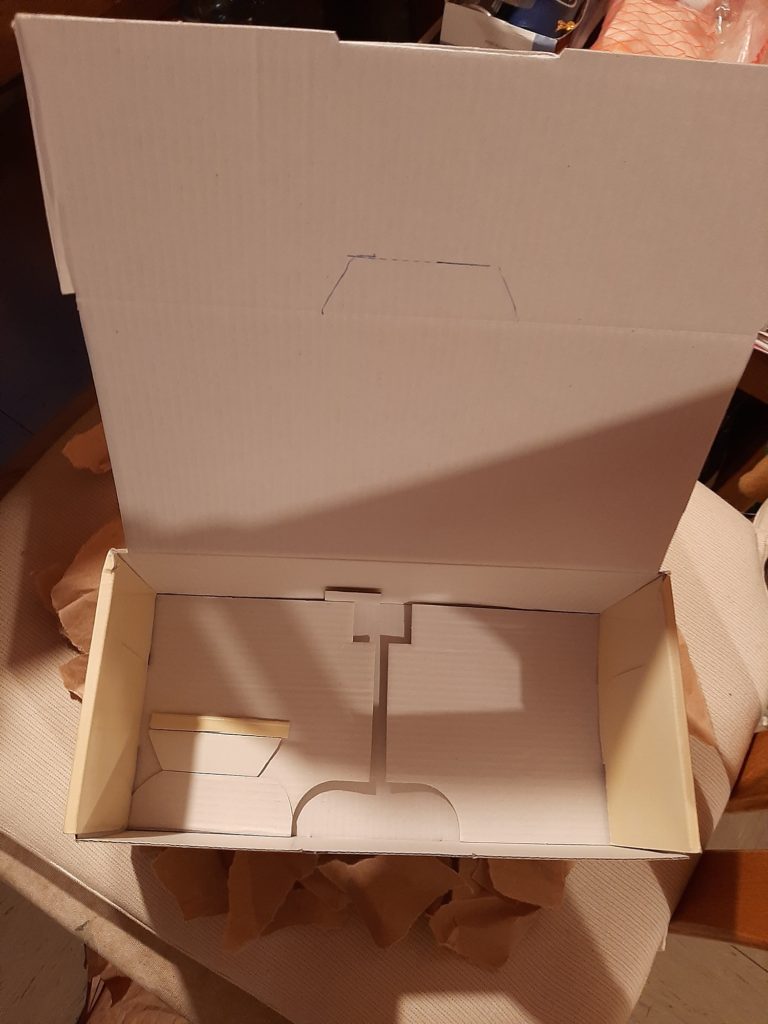
Take a cardboard box and cut it so it suits you needs. Then you cover it in paper pieces using paper glue (for wallpapers or something like Elmer’s). I used wallpaper glue. You have to watch out a little bit so the box doesn’tget too wet from the glue. If it happens (and it most certainly did to me) make sure to wipe off any excess glue and let the box dry over night. That is a good idea anyway. Otherwise it becomes difficult to glue on the decoration. Covering the box in paper makes it a lot more stabil and you won’t see the writing on it anymore.
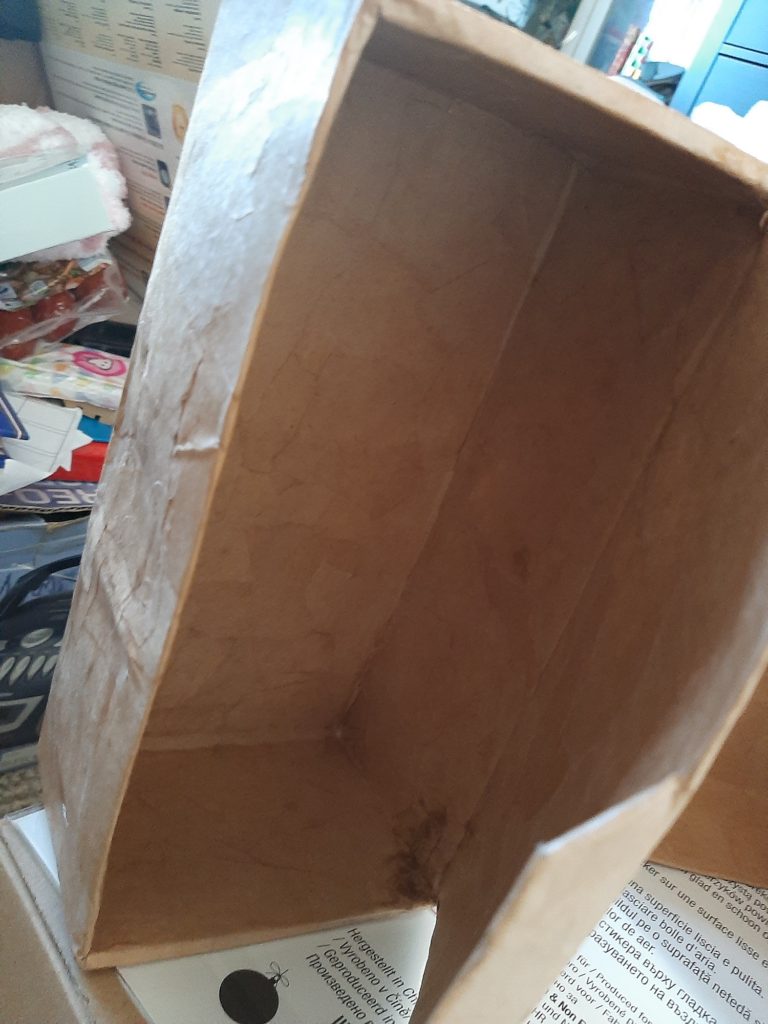
And as I said before make sure to let the box dry completely.
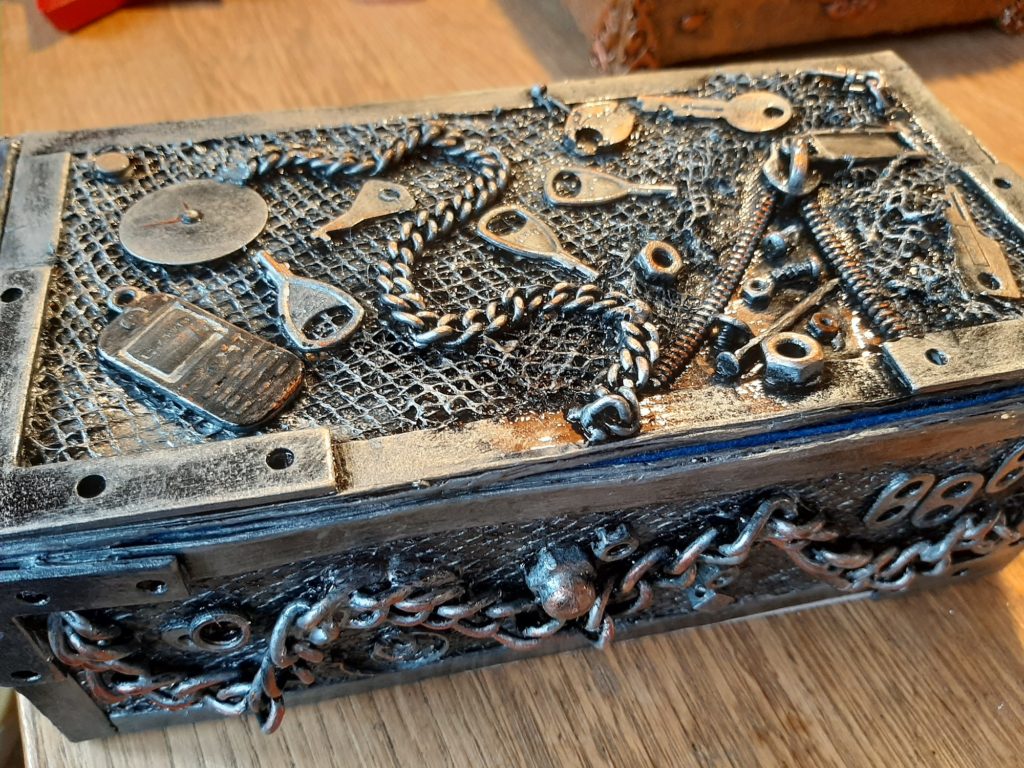
After the drying out comes my beloved hotglue gun, as usual. 🙂 Use it to glue metal angles, nuts and bolts, chains and other hard decoration items to the box. For the itms made out of modelling clay you should use paper glue (Elmer’s), because they are not dry yet when you glue them on.
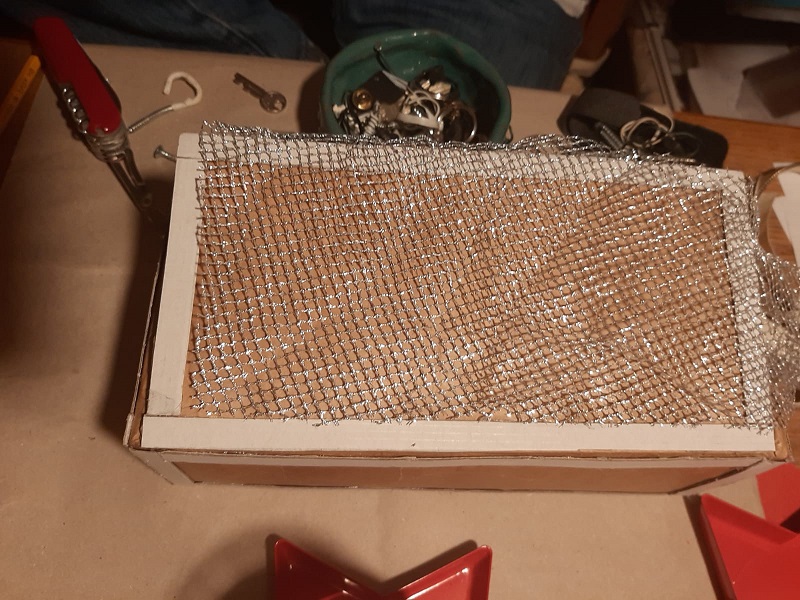
First I used some leftover net-fabric and covered the box with it. That gives the smooth areas some strucure and texture. After that you start glueing on the deco material. Start with the pieces out of modelling clay, if you made any, and use paper glue.
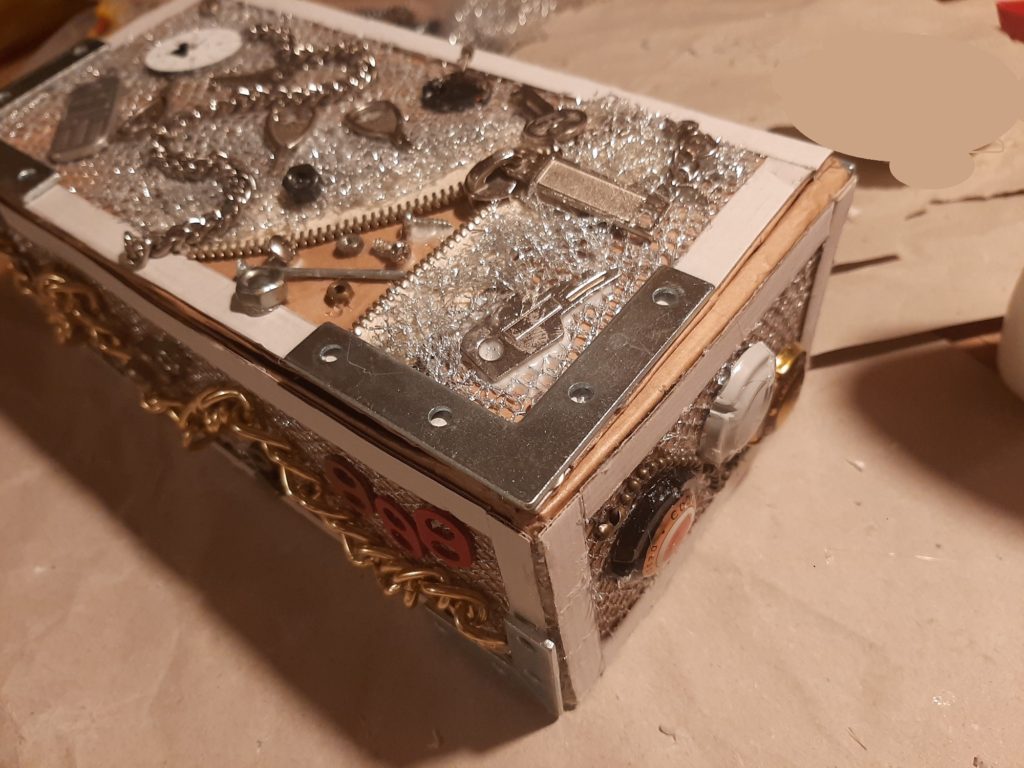
Then come the metal angles, nuts and bolts, chains and anything else you like to add. For that it is best to use the hotglue gun. It will look strange and very colorfulat first. But that will change as soon as you color the jewlery box.
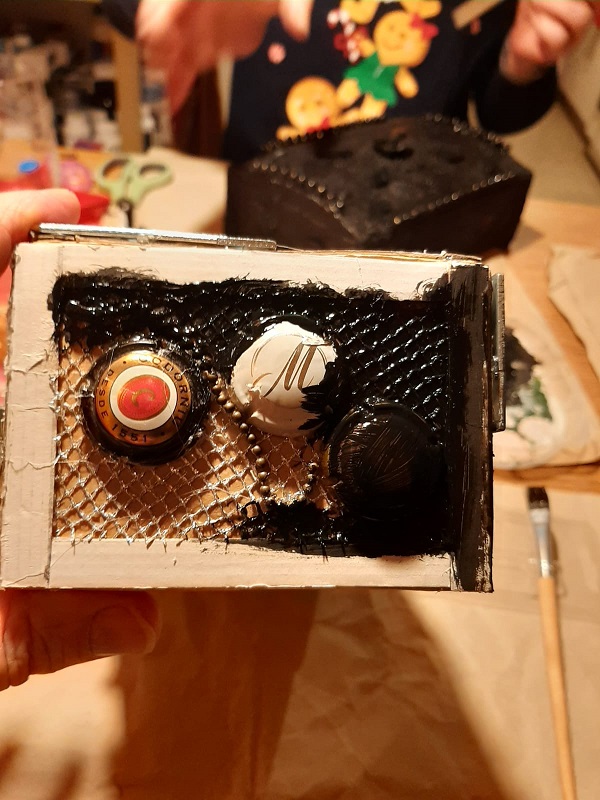

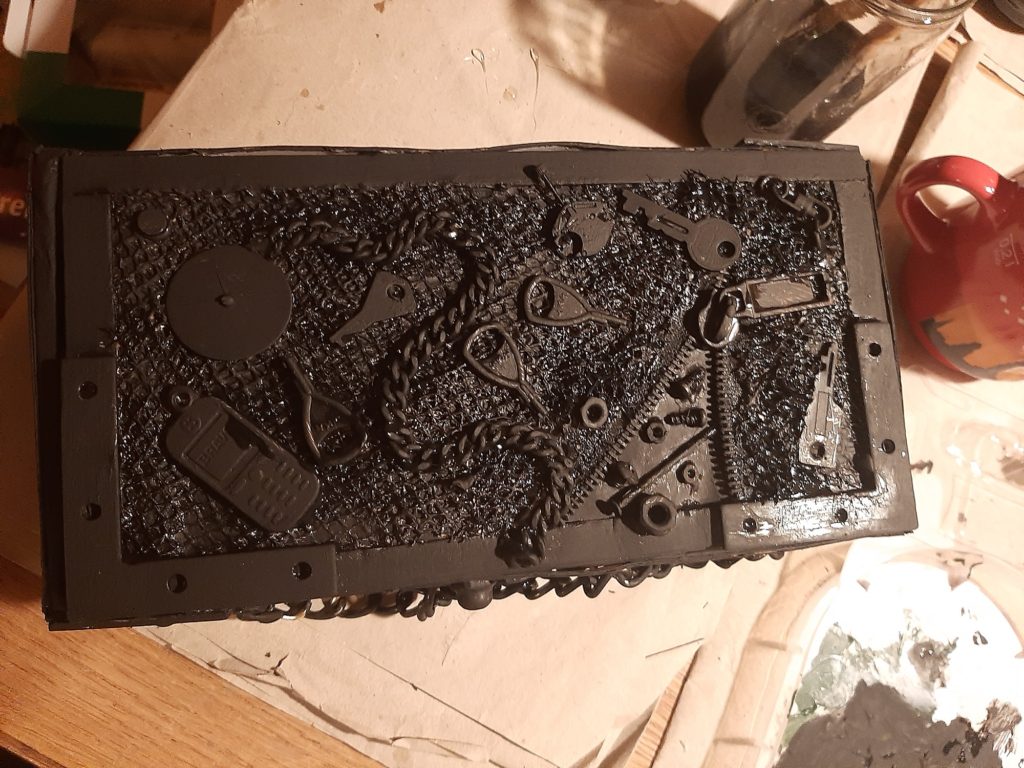
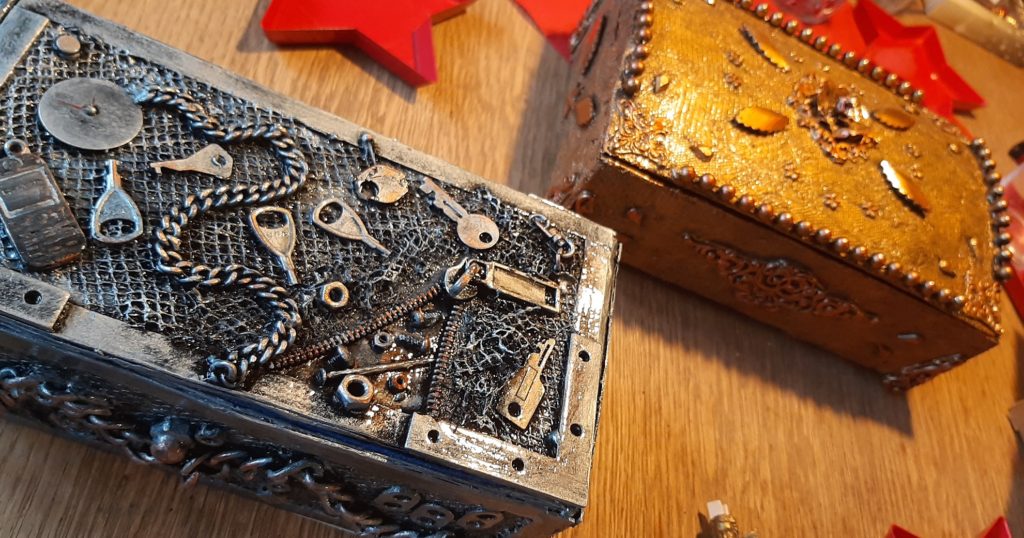
I use black as the base, because I want the jewlery box to look antique. Afterwards you add metallic paint (acrylic), either gold or another metallic color. The black base makes it look like oxidized metal which creates the antique feel. To create the look you need to thin the metallic paint and apply it to the box with a sponge. It is best to try this out on paper first. Paint an area black, let it dry and then add the metallic paint with the sponge. That way you get a feel for it.
Once the color is dry you can paint the bottom of the box (or not) and then cover the inside with felt. Only after everything is done cover the box with clear varnish. I made it easy for myself and used spray varnish.
Now the DIY Storage Box for Valentine’s Day is finished. Of course you can use this beautiful storage box as a gift on any occasion, e.g. birthdays or anniversaries. We gave it away as a Christmas present.
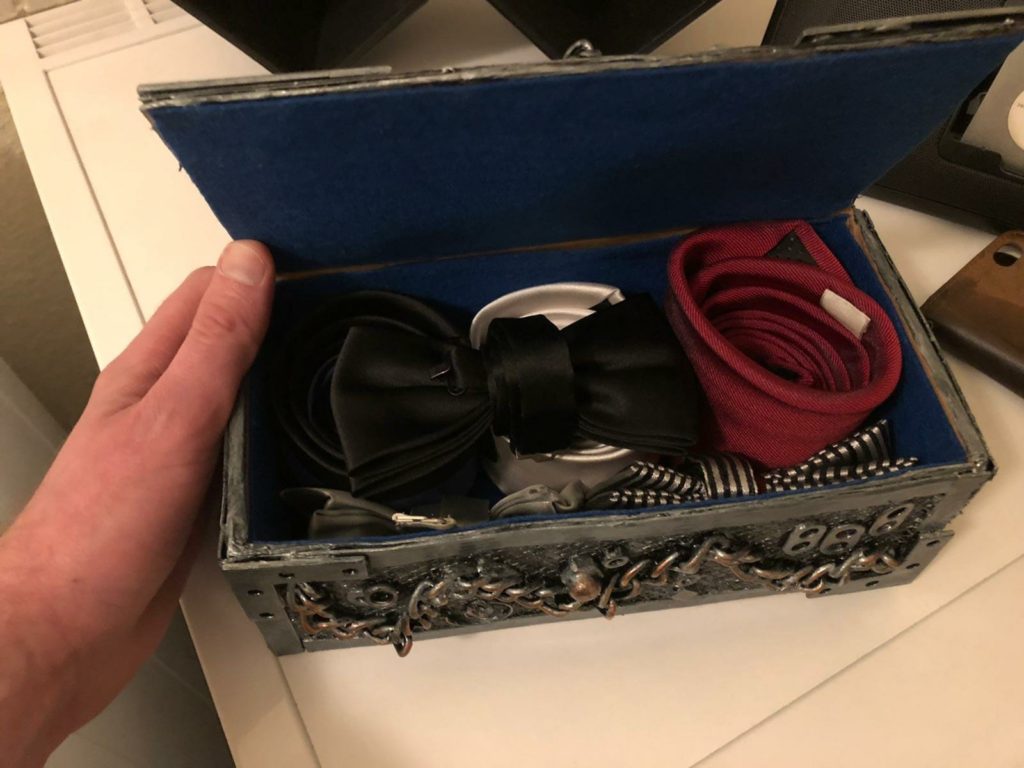
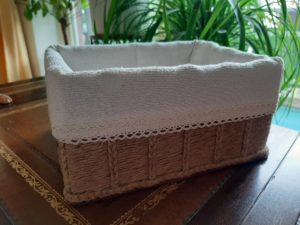
As you can see the storage box is perfect for ties and bow ties.
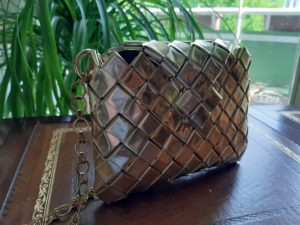
And here you see a second version of the box. A jewlery box.
DIY Storage Box
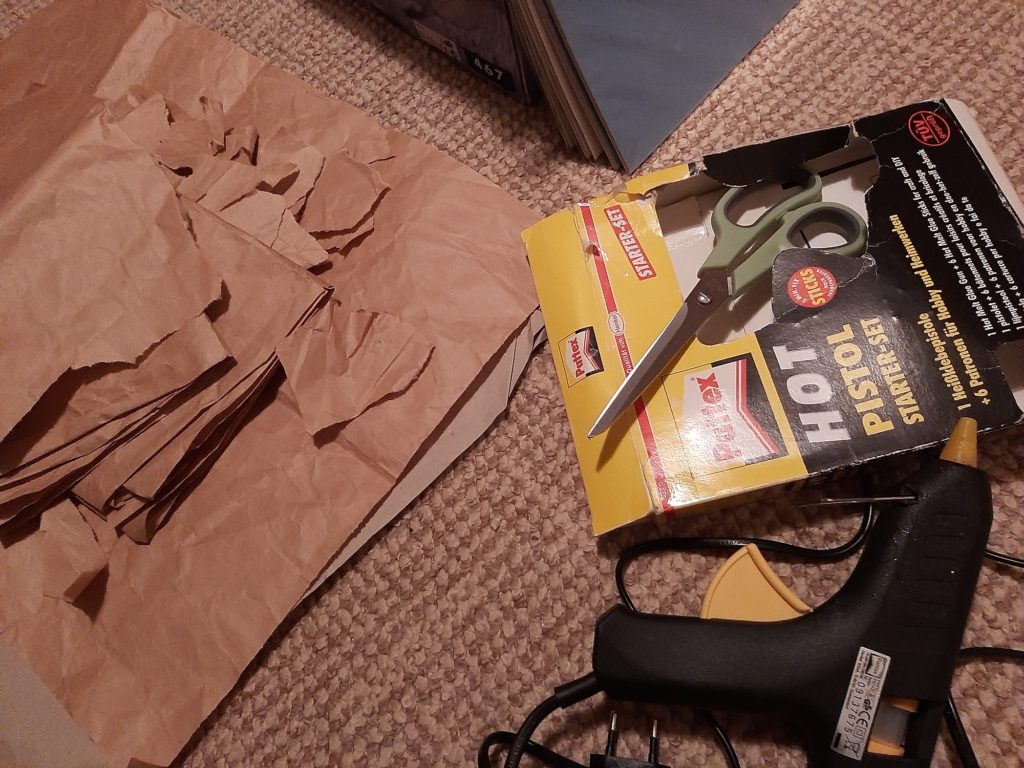
Equipment
- Scissors
- hotglue gun
- Silicone Molds
- Paint Brushes
- Sponge
Materials
- 1 Cardboard Box
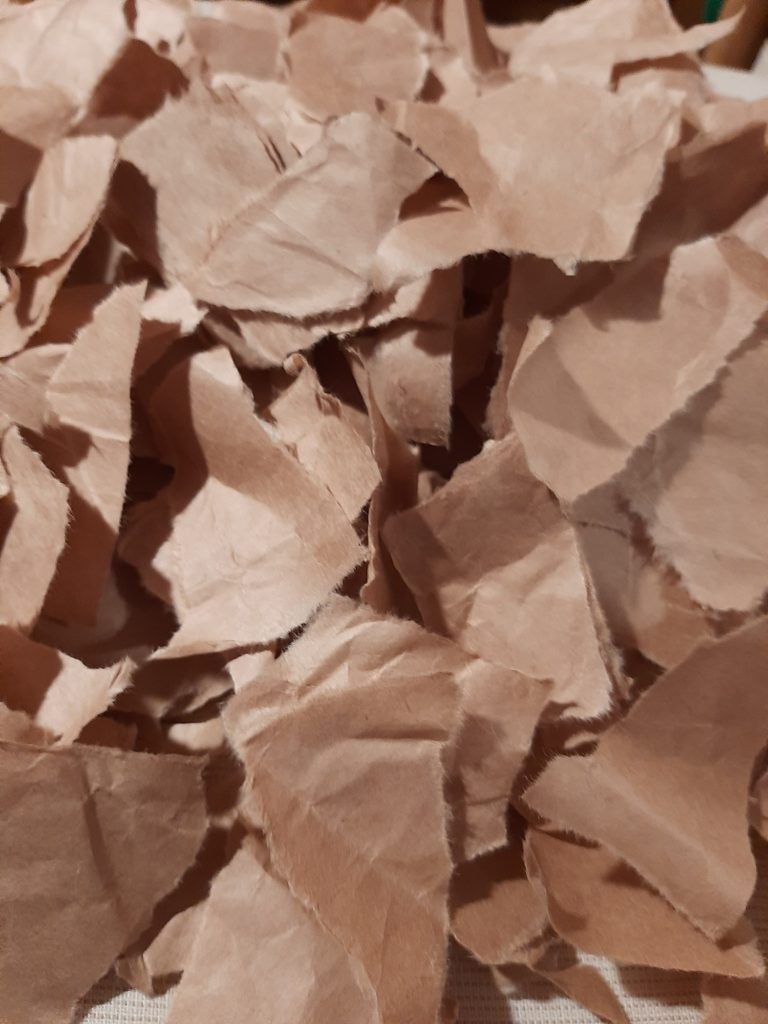
- Brown Paper to rip into pieces
- Hotglue
- Wallpaper Glue
- Paper Glue (e.g. Elmer's)
- Modelling Clay
- MetalAngles, Nuts & Bolts, Chains and more
- other deco
- Acryllic Paint in black and gold (or other)
- Clear Varnish
- Felt for the inside of the box
Instructions
- Cut cardboard box according to needs.
- Rip brown paper into pieces and cover box using wallpaper glue. Let dry.
- Cover box with different leftover materials for structure and texture, e.g.lace
- Make modelling clay decorations. Don't let them dry. – optional
- Glue modelling clay decorations to box using paperglue
- Glue metal decoration and other deco to box using hotglue.
- Cover box with black paint as base.
- Use thinned metallic paint and apply with a sponge all over the box. Let dry.
- Cover inside of box with felt.
- Cover box in clear varnish. Let dry.