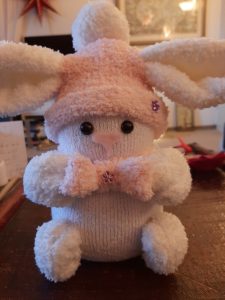
Autumn Owl Amigurumi
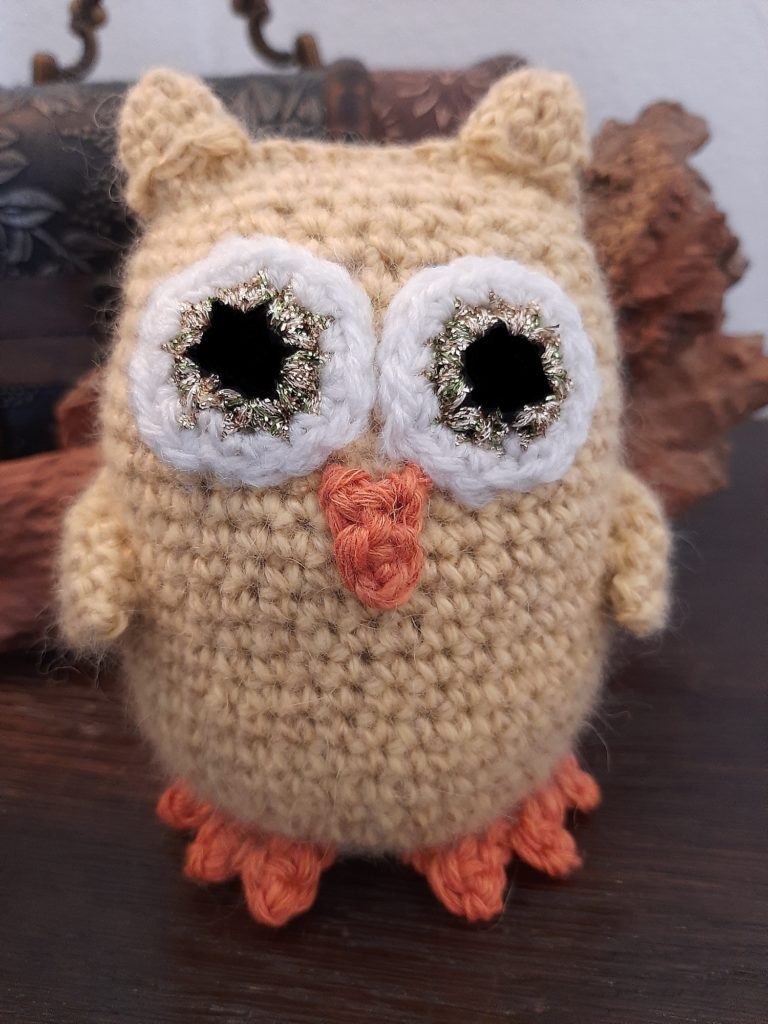
Summer is coming to an end and so it is time for fall decorations. I searched through all my yarn in my Big Bag I came across this wonderful autumn yellow wool. Perfect for an Autumn Owl Amigurumi. And it is fast and easy to make, too. You need 10 parts altogether: body (head), ears, eyes, wings, feet and a beak. That’s it.
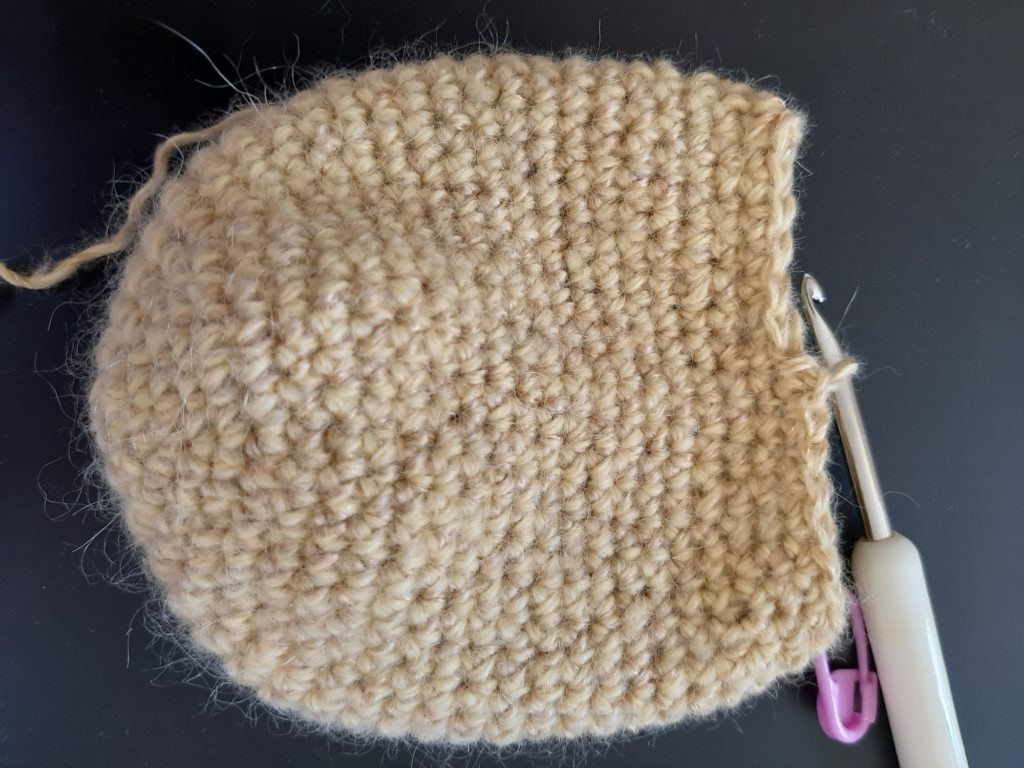
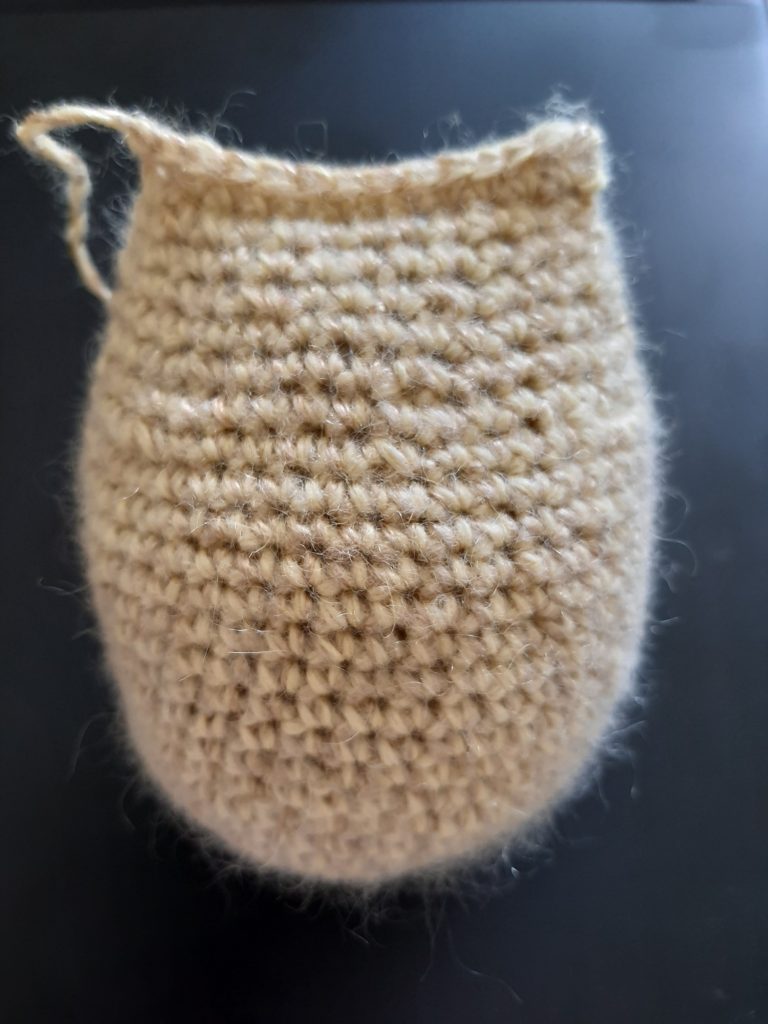
The body and head are made in one piece. As usual you start with a Magic Ring and crochet in spirals, in- and decreasing as needed. After 29 rounds you are finished with the first part.
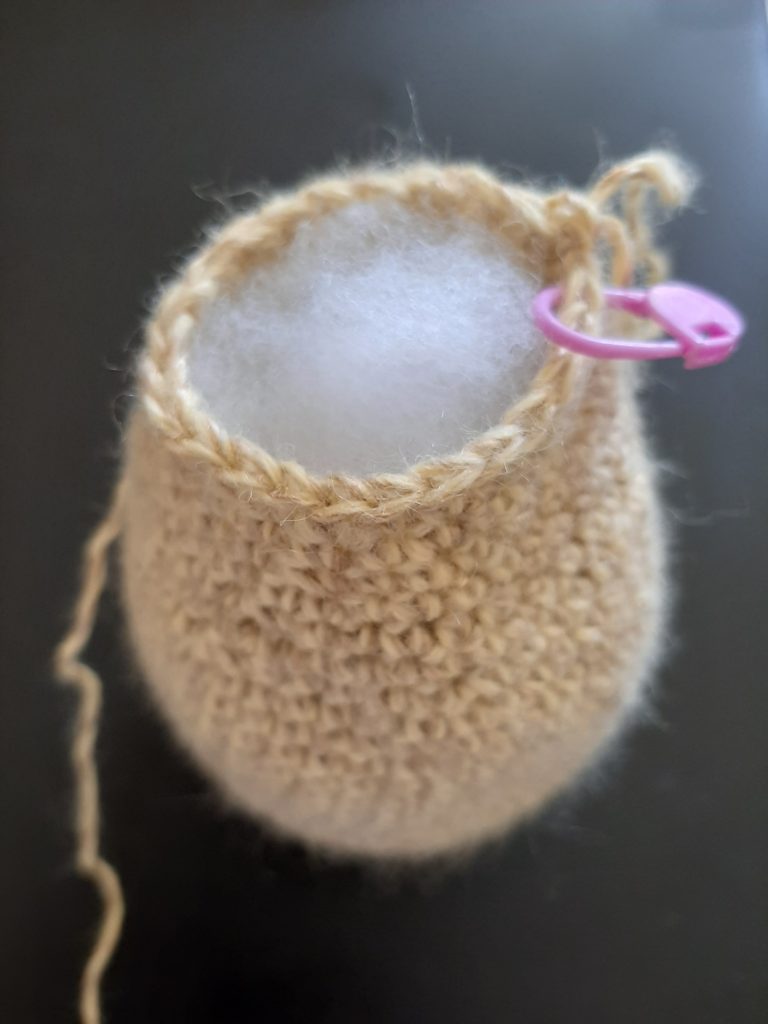
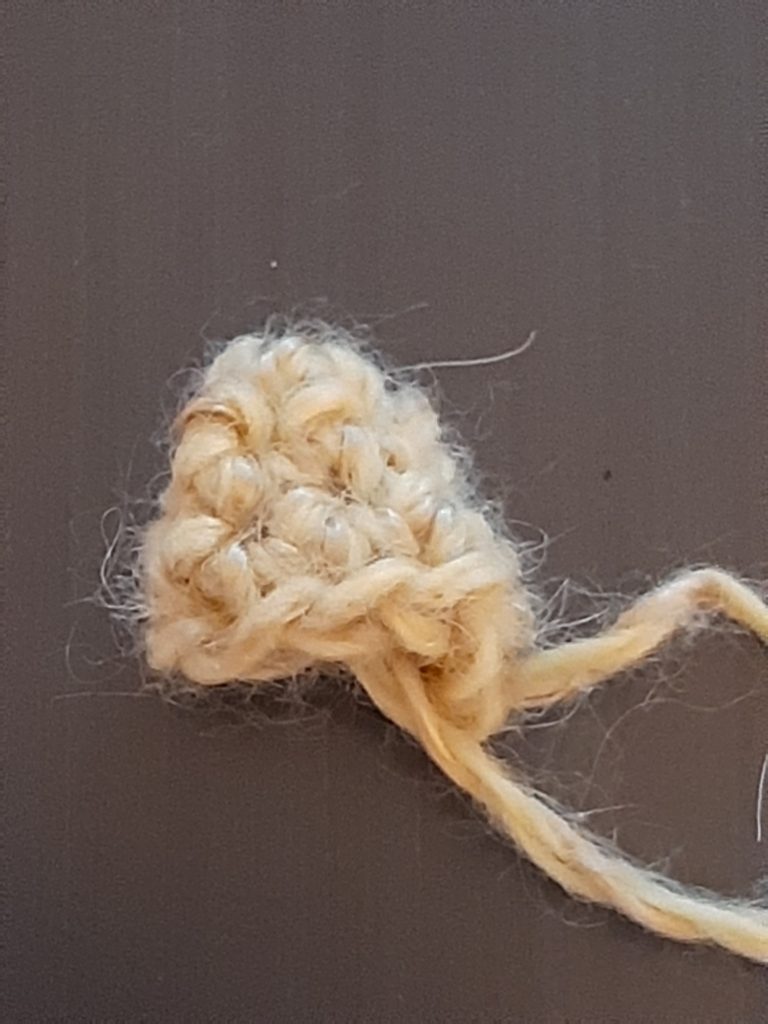
Before you close it though you need to fill the body with a little bag of rice for weight and fiber fill. Of course you can leave out the rice, but the weight makes the owl stand up much better.

rice little bag
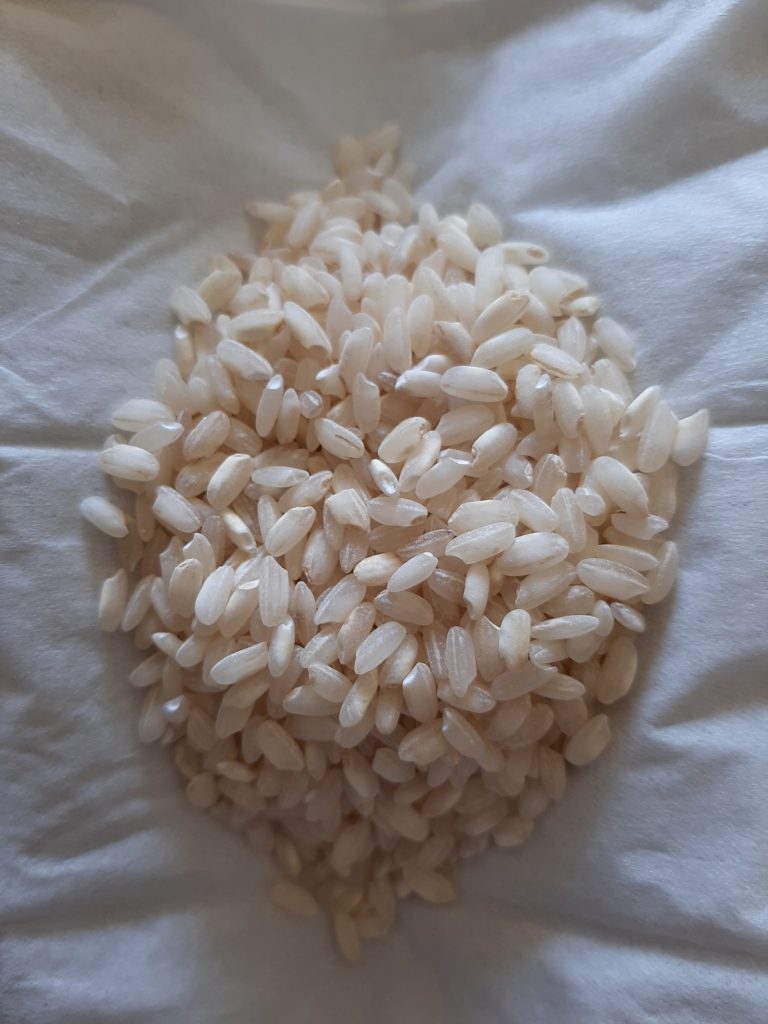
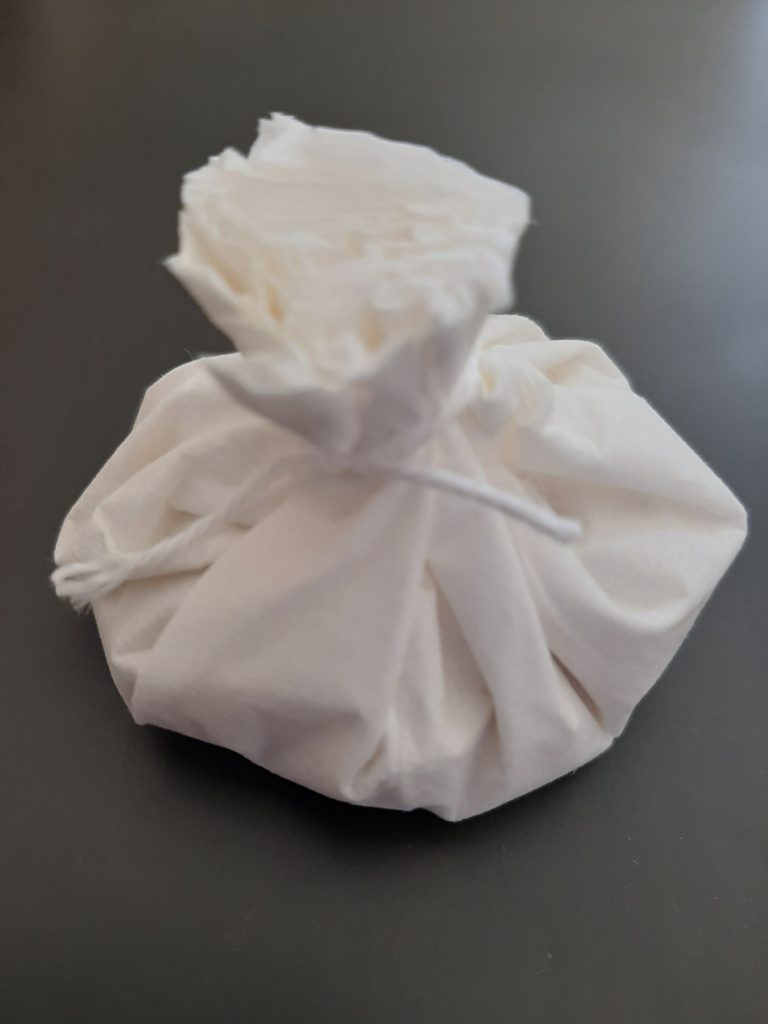
You can use a small piece of cloth or even a paper handkerchief. Put some rice in the center and close it with a string. Then cut excess fabric.
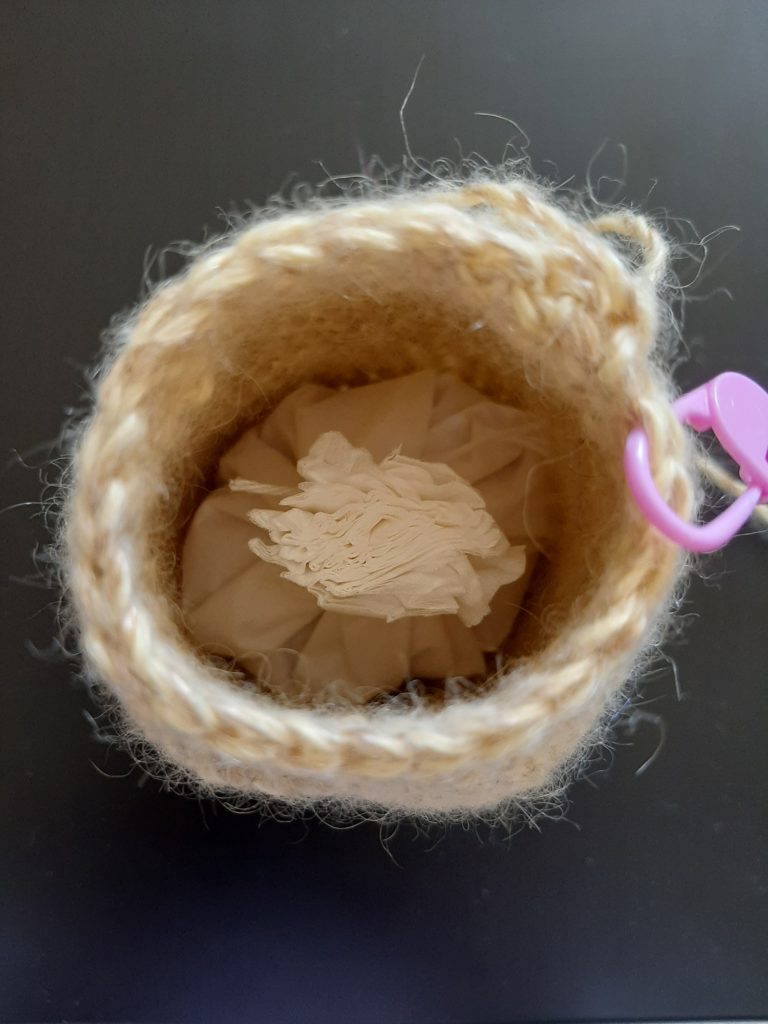
Place the little bag in the bottom of the body and stuff around and on top of it with fiber fill.
bag on bottom stuff with fiber fill
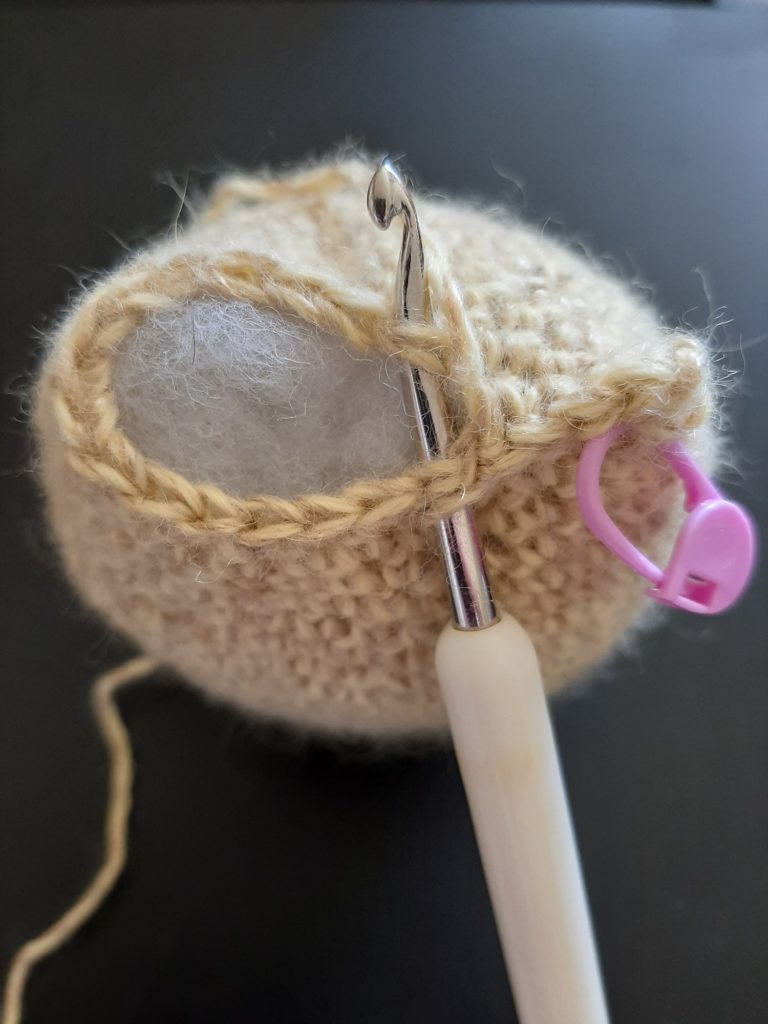
Once you have stuffed the body close the top by holding both sides together and crochet through two stitches at once. Now you have the finished body/head.
crochet sides together finished body
Now you only have to make the little extras. The ears and wings are in the same color, but actually you can choose any color you like. Maybe you want more contrast and take a darker brown. I stayed with my yellow. The ears are really just tiny cones made in four rounds.
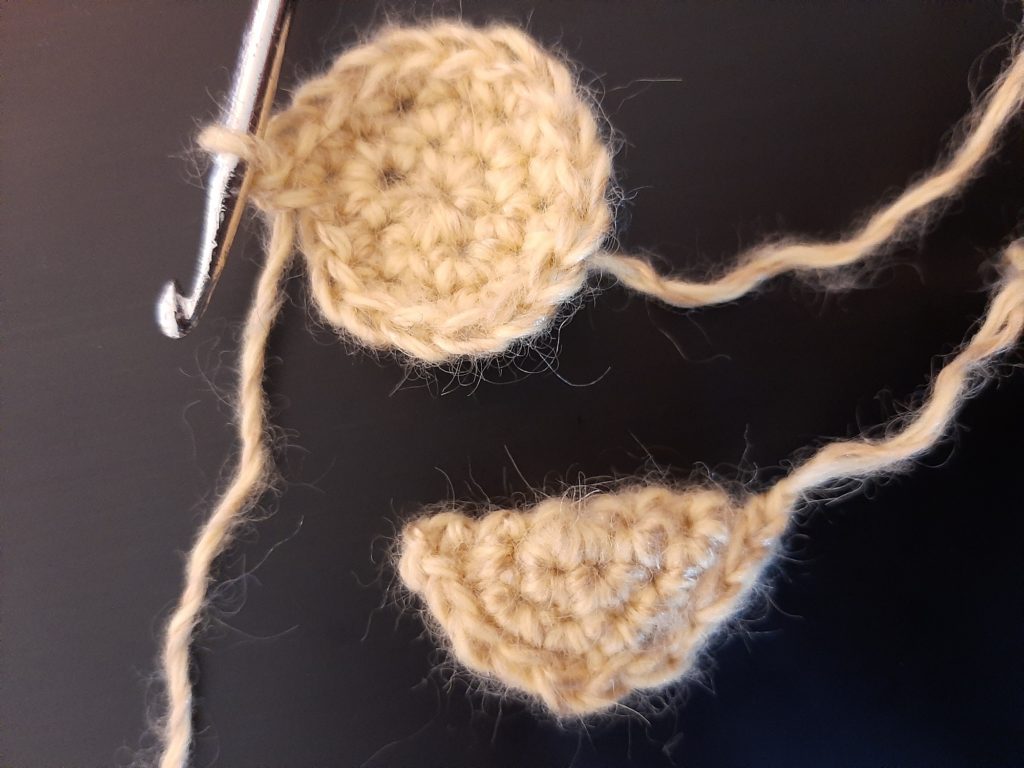
For the wings you crochet circles, fold them in half and crochet the sides together. Just like the ears they only take 4 rounds, but they start with 2 more stitches.
circles folded in half sides crocheted together
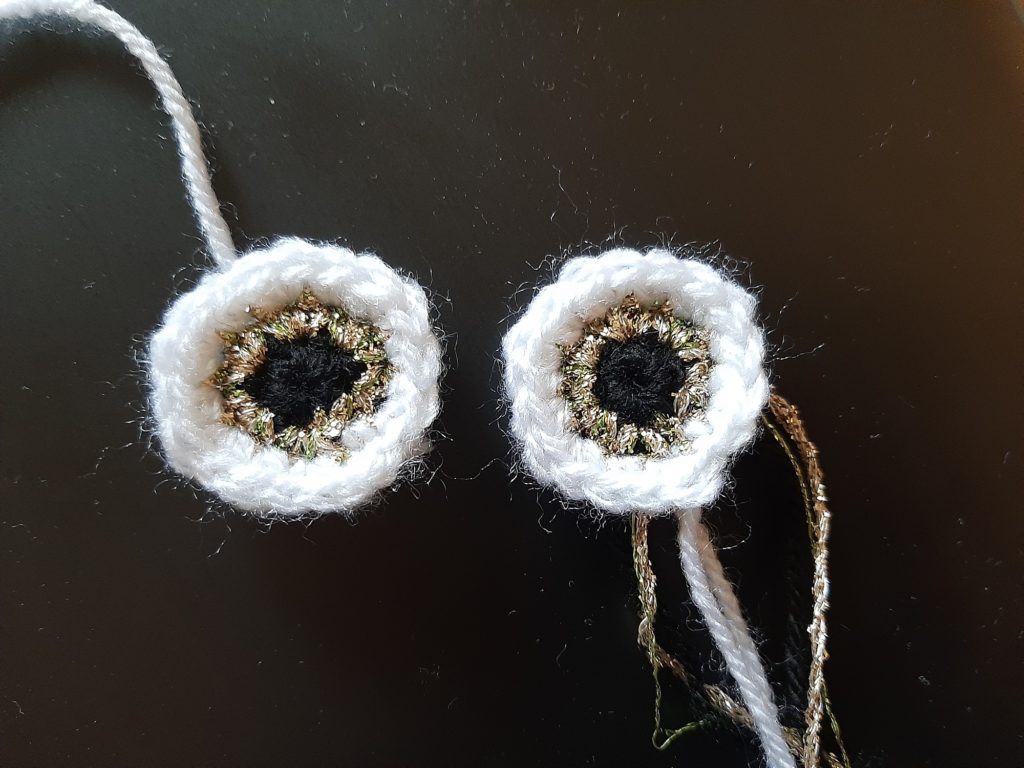
Next thing to do are the eyes. Basically they are the circles from above, but you use different colors. You start with a Magic Ring in black then switch to the eye color (I used glitz yarn) and finish with white. That’s all.
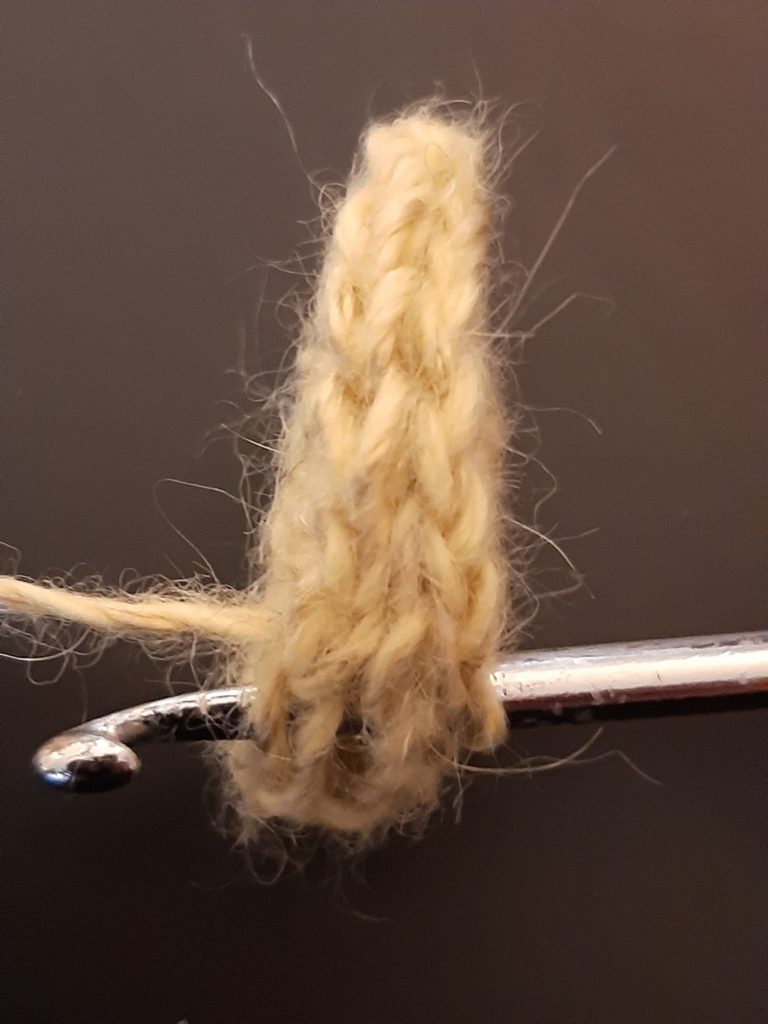
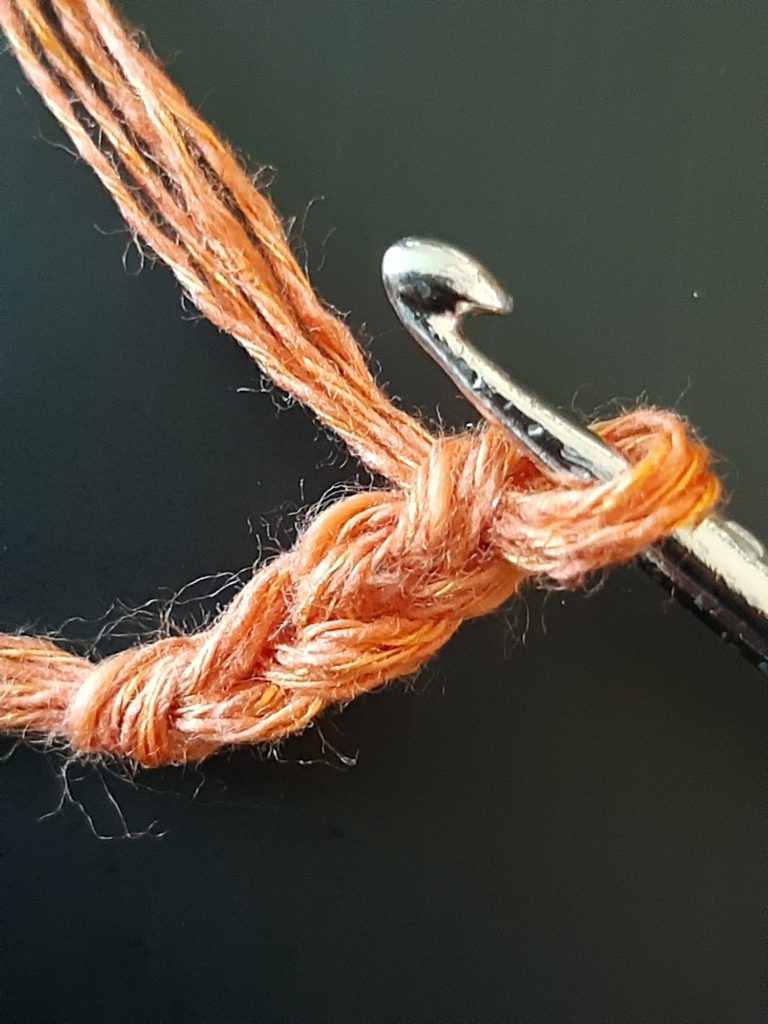
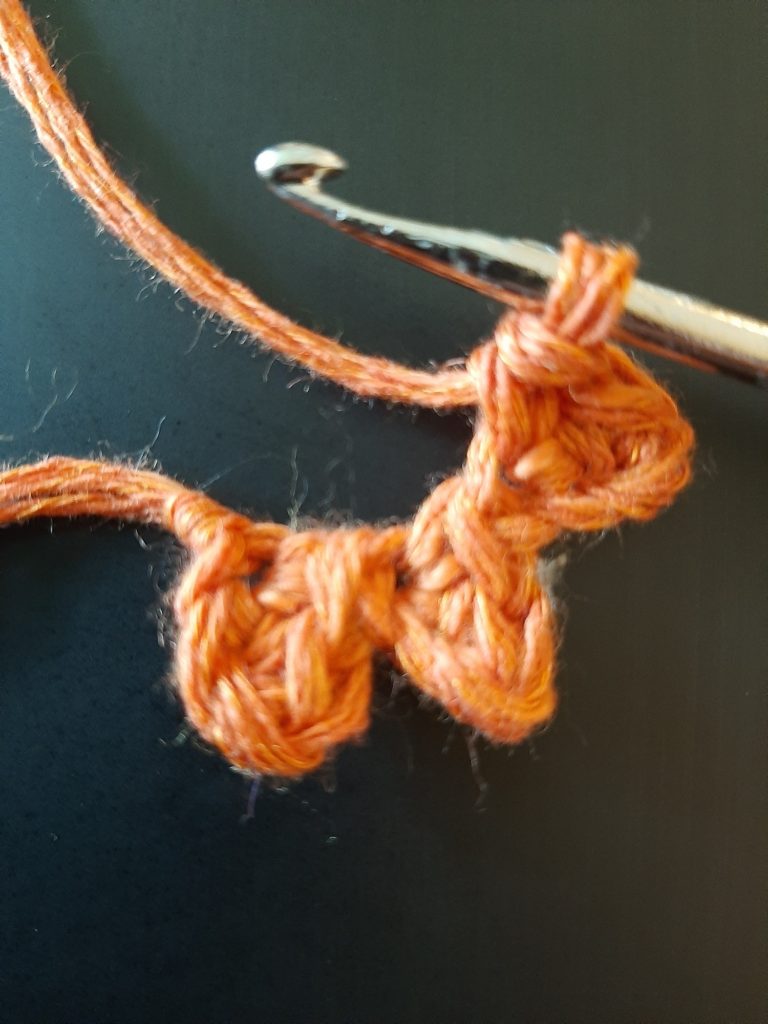
Finally you make the feet and the beak. Funnily enough the feet consist of 3 beaks crocheted in one piece. 🙂 I chose orange for that, but again you can use any color you like. After 3 chain stitches and two single crochets you are finished with the beak.
3 chain stitches and 2 single crochets
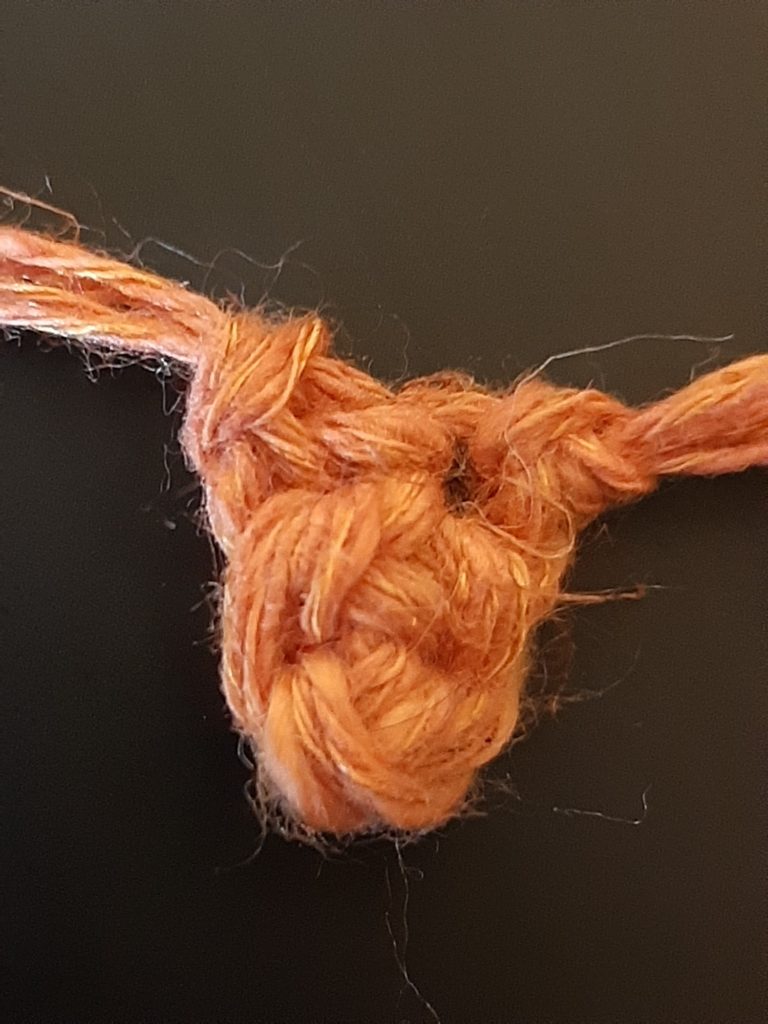
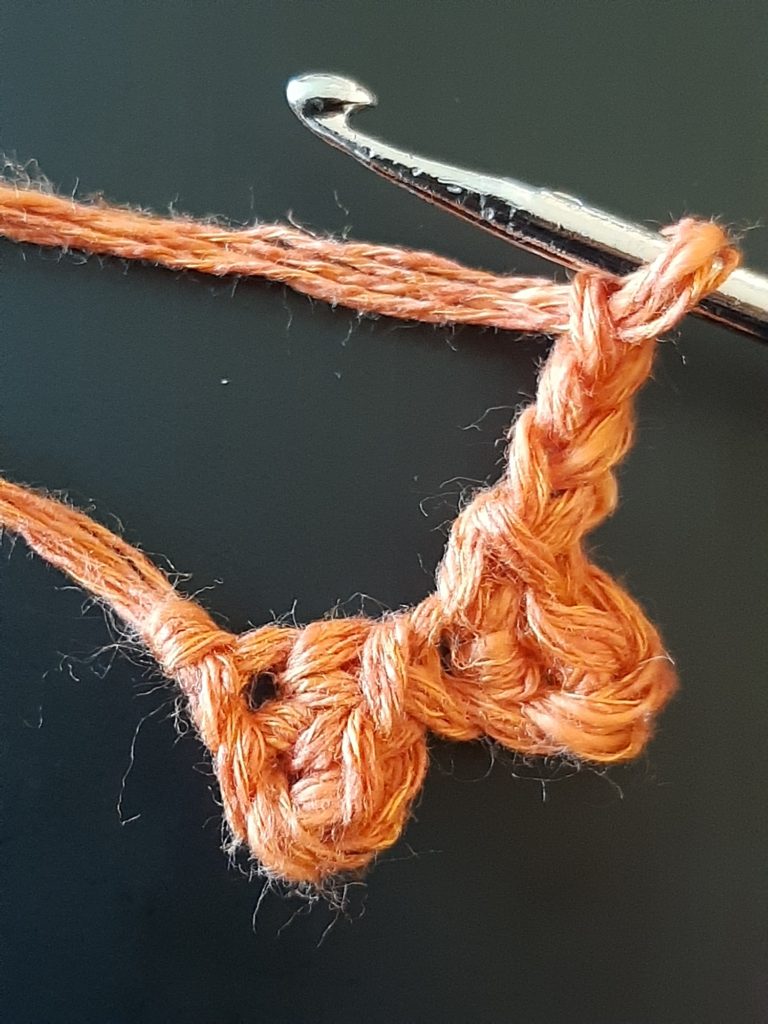
For the feet you do the same as for the beak, but you continue crocheting and repeat the pattern twice. There is your first foot. Now do the second one.
continue crocheting finished foot
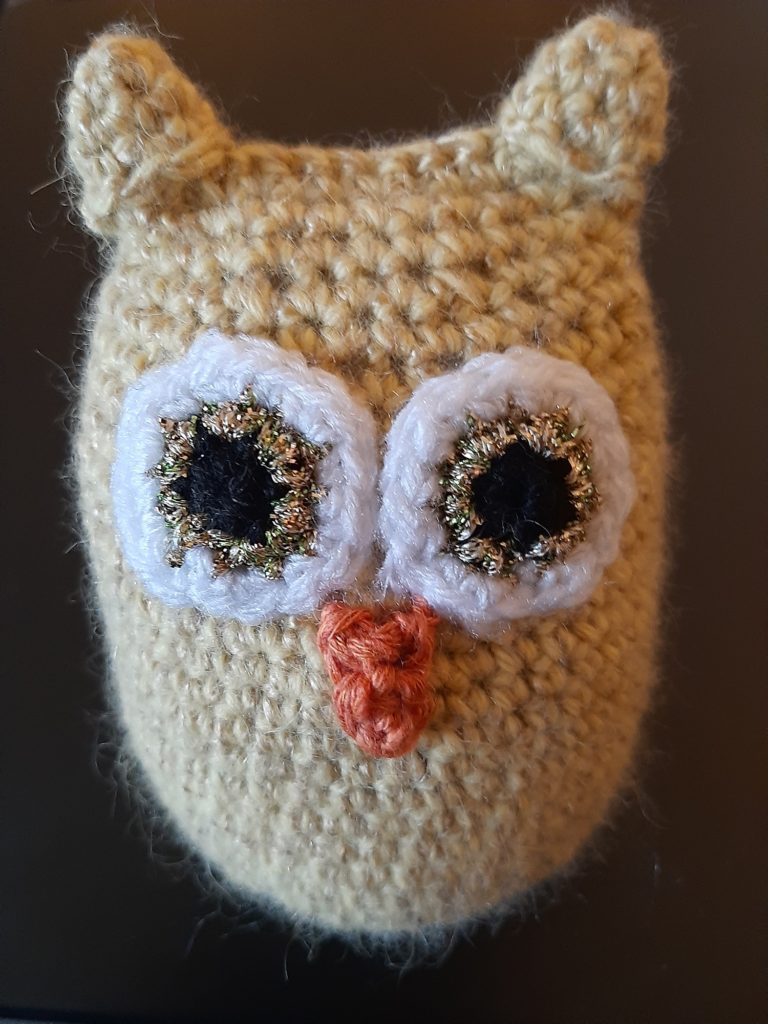
Finally it is time to put the pieces together. I started with the ears and eyes.

Then I added the beak. That looked pretty good already.
But as you can see the owl really needs wings and feet, too. So I added them as the last step.
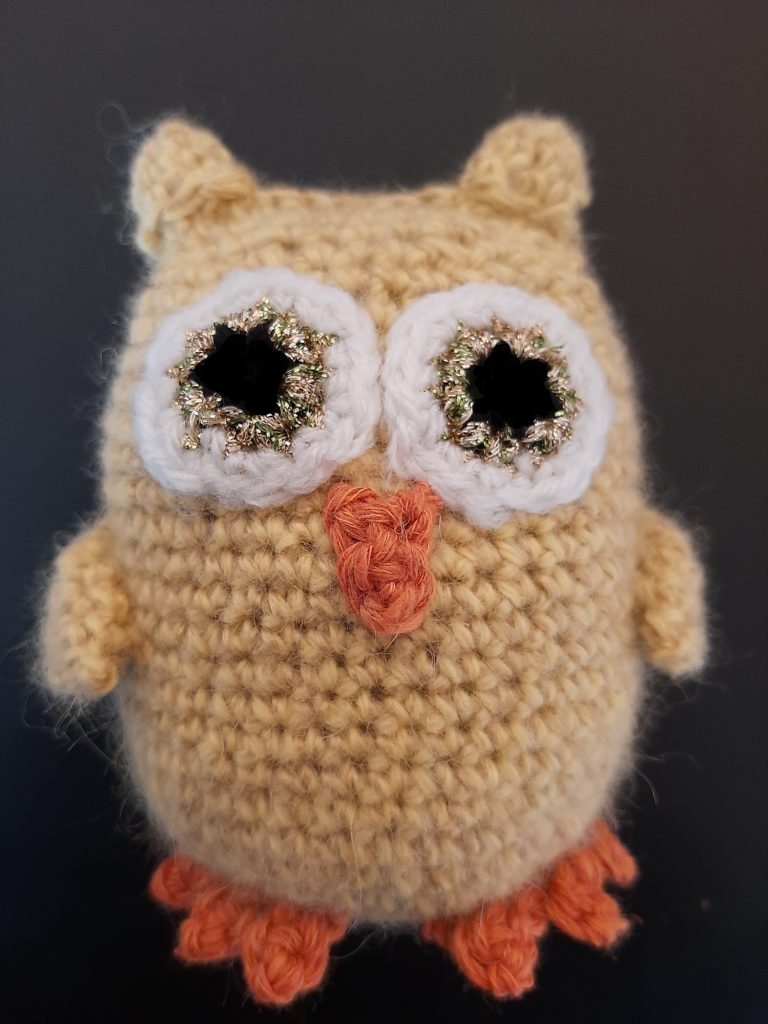
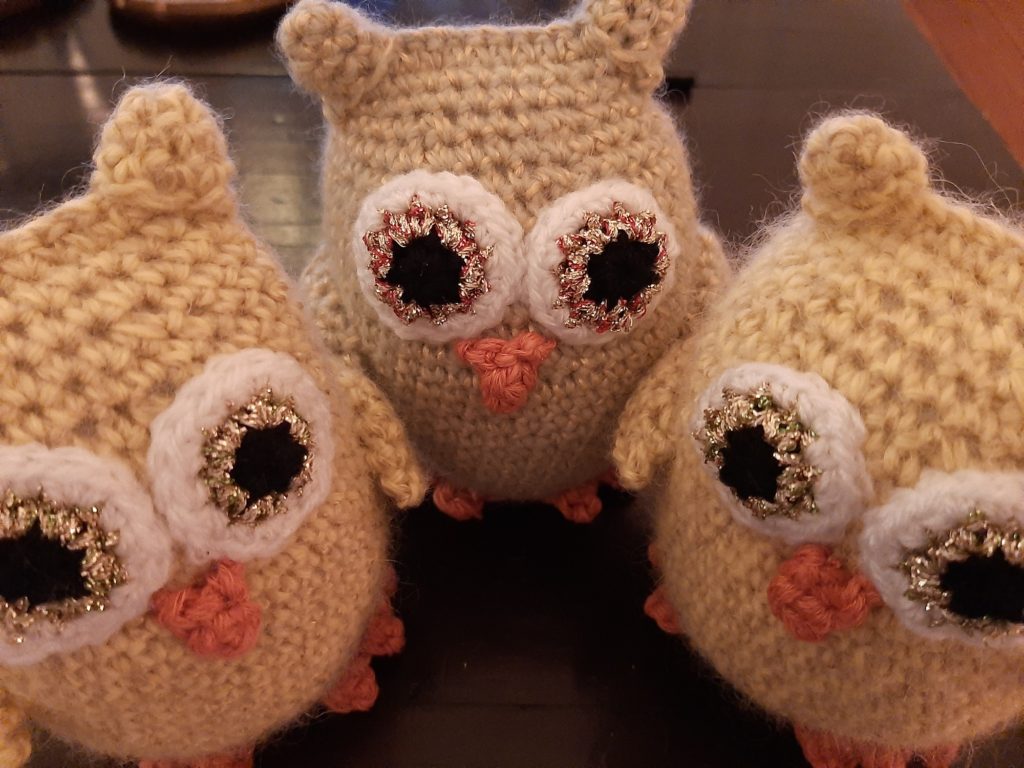
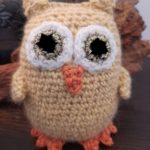
Now your Autumn Owl Amigurumi is finished. Isn’t it cute? So how many are you going to make? I am still counting. And it’s great for using up all your left over yarn.
Autumn Owl Amigurumi
Equipment
- crocheting hook no. 3,5
- Scissors
- darning needle
Materials
- 30-50 g yarn/wool
- left over yarn in black, white, orange and glitz
Instructions
Head/Body
- Start with a magic ring with 6 sc (single crochet). We work in spirals so do not join. This is your 1. Round. Make sure to use a marker at the ends of the rounds. It does help.2. Round: Double every stitch (2 sc in every stitch) – 12 stitches3. Round: Double every 2nd stitch – 18 sts4. Round: Double every 3rd stitch – 24 sts5. Round: Double every 4th stitch – 30 sts6. Round: Double every 5th stitch – 36 sts7. Round: Double every 6th stitch – 42 sts8.-21. Round: 1 sc into every stitch – 42 sts22. Round: Decrease every 6th stitch – 36 sts23. Round: 1 sc into every stitch – 36 sts24. Round: Decrease every 5th stitch – 30 sts25. Round: 1 sc into every stitch – 30 sts26. Round: Decrease every 4th stitch – 24 sts27.-28. Round: 1sc into every stitch – 24 stsNow stuff the head/body with a little bag of rice and fiber fill before closing it.29. Round: Chain one (1 chain stitch), fold the opening in half and single crochet the 2 opposite stitches as one (12 sts). Fasten off and hide excess string.
Ears
- Start with a magic ring with 4 sc (single crochet). We work in spirals so do not join. This is your 1. Round. Make sure to use a marker at the ends of the rounds. It does help.2. Round: Double every 2nd stitch (2 sc in every other stitch) – 6 stitches3.-4. Round: 1sc into every stitch – 6 stsFasten off leaving a string (for sewing on the head later).Now make the second ear just like the first.
Wings
- Start with a magic ring with 6 sc (single crochet). We work in spirals so do not join. This is your 1. Round. Make sure to use a marker at the ends of the rounds. It does help.2. Round: Double every stitch (2 sc in every stitch) – 12 stitches3. Round: Double every 2nd stitch – 18 sts4. Round: Chain one (1 chain stitch), fold the circle in half and slip stitch the 2 opposite stitches as one (9 sts). Fasten off leaving a string (for sewing on the body later).Now make the second wing just like the first.
Eyes
- Start with a magic ring with 6 sc (single crochet). We work in spirals so do not join. This is your 1. Round. Make sure to use a marker at the ends of the rounds. It does help. Use black yarn for this.2. Round: Double every stitch (2 sc in every stitch) – 12 stitches – Use colored (glitz) yarn for this.3. Round: Double every 2nd stitch – 18 sts – Use white yarn for this.Fasten off leaving a string (for sewing on the head later).Now make the second eye just like the first.
Feet
- Row: Chain stitch 3 stitches2. Row: Go down on the chain and single crochet 2stitches3. Row: Chain stitch 3 stitches4. Row: Go down on the chain and single crochet 2stitches5. Chain stitch 3 stitches6. Row: Go down on the chain and single crochet 2stitchesFasten off leaving a string (for sewing on the body later).Now make the second foot just like the first.
Beak
- Row: Chain stitch 3 stitches2. Row: Go down on the chain and single crochet 2stitchesFasten off leaving a string (for sewing on the head later).
Putting it together
- Now with the darning needle sew all the pieces together and hide excess string.