Making Fairy House Lamps
A great gift making or just decoration idea are the fairy house lamps. A while ago I discovered that recycling plastic bottles can turn into wonderful things. We made fairy house lamps out of them. Well, one of them is actually a mermaid house. But who is counting?
The entire inner structure consists of plastic bottles, held together with hot glue. That way you can use lights inside and it will shine through. The ouside also uses paper rolls and different cardboard boxes from packagings. For some of the shaping I used foil. Then everything gets covered, almost coated, with modelling clay, leaving out windows and doors.
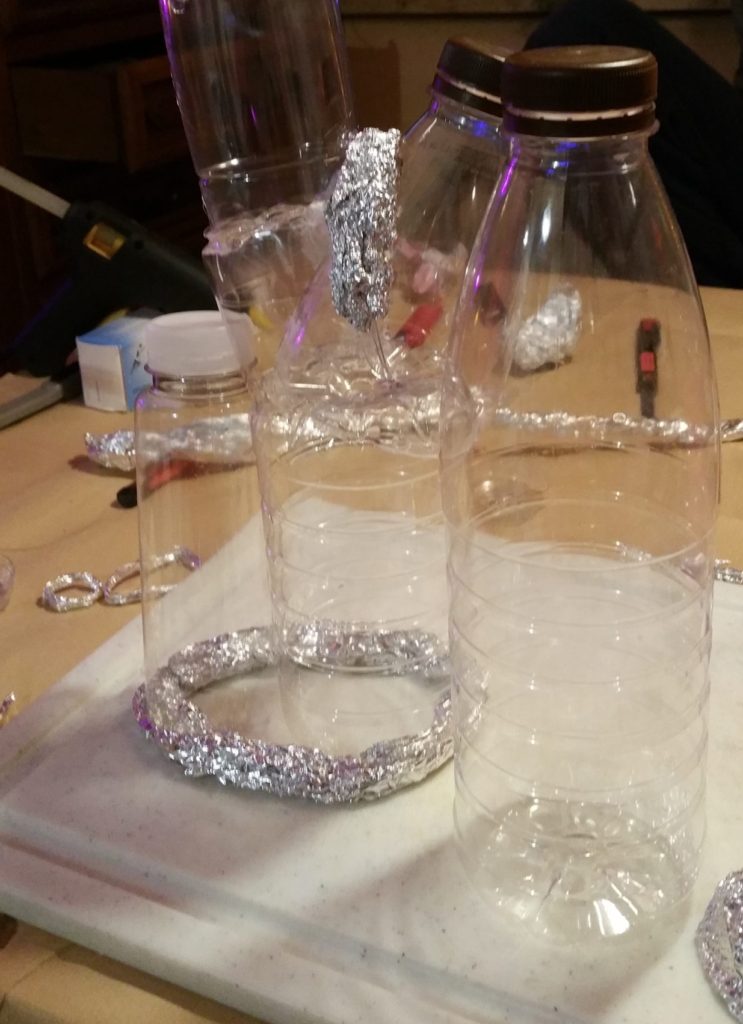
This is the inside structure of the Fairy House Lamp. I cut the plastic bottles into shape and glued them together with the hot-glue gun. The foil shapings are also glued on.
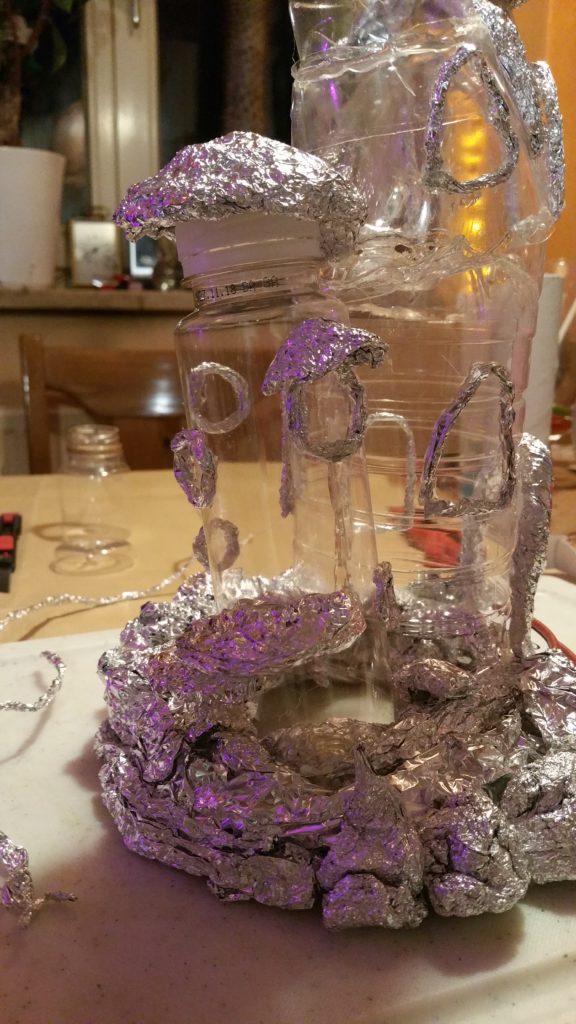
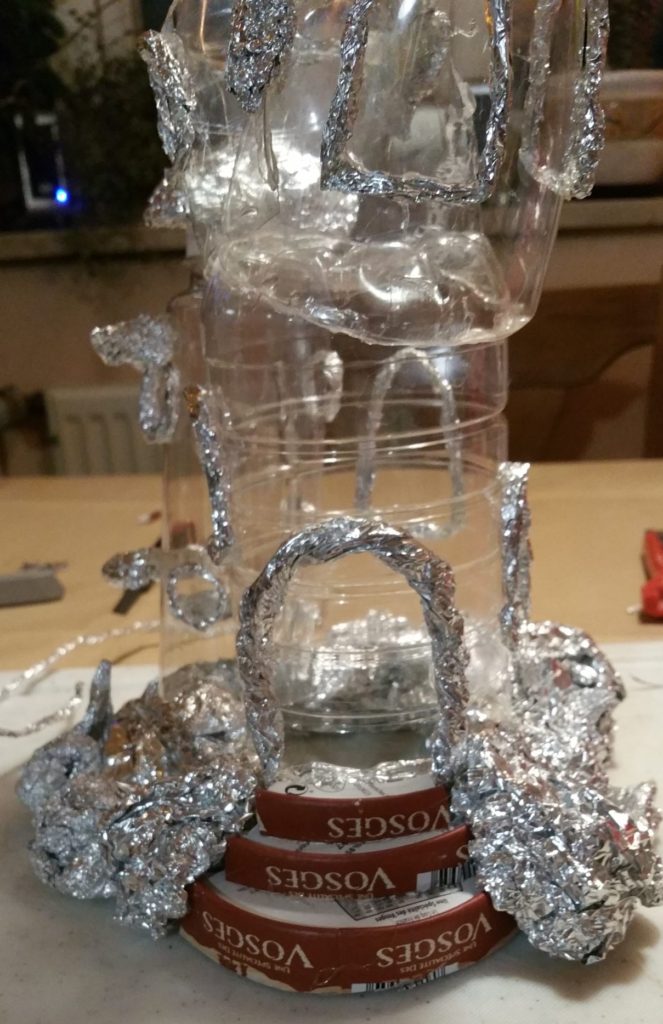
Here you see the bushes, door and window frames made out of foil. For the stairs we used a paper cheese package 🙂
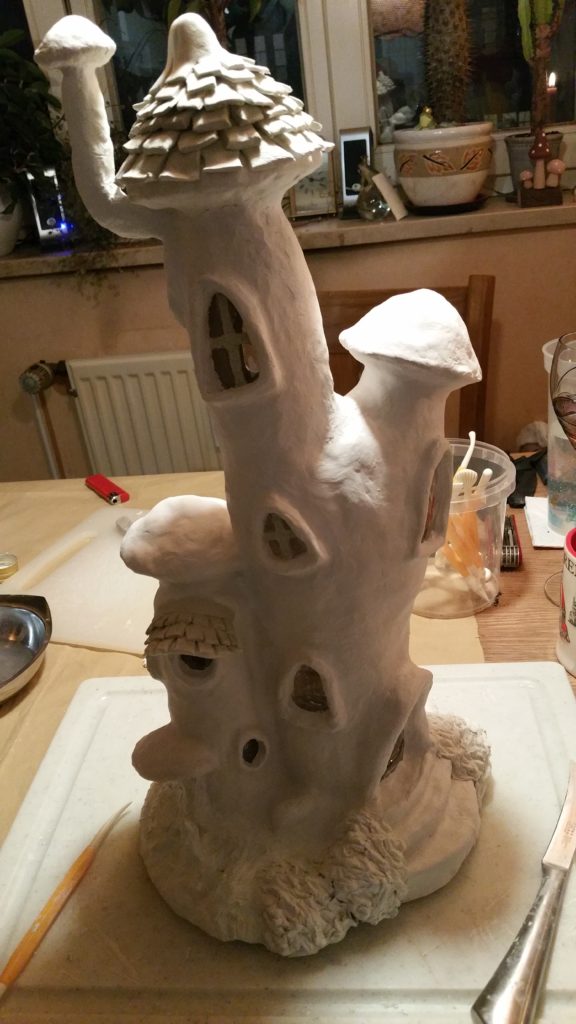
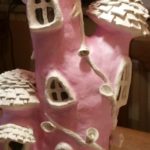
Now cover everything in modelling clay. To give the bushes and other things their look use a knife or even better cake modelling tools. They cost very little and you can get them in a lot of supermarkets. For the roofing tiles I used clay strips with cuts half way up. It almost looks like teeth. When you attach the strip the “teeth” will come apart so they look like individual pieces. Then you can bend them up a little to make them look older. Finally add any clay extras you would like to turn it into the fairy house you want (or your kids).
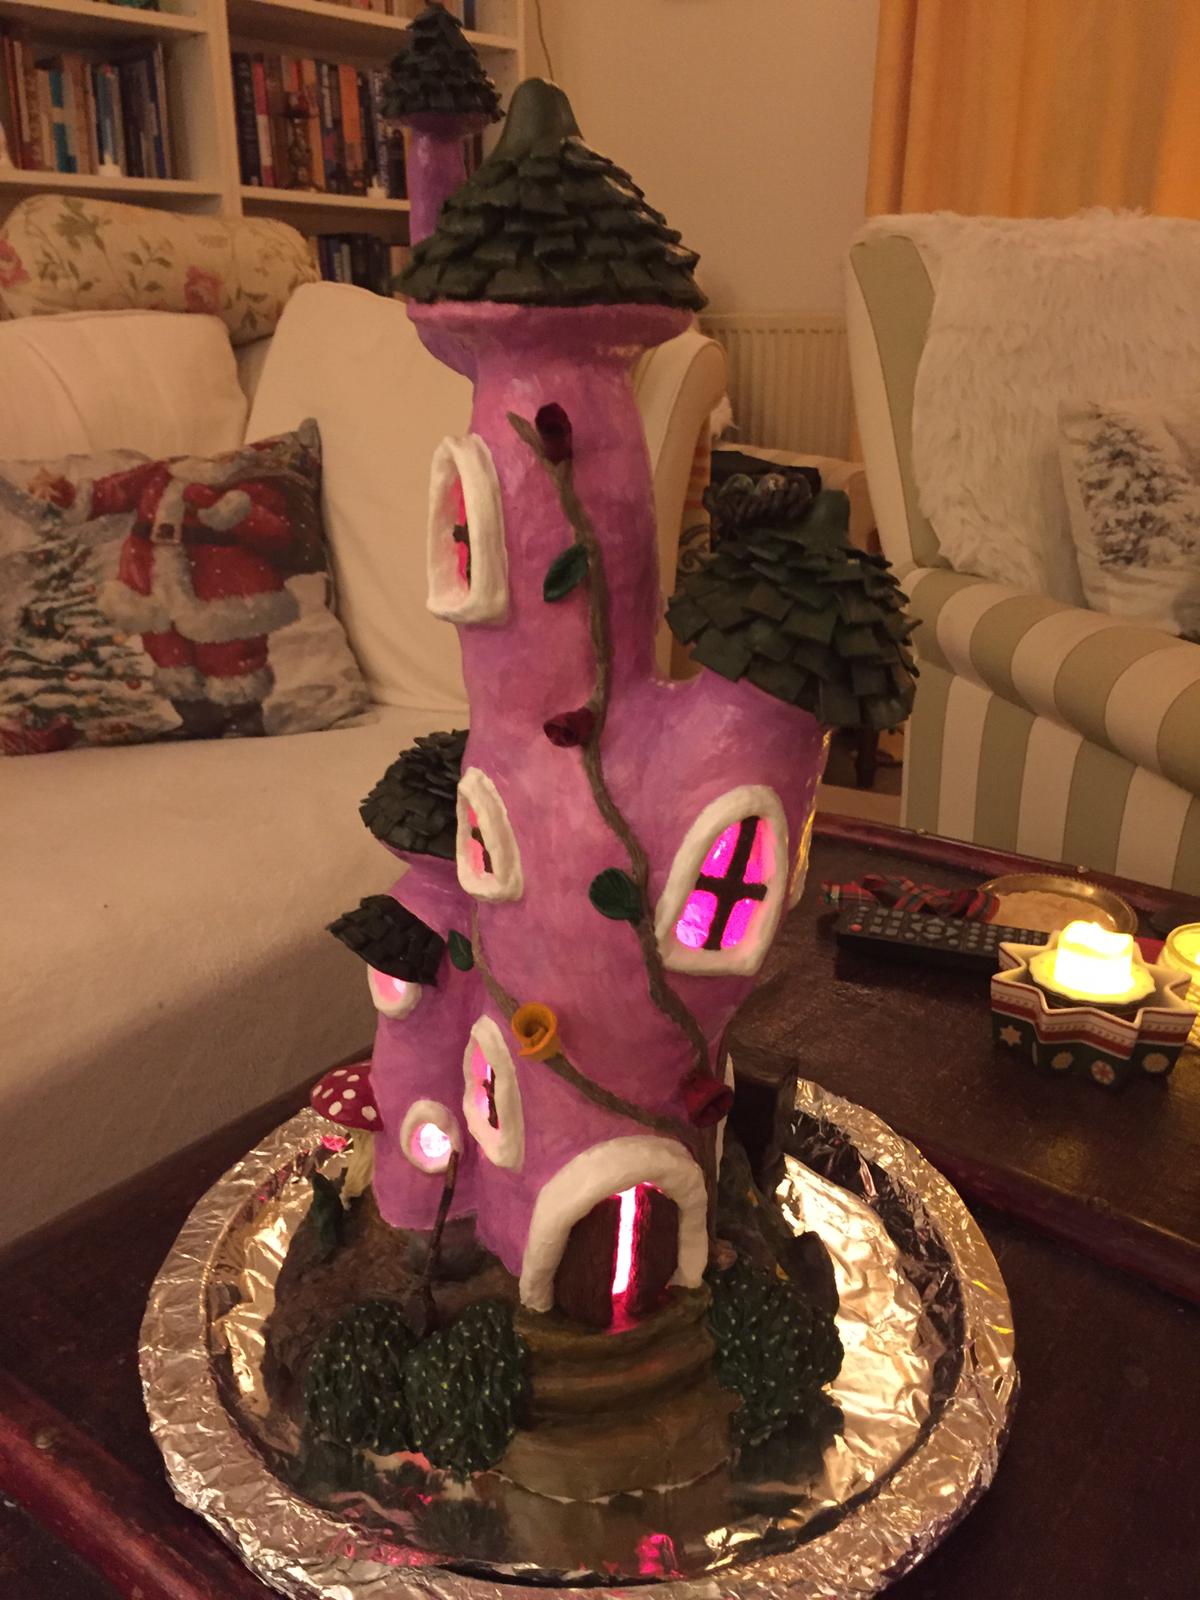
As the final step you paint everything put a light string inside. This is the finished Fairy House Lamp above.

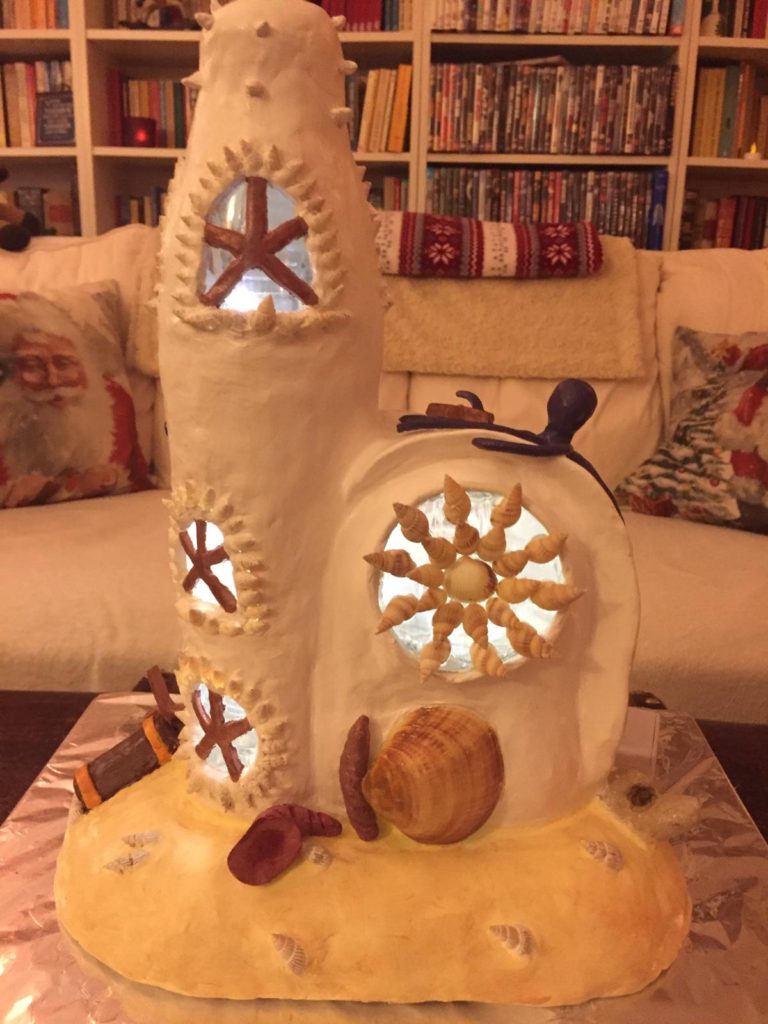
And here is another example: A Mermaid House Lamp. Also constructed out of plastic bottles. I added a few real shells
Fairy House Lamps
Equipment
- Hot Glue-Gun
- Cutter Knife
- Scissors
- Knife or Sculpting Tools (for cake making)
- Paint Brushes
- Electric Light Strings
Materials
- Plastic Bottles
- Paper Rolls
- Foil
- Hot Glue
- Modelling Clay
- Paint acrylic is the best
Instructions
- Before you start make sure all the bottles are clean. Then cut them into the shapes and sizes you need and glue them together. Don't worry if you glue something on crooked. It's a fairy house. They are supposed to be crooked.
- Now add cut paper rolls, boxes and foil until you have your disired shape and cover everything with the clay. I roll out bigger pieces of clay and paste them around the bottles.
- Add roofing tiles, bushes, window panes, doors and anything else you like. In the end let the clay dry completely so it can be painted.
- Paint your fairy house and put the light strings inside
