Chair Pillows for Outdoors and Indoors
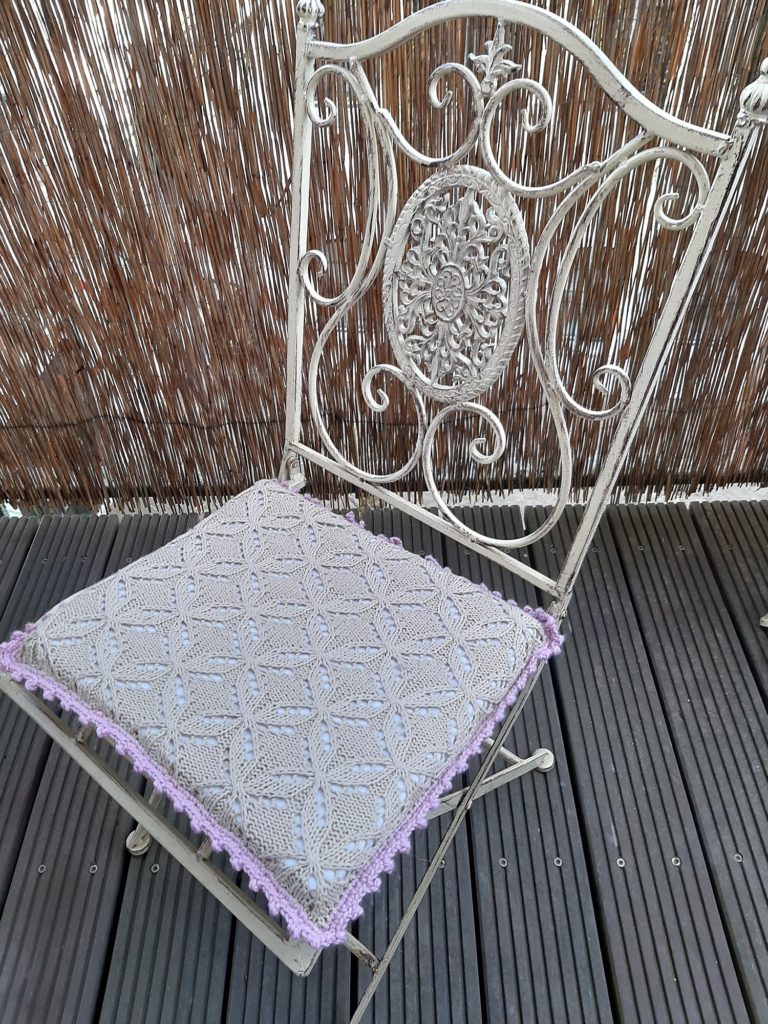
We are finally in spring and the weather is getting warmer. Perfect for sitting on your balcony or patio. If your chairs don’t look so fresh anymore, make some chair pillows for outdoors or indoors to give them a new look and new comfort.
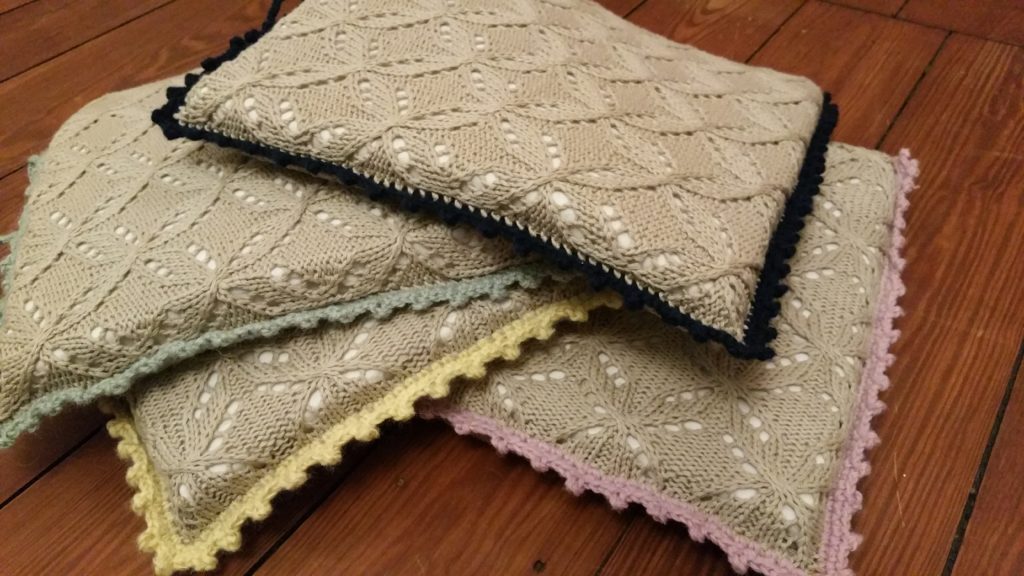
The pattern I used for these pillow covers is the ajour pattern. It is really nice and produces a leafy or flowery look. Also a great look for afghans, scarfs, cardigans, sweaters and tops. It all depends on the thickness of your yarn.
When you add an extra inlet these pillows are wonderful to make any chair more comfy. They do take some time, but it is well worth it. I made the special inlets so you can wash the pillow covers more easily. The covers themselves are knitted, the edge is chrocheted. In German, according to my Oma, the pattern for the trim is called “little mice teeth” 🙂 It is very easy to do.
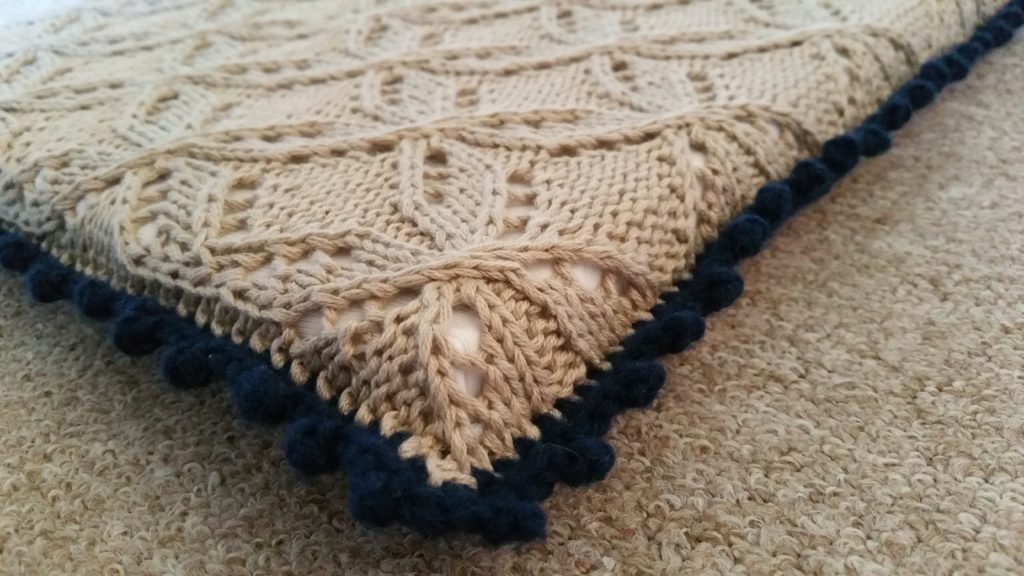
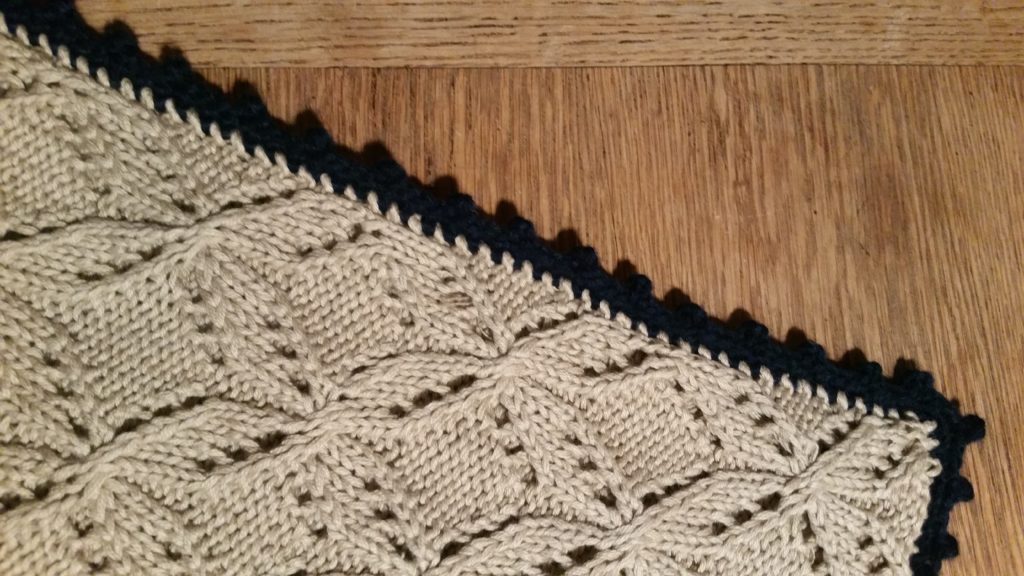
First thing you need to do is measure the seat of the chairs for which you are making the pillows. I chose a square shape, but it can be a rectangle as well. Then, and this is very important, do a tension test or gauge. Depending on your yarn and the needles, the size of your pillow cover will vary. So you have to make sure you will knit the correct size. Another important thing to do using this pattern, is to iron your work. Otherwise it is too “crunched” to see the real size and fit the inlet-cushions properly. So remember that when you knit your test piece.
For each pillow cover you knit two different sides. The front side has the ajour pattern, the back side is plain which is nice and easy to do. When you are finished with the two pieces, make sure to iron them to make them flat. You can also wet the pieces, strech them into shape and pin them down on a board to dry. Personally I prefer the ironig method. I put a wet but well wrung-out kitchen towel over the piece and steam flatten it. You have to be careful, but it works out quite nicely. Some yarns may be too delicate to for steam flattening though. In my experience cotton or linen are fine to steam. Make sure to try it out on your test piece first.
When the pieces are nice and flat you sew them together on 3 sides. The last side you leave open for the inlet. Just close the open side a little bit around the corner. That way the opening is a little smaller, but keeps the inlet-cuchion in better. Then you crochet the trim. On the open side only the top gets the fancy trim. For the back just do simple crochets (sc). As the final thing loop crochet 6 ribbons and attach them on the open sides so you can close the pillow cover after putting in the inlet-cushion.
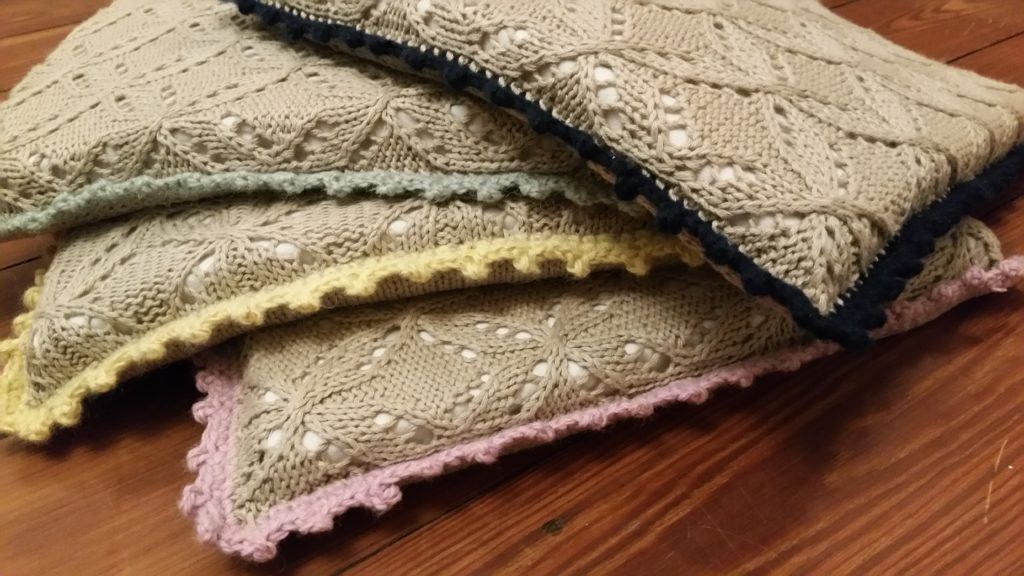
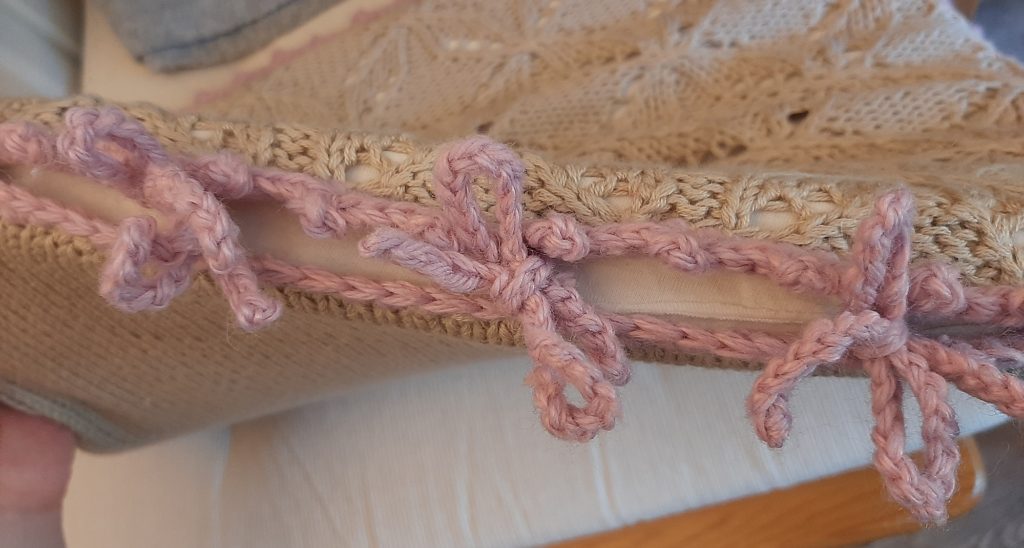
And now you have to make the inlet-cushions. You can probably leave them out, but for me the two layers of the pillow cover would not be thick enough. I used a left over mattress topper (a visco one) to cut out the inlet-cushions and used old white t-shirts to cover them.
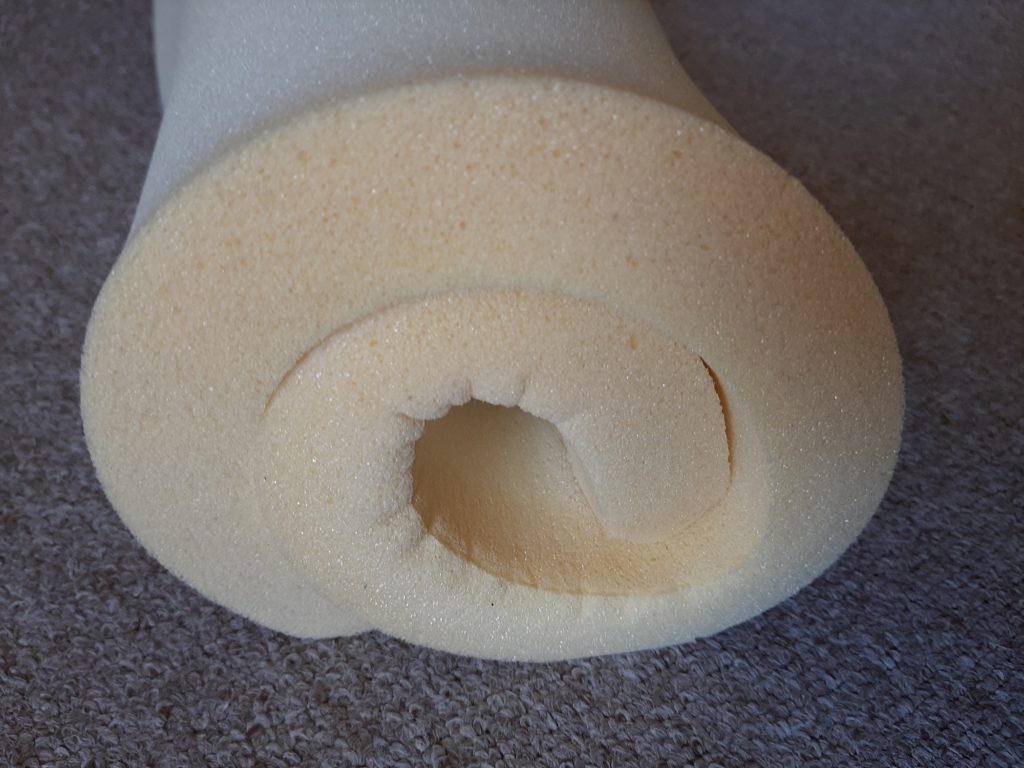
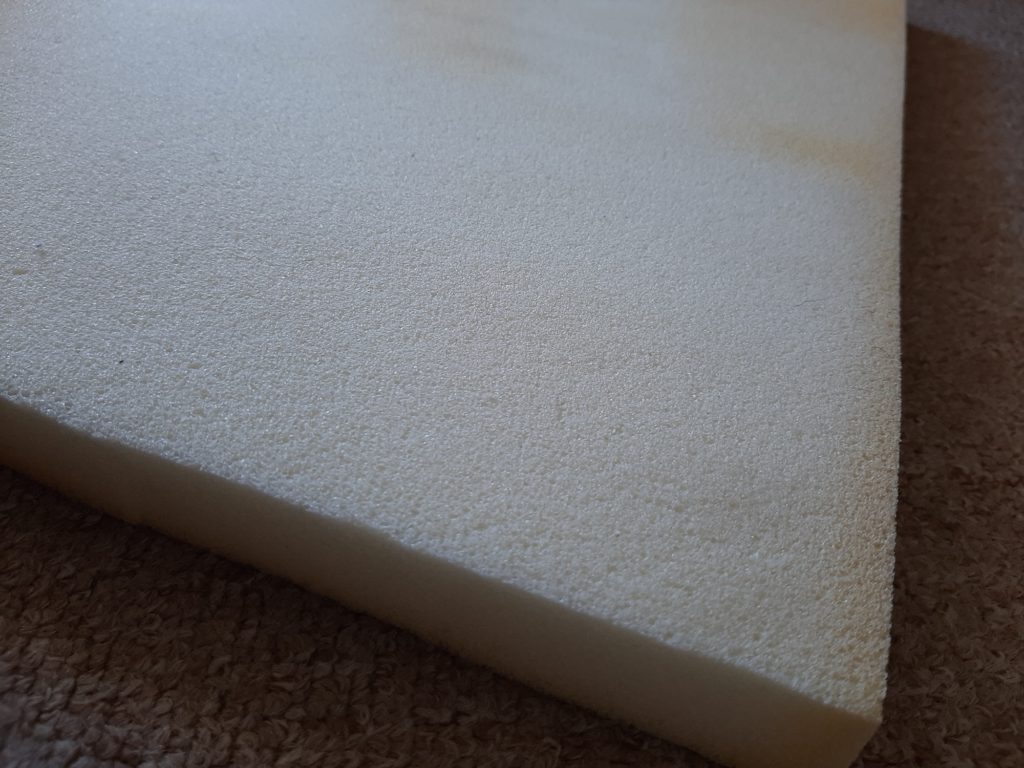
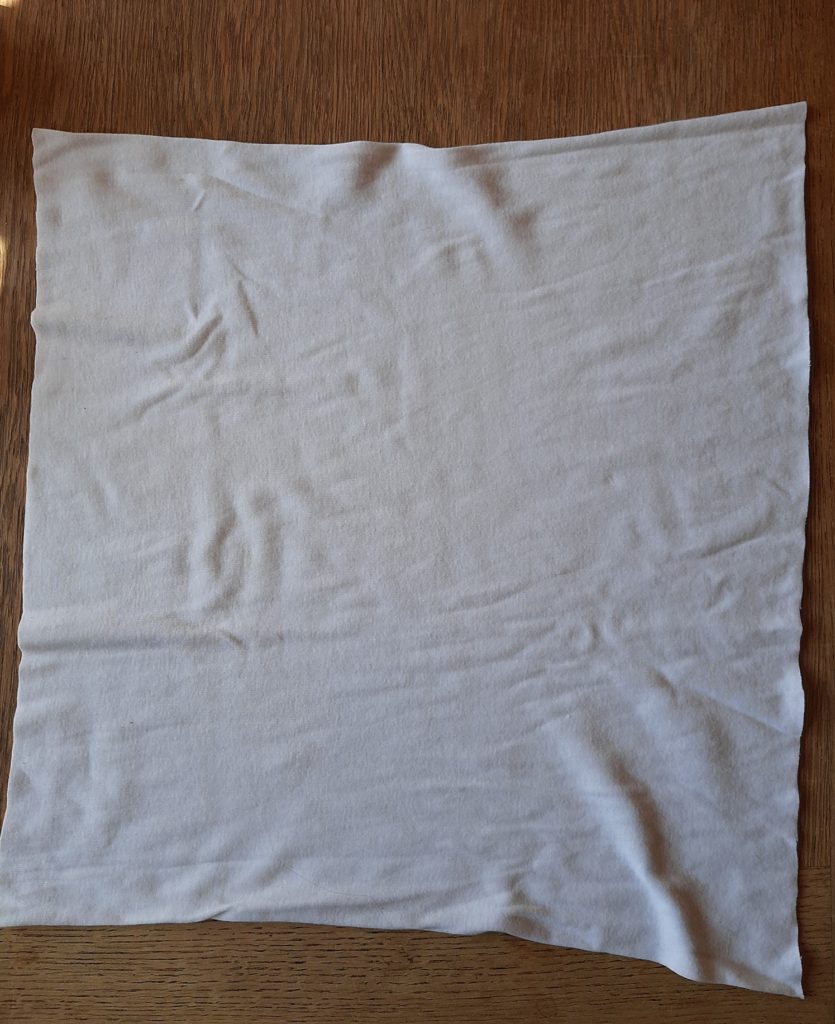
That’s how I created the inlet-cushions, but any way you can think of should work. It is no problem if the topper was previously used, since it will be covered. As I said before, I used old white t-shirts with the top (neck and sleeve area) cut off. White is best as it shines through a little bit. But you can experiment with colors if you don’t have any white fabric.
Now put your inlets-cuchions into the pillow covers, tie the back and enjoy your time on your balcony or patio in style and comfort.
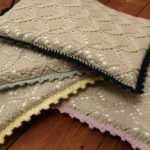
Chair pillows for outdoors and indoors, too.
Directions
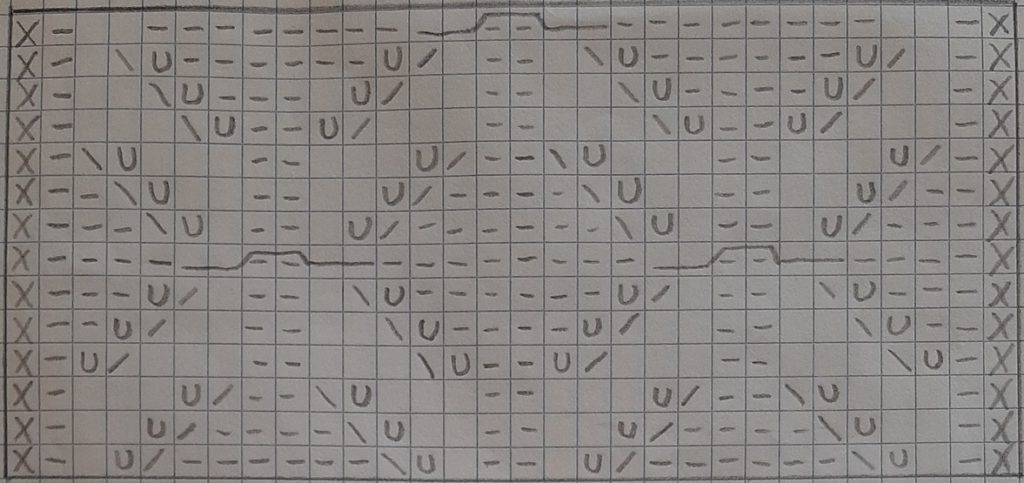
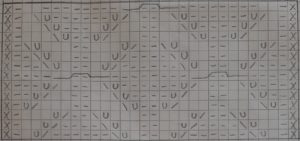
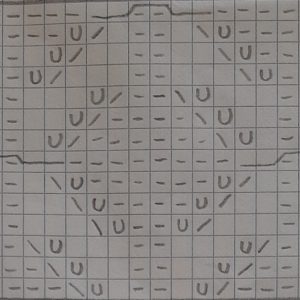
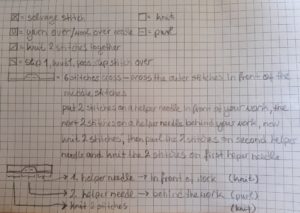
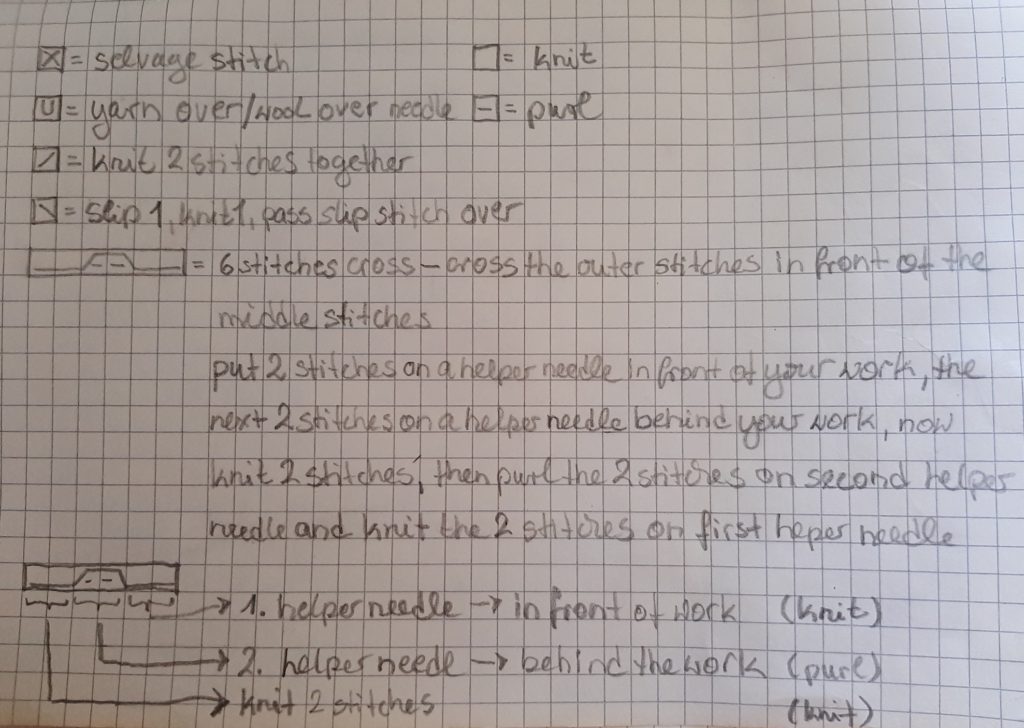
This is the Ajour pattern I used. Of course you will have to extend it depending on the size you would like to make. The pattern only shows the front rows. Knit the return rows as the stitches appear, knit the knit stitches and purl the purl stitches.
You knit the pattern from right to left. So you have to extend the pattern as needed on the left before the selvedge stitch (X).
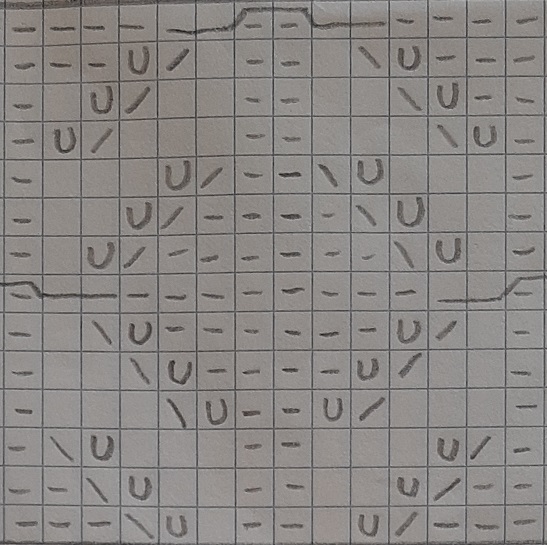
It is important to choose a pillow size that fits the pattern as the extension will be 14 stitches or a multiple of it. For my pillow covers I cast on 72 stitches including the 2 selvedge stitches and I knitted 110 rows before binding off.
Chair Pillows
Equipment
- knitting needles size 5mm (Germany), H (US), 6 (UK)
- 2 helper needles / cable needles
- crocheting hook
- Scissors
- needle + thread for t-shirt covers
Materials
- 5 skein medium / worsted / aran 500g
- 4 x 1/2 skein different colors for the trim 50g each color
- 4 inlet-cushions made from mattress topper or similar
- 4 white t-shirts
Instructions
- Make a gauge to see how big your work turns out. Then calculate how many stitches you need to cast on. Following I give you the numbers I used for my work. My pillow cases make a slight rectangle 37x34cm.
- Front pieces: Cast 72 stitches and purl the first row. Then start the Ajour pattern and continue for 110 rows. Knit every back row as the stitches appear, knit & purl (yarn overs = purl). Bind off. Repeat 3x to make 4 pieces.
- Back pieces: Cast 72 stitches and knit 110 rows. Back rows = purl. Bind off. Repeat 3x to make 4 pieces.
- Flatten your pieces (drying or steaming method) and sew 3 sides together.
- Add crocheted trim. 3 single crochets, 3 chain stitches, 1 slip stitch into first chain stitch – that creates the mousetooth / Picot. Repeat. For the corners crochet 3 single crochets in one hole. Back piece open side: single chrochets
- Make 6 ribbons for each pillow by using chain stitches to the desired length.
- Cut your inlet-pillows according to your pillow covers. They should be a little bit smaller as they have some hight. Cover with bottom part of t-shirts and sew ends shut by hand.
- Put inlet-cushions into pillow covers and bow-tie shut.
Notes
